Guest Bathroom Makeover – One Room Challenge Fall 2021 – Week 3 – Vanity Prep
October 14, 2021
Well, folks, we’re making progress!
If you missed the first week of this project, click here. For week two, click here.
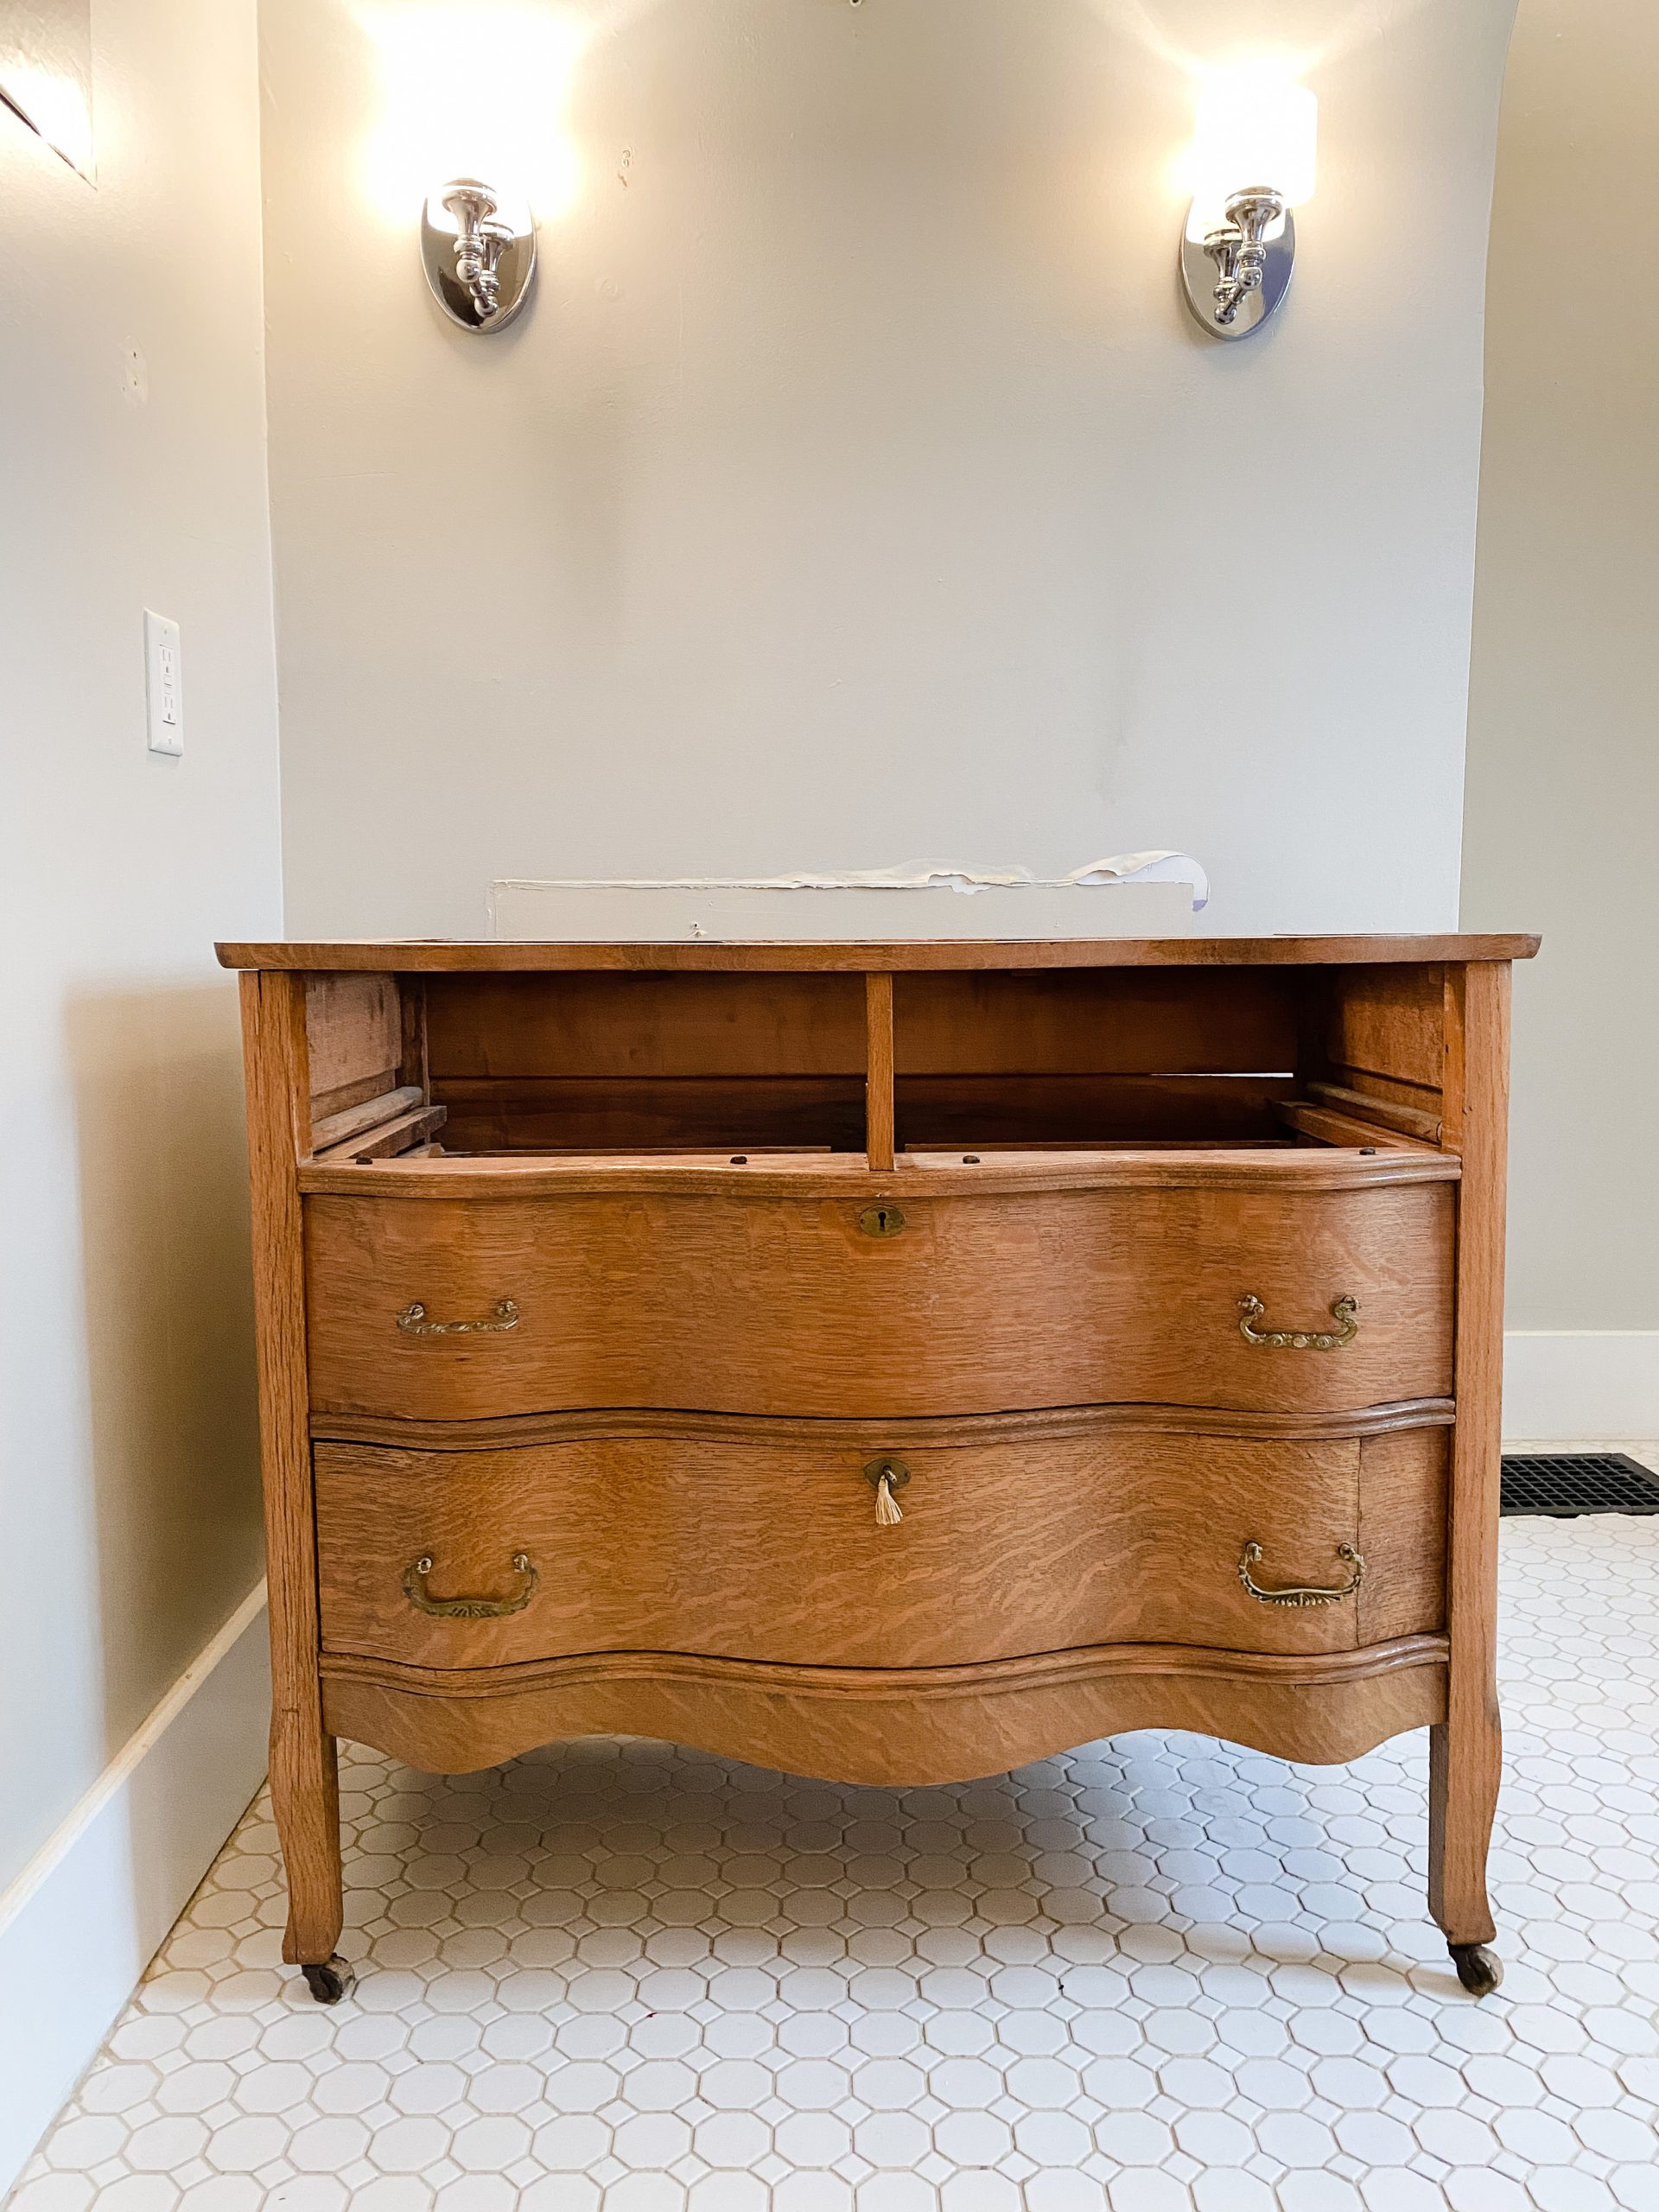
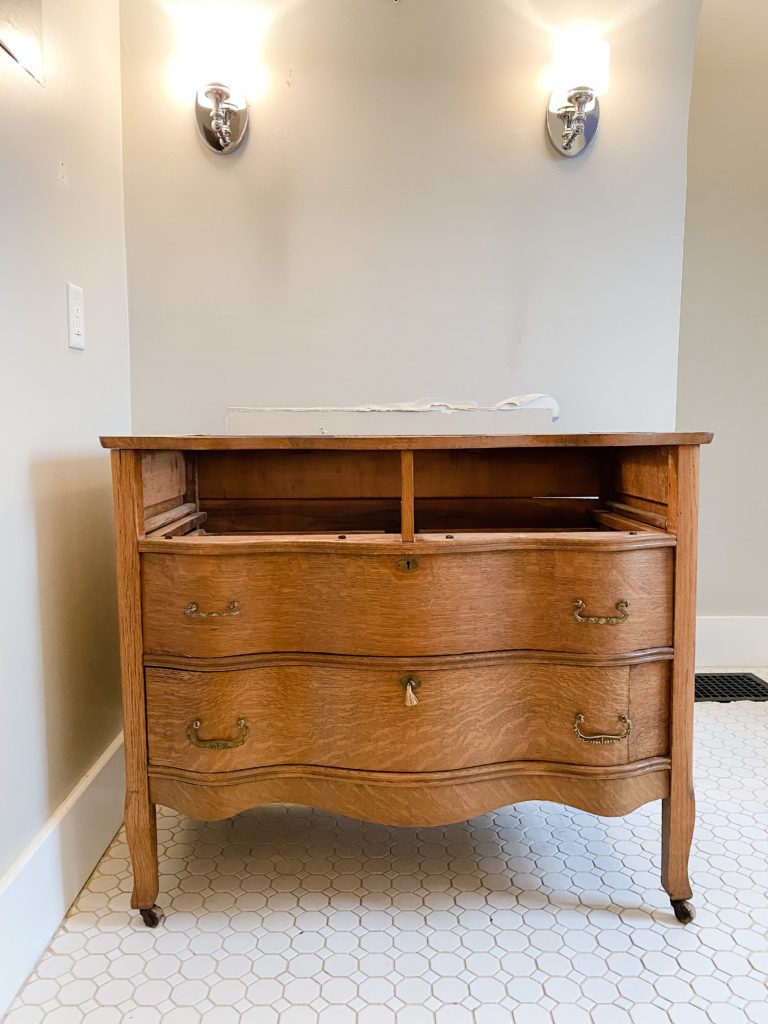
When planning this bathroom, I wanted a vanity with a vintage feel, and I loved the idea of a console sink. We needed more storage than a console sink would give us, so I had to get creative. I liked the idea of repurposing a dresser into a vanity, but needed to find one that was the right fit for the space. Luckily, I found this beauty on Facebook marketplace back in the spring, and we picked it up in Jonny’s truck.
The previous owner said it had been his mother’s; he thought it was made around 1910-1915 and is of English origin. I just love that it has some unique character–the top drawer handles are different on each side, and the skeleton key really works in every drawer except the top left one, which is missing the mortise.
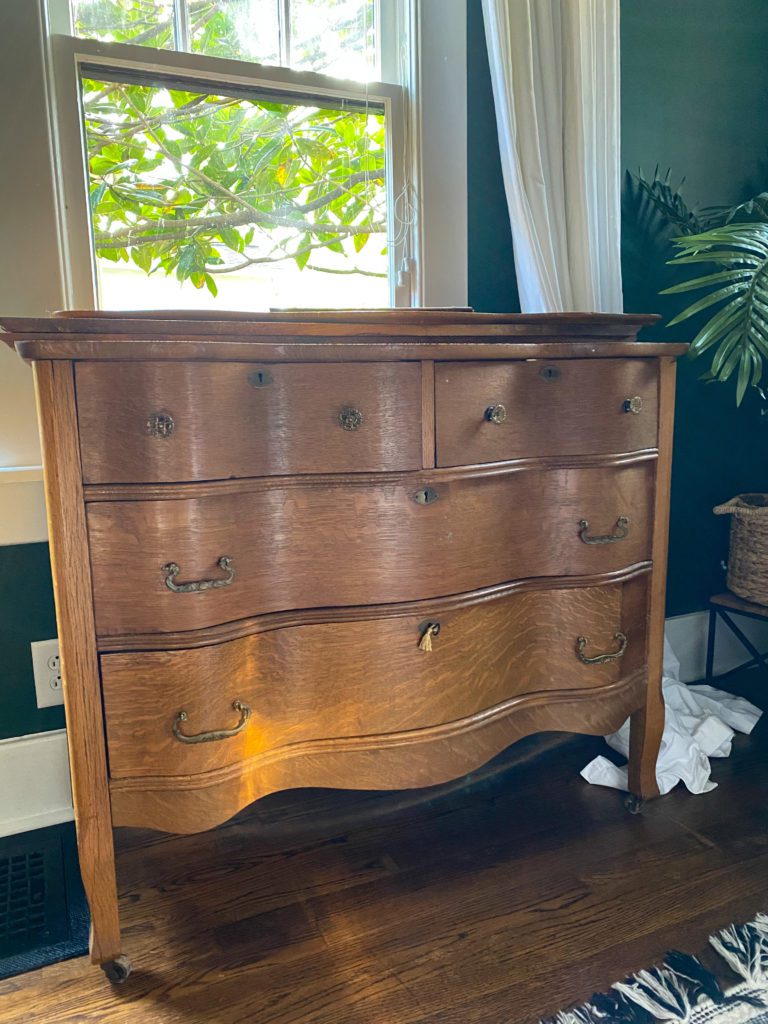
That was all the way back in January–can you believe we’ve had this in our house for almost a YEAR waiting to be installed? I sure hope it’s worth it, and I think it will be.
Rather than using a vessel sink on top of the old dresser top (I’m not a fan of vessel sinks ever, but especially not on top of wood), we opted to remove the wood top and replace it with a more durable stone with an undermount sink. We’re having the top fabricated by a local stone fabricator, Tate Ornamental, and that should be finished up next week (crossing our fingers!). They’ve already come and templated and cut the stone, so we’re just waiting on installation after we get a few more things finished in the bathroom.
In order to save a little money, I chose to go with a remnant rather than select an entire slab for such a small project, and luckily they had the perfect thing. Again, I was going for a vintage feel, so I went with this very traditional Bianco Carrara marble remnant Tate Ornamental had in their warehouse.
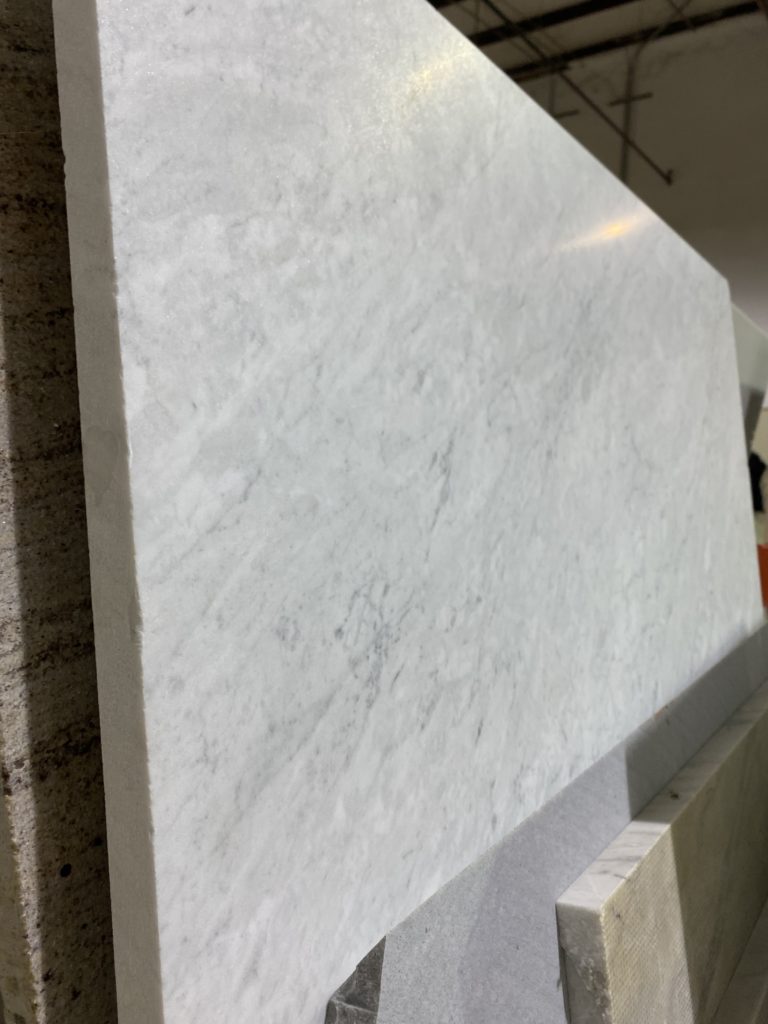
I’m really happy with the cloudy look on this stone, and I love a living finish like marble. A living finish is any finish that ages over time, giving it a “lived-in” look. Marble is a softer stone than quartz, quartzite, or granite, so it gains character as it’s used. We have marble in our primary bathroom, and I love its imperfections. Marble gets water spots, stains easily, and also chips relatively easily, so if you’re a perfectionist, it may not be the right stone choice for you. I, however, love old things that look like they could tell a story, so marble is one of my favorite materials. This vanity will age in places as people drip water across it, leave water glasses on it, and it’ll have our family’s story written into it.
Before we had the top templated, we removed the wood dresser top and Jonny worked to make sure the drawers and frame of the piece would allow and support the necessary plumbing.
In order to remove the top, Jonny removed a couple old flathead screws, and then was able to use pry bars to pop each piece out without any damage to the main piece. The top was made with three boards, and they popped out pretty quickly.
We set the sink basin and faucet handles (gifted from Signature Hardware–sneak peek!) on top of the dresser to mock up where the undermount sink needed to go, and then Jonny traced it onto the dresser frame. He added an inch on each side for wiggle room. He used a jigsaw to cut out the hole for the sink, and then he figured out where the plumbing and drains would hit the internal doors.
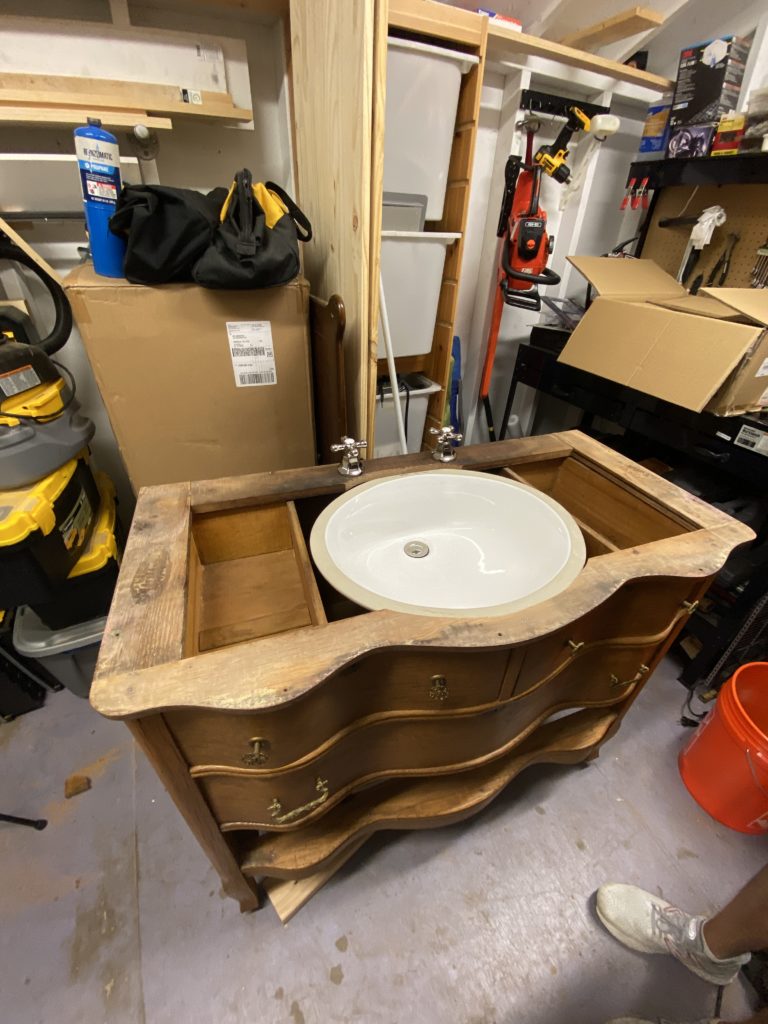
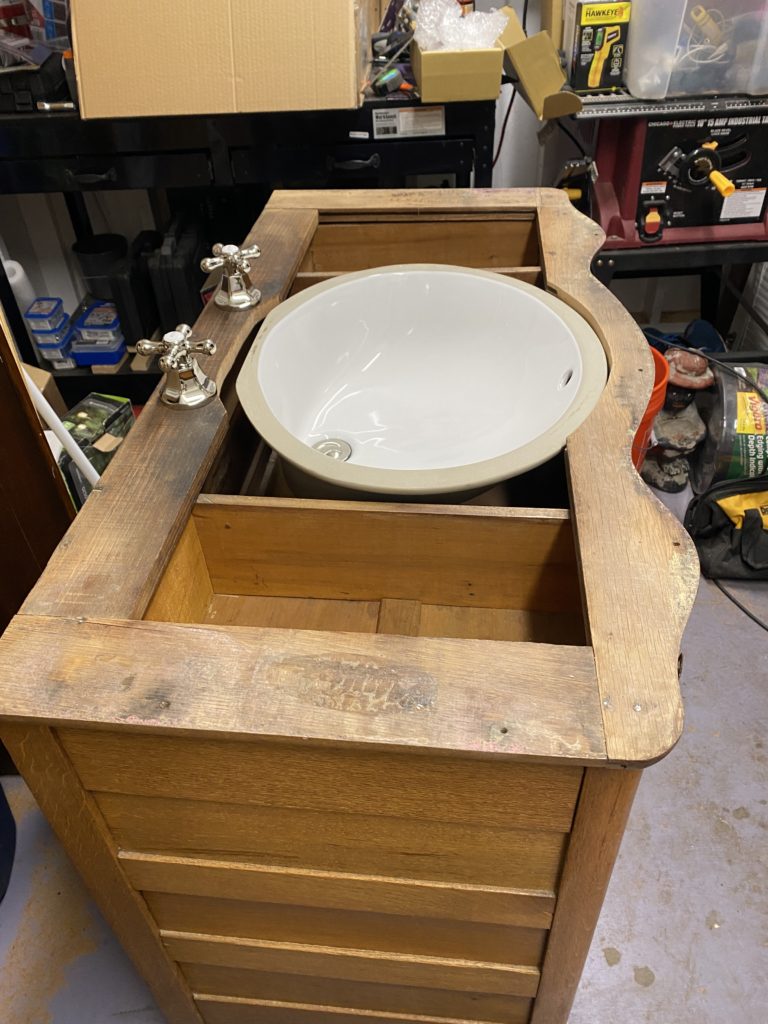
After measuring to allow for the sink basin depth, Jonny cut into the backs of the drawers and the back of the dresser to allow room for the supply lines and p-trap. We wanted the drawers to function if at all possible, so he made new backs for the drawers using the old wood. The wood is routed at the bottom of each drawer so the pieces slide together, but Jonny also used wood glue and a brad nailer to make them more secure.
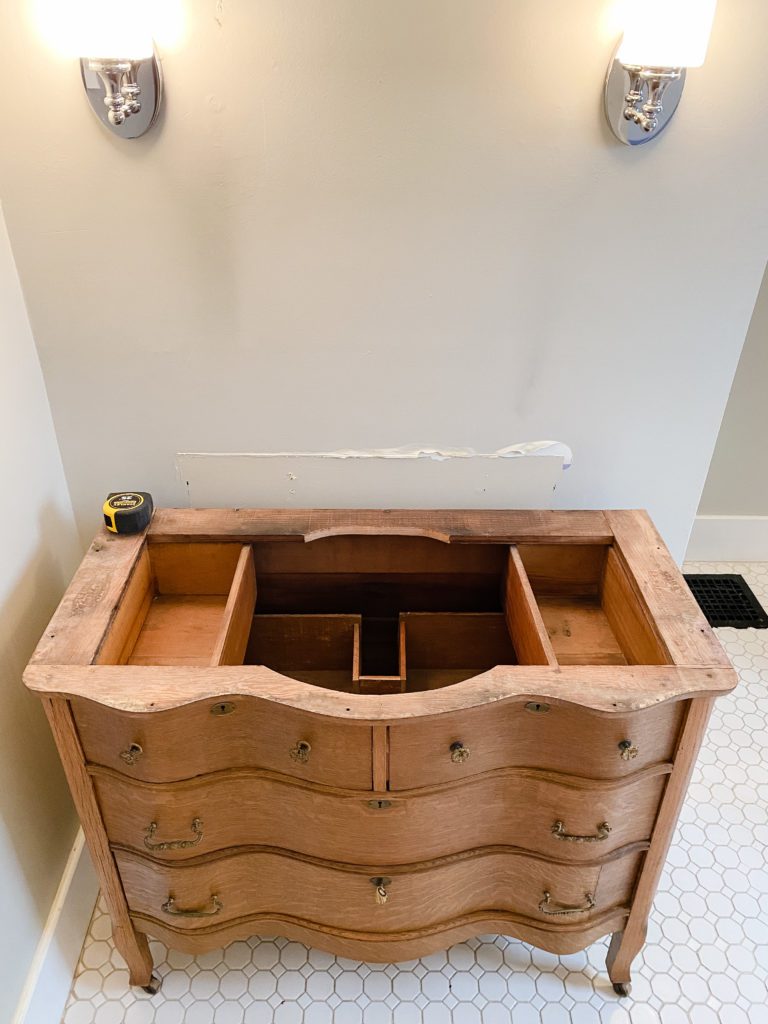
He started with the top two drawers and worked his way down, and once the p-trap is installed he’ll fit the bottom drawer around it. Lastly, he waxed the drawers so they slide better, and once this baby is installed we’ll have great usable storage and a beautiful vanity!
Tool Links:
Thanks for tuning in–see you next week for week 4! Be sure to click on the image below to see what all of the other One Room Challenge designers and guest participants are up to this week. To see videos of the process for the vanity, check out my Instagram.
♥Grace

This post contains affiliate links. Thanks for supporting this blog!
Leave a Reply Cancel reply
For even more content, sign up for my newsletter. I share weekly recaps so you won’t miss anything, as well as personal notes and answers to your questions. Sign up here! I promise I’ll never sell your information or spam you with unsolicited emails.
[…] Week 3 […]