Guest Bathroom Makeover – One Room Challenge Fall 2021 – Week 2 – Demo
October 10, 2021
We’re back from our family vacation to New England, and ready to get back into the swing of things with this bathroom!
In case you missed it, here’s the first week of the One Room Challenge I posted last week.
The next step in this bathroom makeover was demo. Here’s where this becomes an “if you give a mouse a cookie” type scenario…
Typically when you purchase plumbing fixtures or trim, different brands have different valves that connect the pretty trim (faucets, handles, etc) with the not-so-pretty PVC/pex plumbing behind your walls.
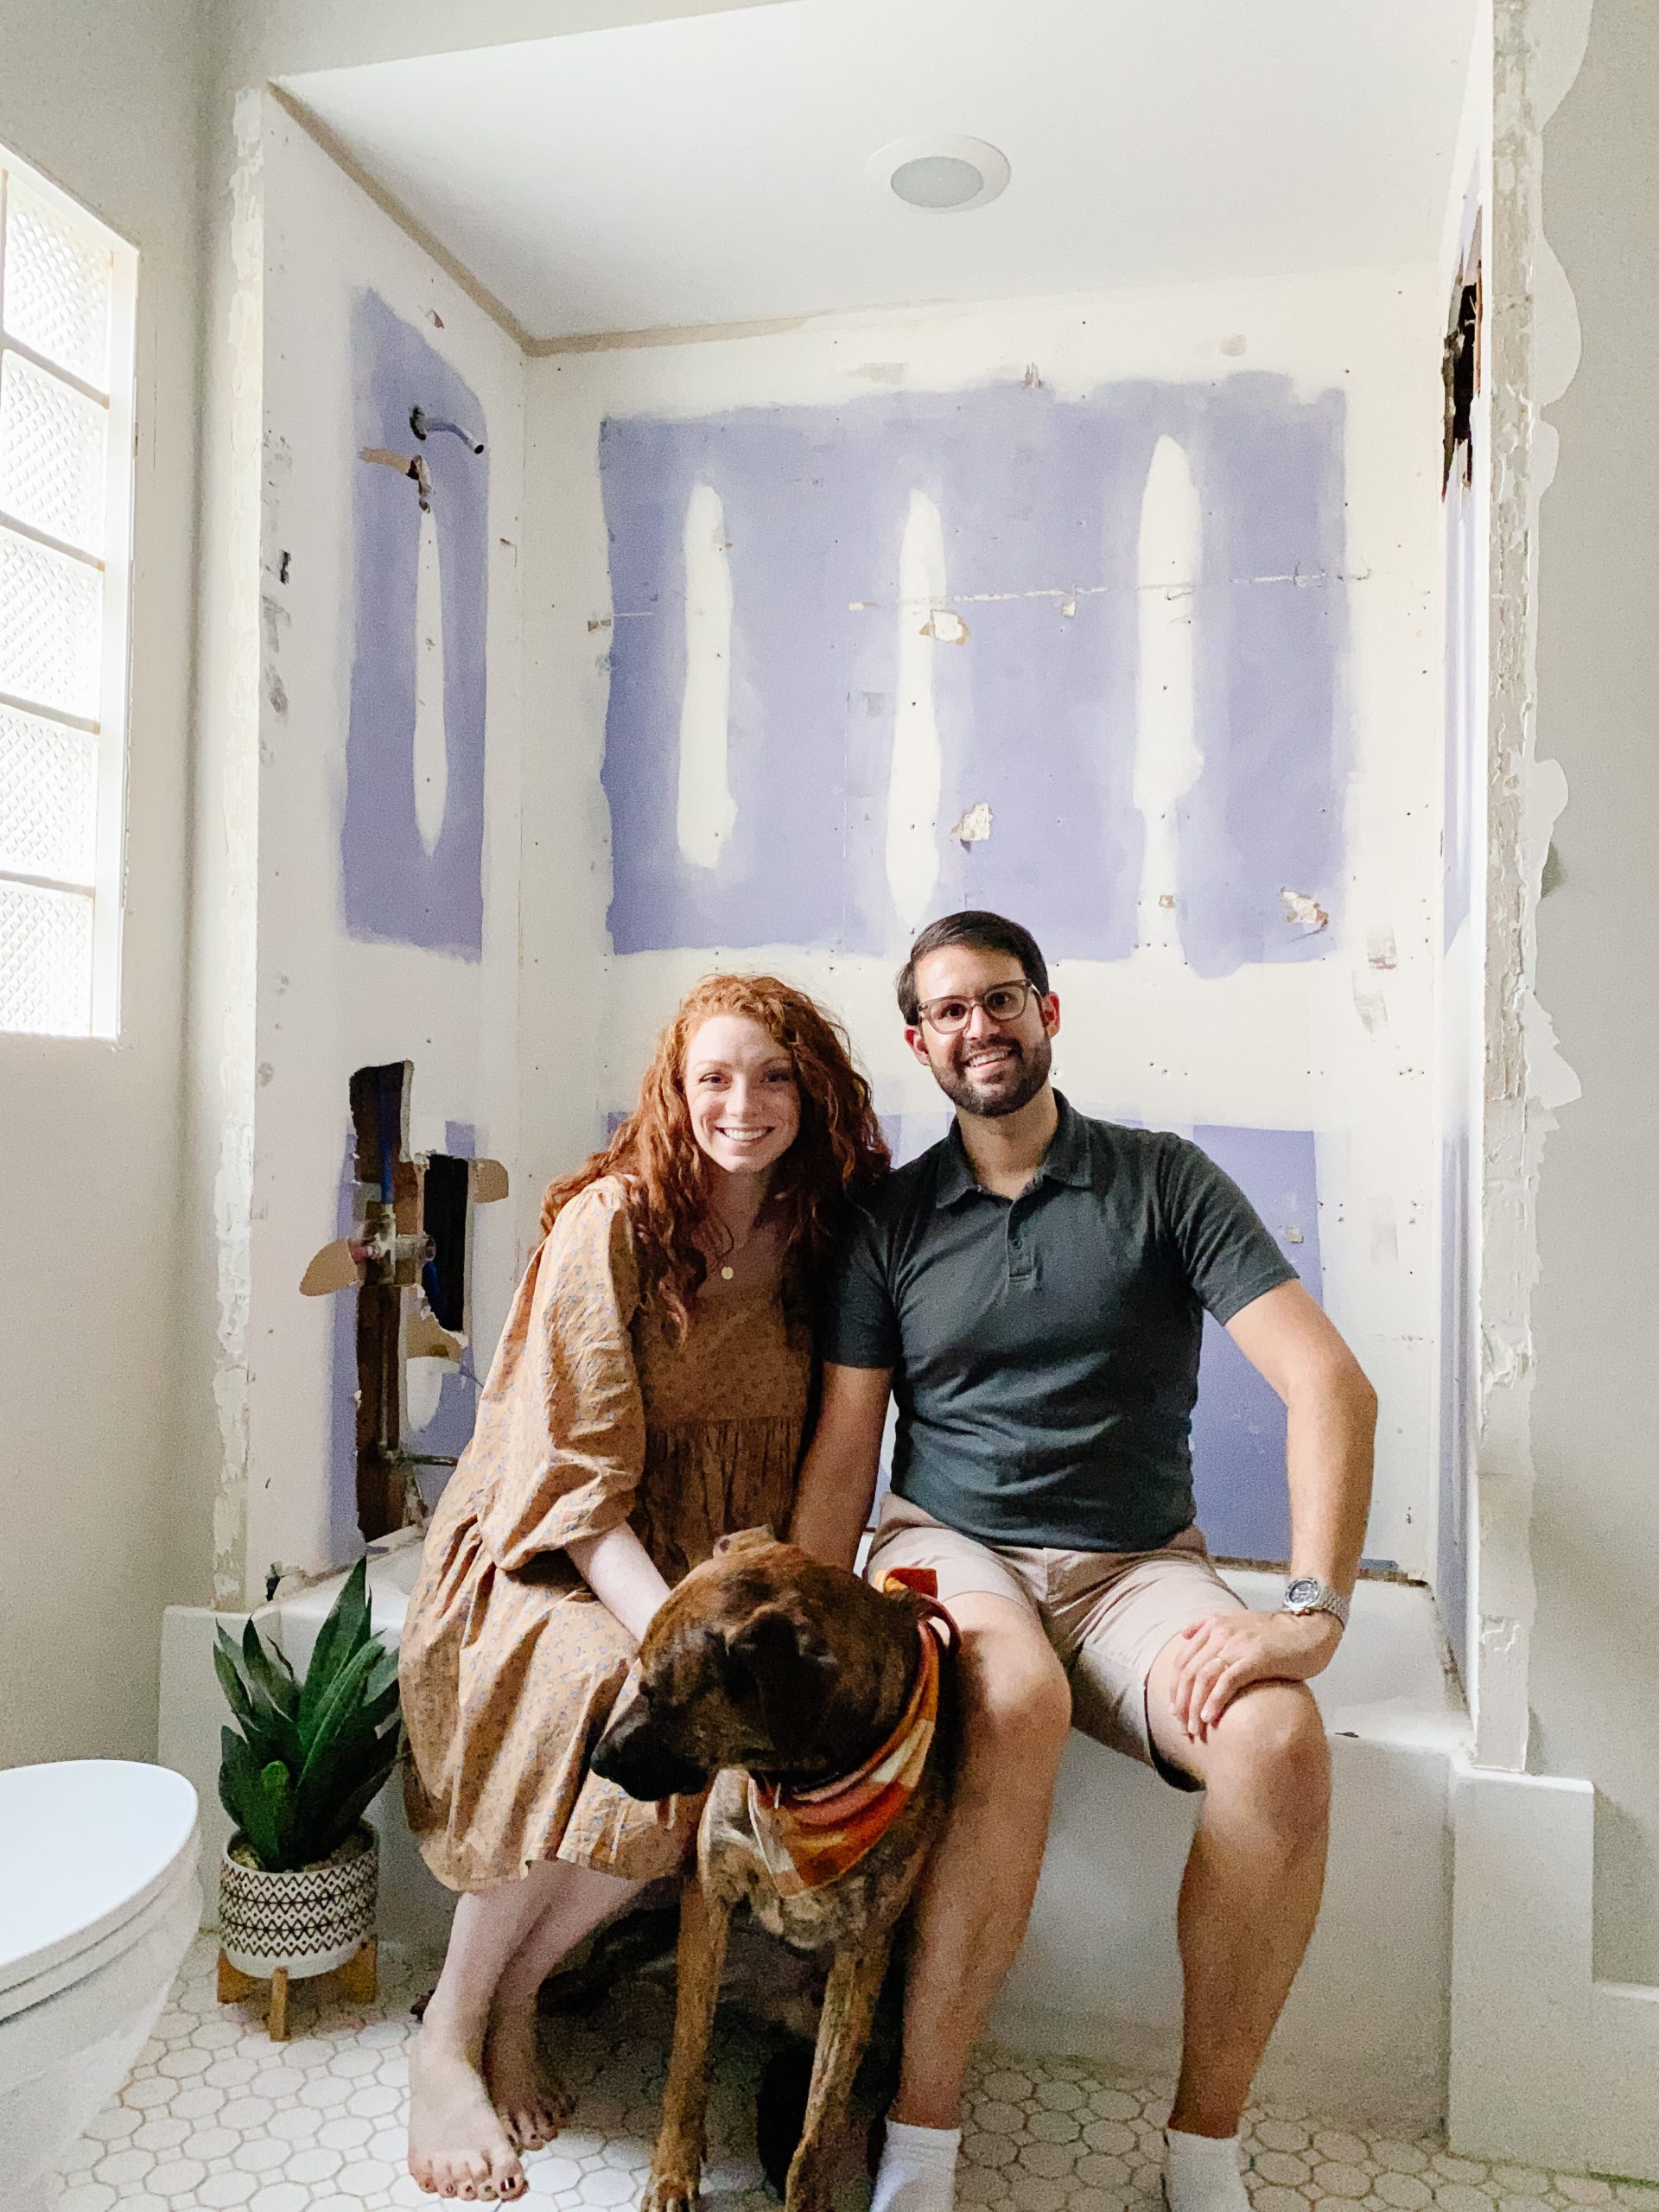
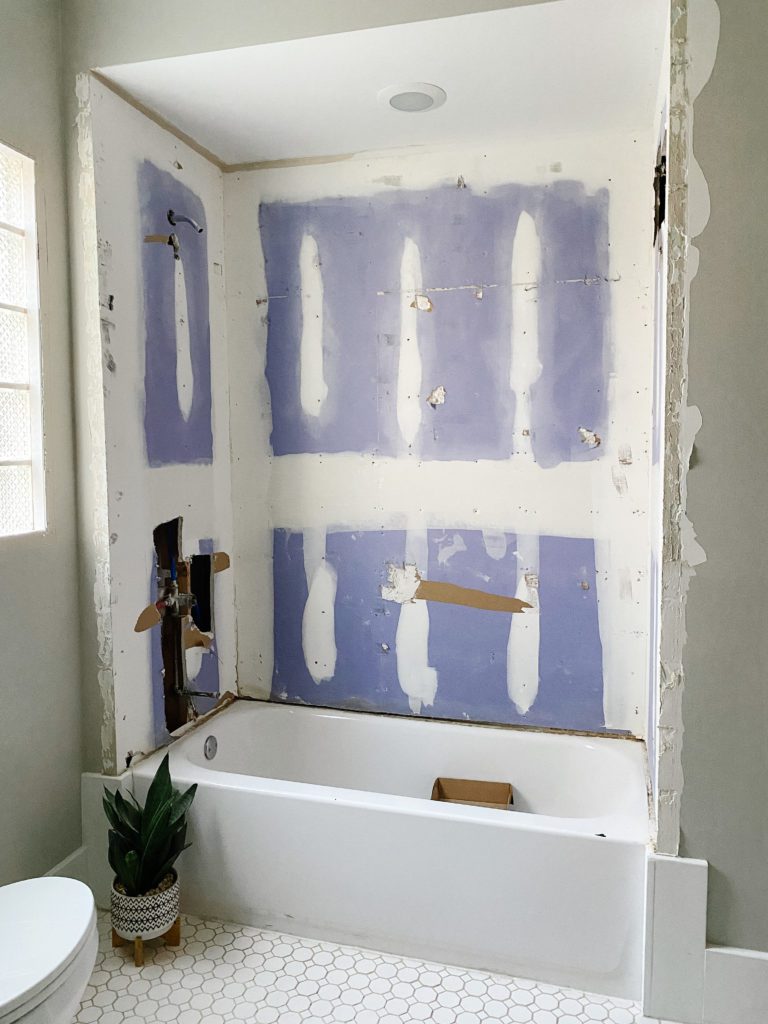
Since we decided to change the plumbing trim in the shower, we needed new valves to go with them. In order to access the valves, we needed to remove enough tile for the plumber to remove the old valves and install the new ones. We thought about carefully cutting out just enough tile for that to happen, but since we are adding a shower bar in addition to the tub/shower combo that’s already in place, we decided to demo and replace all the shower tile in order to give the plumber full access to the plumbing behind the walls.

Jonny did almost all of the demo by himself (I lucked out with a husband who’s smart and handy). There are videos on my Instagram of the demo process that are SO satisfying to watch. Just click on my “Guest Bathroom” highlight.
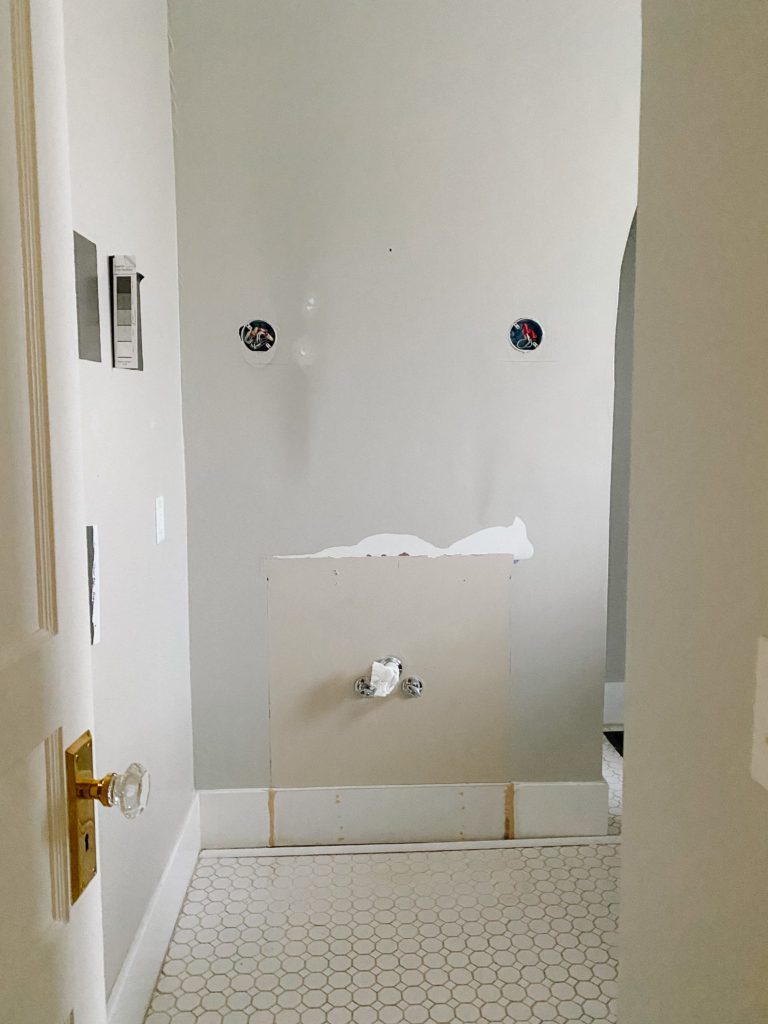
To remove the vanity, he scored the caulk at the top with a razor blade, and then put a towel down on the floor to catch any water. He turned off the water at the valves under the sink, then undid the water supply lines and pulled the old vanity away. He removed the top and base separately. We set the whole thing by the side of the road and a lady came and knocked on the door and asked to take it less than fifteen minutes after we dragged it out there.

He still has to finish the baseboard patch, but he used a piece of old baseboard he had in the shed (this is where I regret teasing him about being a hoarder because we always end up needing the random things he saves) to patch the gap where the old vanity was. The new vanity has feet so it won’t be flush with the back of the wall.
The first thing Jonny did before demoing the shower tile was put a piece of plastic in the basin of the tub to catch most of the smaller dust and pieces of tile to keep the mess contained and protect the tub. Next, he used painters tape to attach a heavy duty tarp over the tub and onto the floor to catch the bigger pieces.
He removed all the plumbing trim next, and began the tile demo. He started by removing the tile trim that was wrapped around the corners of the shower, which gave him access to see where the backer board and tile were attached to the drywall. He used a multi-tool with a diamond grout bit to loosen and remove these first tiles.
He slid a pry bar between the drywall and the tile/backer board, and started chipping off big chunks. He used a multi-tool with a scraper attachment to remove tiles from the sides to save as much of the drywall as possible. Then he took a hammer and hit the tile to break it into manageable pieces. He did the side walls first and because the backer board was nailed in, it was easier to remove. Then he discovered that the big back wall of the shower had backer board attached with screws, which were much harder to remove. On the back wall, he had to break the tile first, then try to get access to the screws so he could take it off in bigger pieces. He was trying to preserve as much drywall as possible–otherwise he could have just gone to town and broken the whole thing. Since our home is also older, we didn’t know what kind of plumbing was behind the walls, but we knew there was plumbing behind both side walls (the right side is coming from our primary bathroom upstairs), and didn’t want to damage any older brittle pipes if there were any.
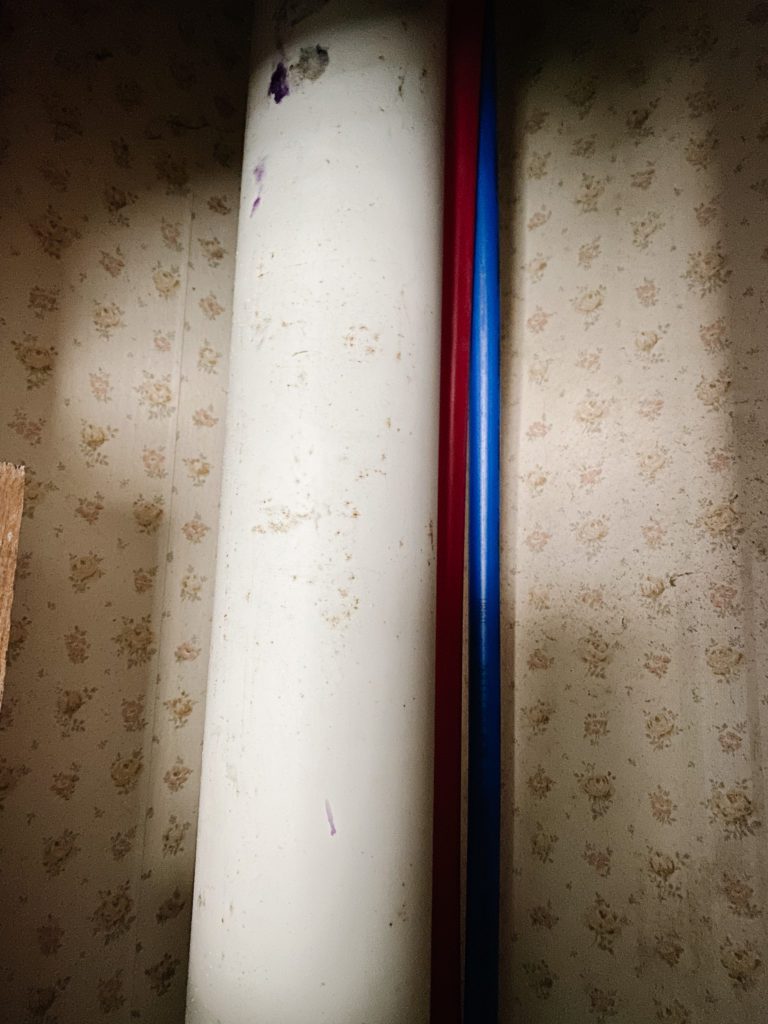
Jonny decided that now was as good a time as any to see what was going on with the plumbing behind the walls, so he cut a hole in the right side wall to see what was there. Luckily, it was all updated PVC like we thought, so we’re hoping we won’t have to mess with that again. He also found some old wallpaper–little discoveries like this are one of the things I love most about renovating old homes. It really makes me wonder who installed that wallpaper, what this room was before it was a bathroom, and what the progression of this space was before we got to it.

During cleanup, Jonny used a 5 gallon bucket to haul the smallest pieces of tile debris out to our residential trashcan. He took the bigger pieces to one of our renovation house job sites to put in the construction dumpster, since they would have been too bulky and heavy for a residential trash can.
He used a Shop Vac to clean up the small pieces and dust. If you need a good first DIY tool–buy a Shop Vac. We’ve used ours so many times and for so many projects and messes. Almost every project we’ve ever done has been easier because of it.
Tools used:
- Shop Vac
- Box cutter for scoring caulk
- Multi-tool
- Pry Bar
- Small pry bar set
- Ultra Hammer
- Hammer drill
- Diamond grout bit for multi-tool
- 5 gallon bucket
- Heavy duty tarp
- Best painters tape in the world
- Respirators
We’re hiring out a lot more of this project than on previous projects due to how busy we both are with work right now, but I’ll still share as much of the process as I can learn! The next steps are getting the last backordered plumbing valves in, having the plumber come install the valves, and then having our painter come to do drywall repair. Then the tile installer will come install the tile and the painter will come back to paint and touch up after he’s done. Next, the countertop fabricator will install the vanity top. After that, either Jonny or the plumber will install the new plumbing trim, and we’ll have a fully functional bathroom again! Then I’ll get to come in for the fun stuff–styling and photographing the finished room!
For more videos and photos, come on over to Instagram. I’ll see you next week for more ORC updates!
♥Grace

This post contains affiliate links. Thanks for your support!
Leave a Reply Cancel reply
For even more content, sign up for my newsletter. I share weekly recaps so you won’t miss anything, as well as personal notes and answers to your questions. Sign up here! I promise I’ll never sell your information or spam you with unsolicited emails.
[…] Week 2 […]