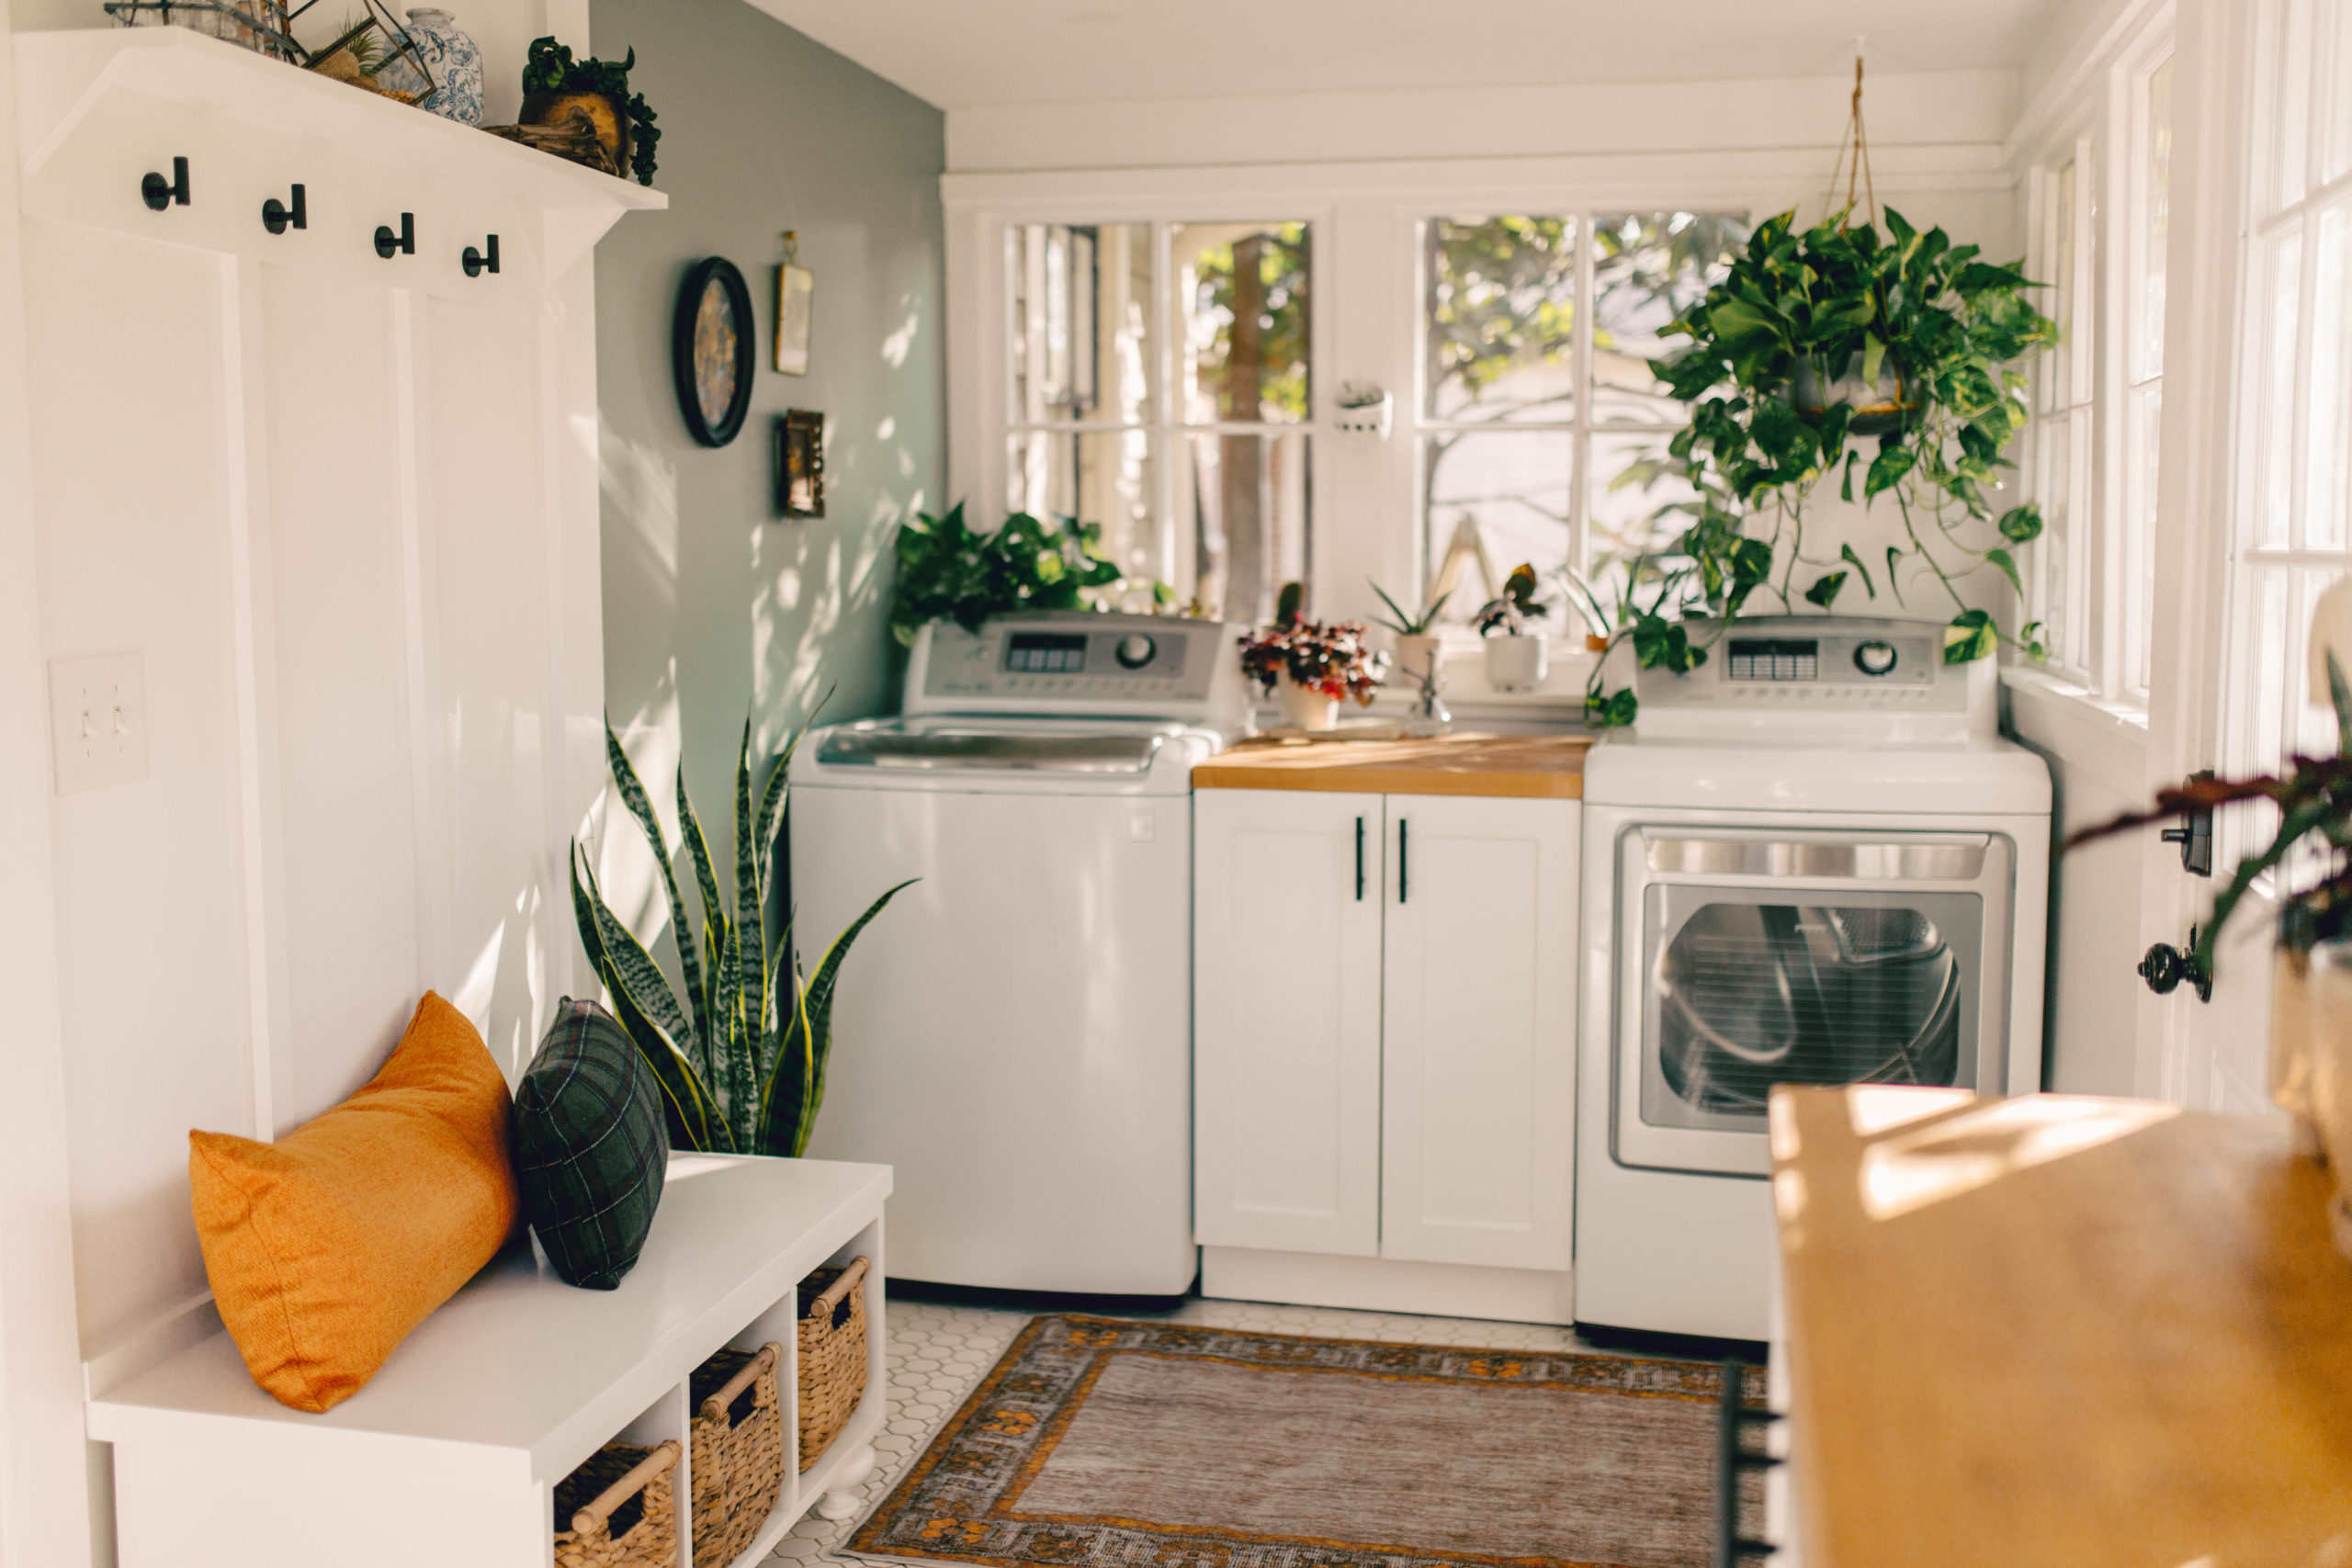
Mudroom Makeover Reveal: One Room Challenge Fall 2019
November 6, 2019
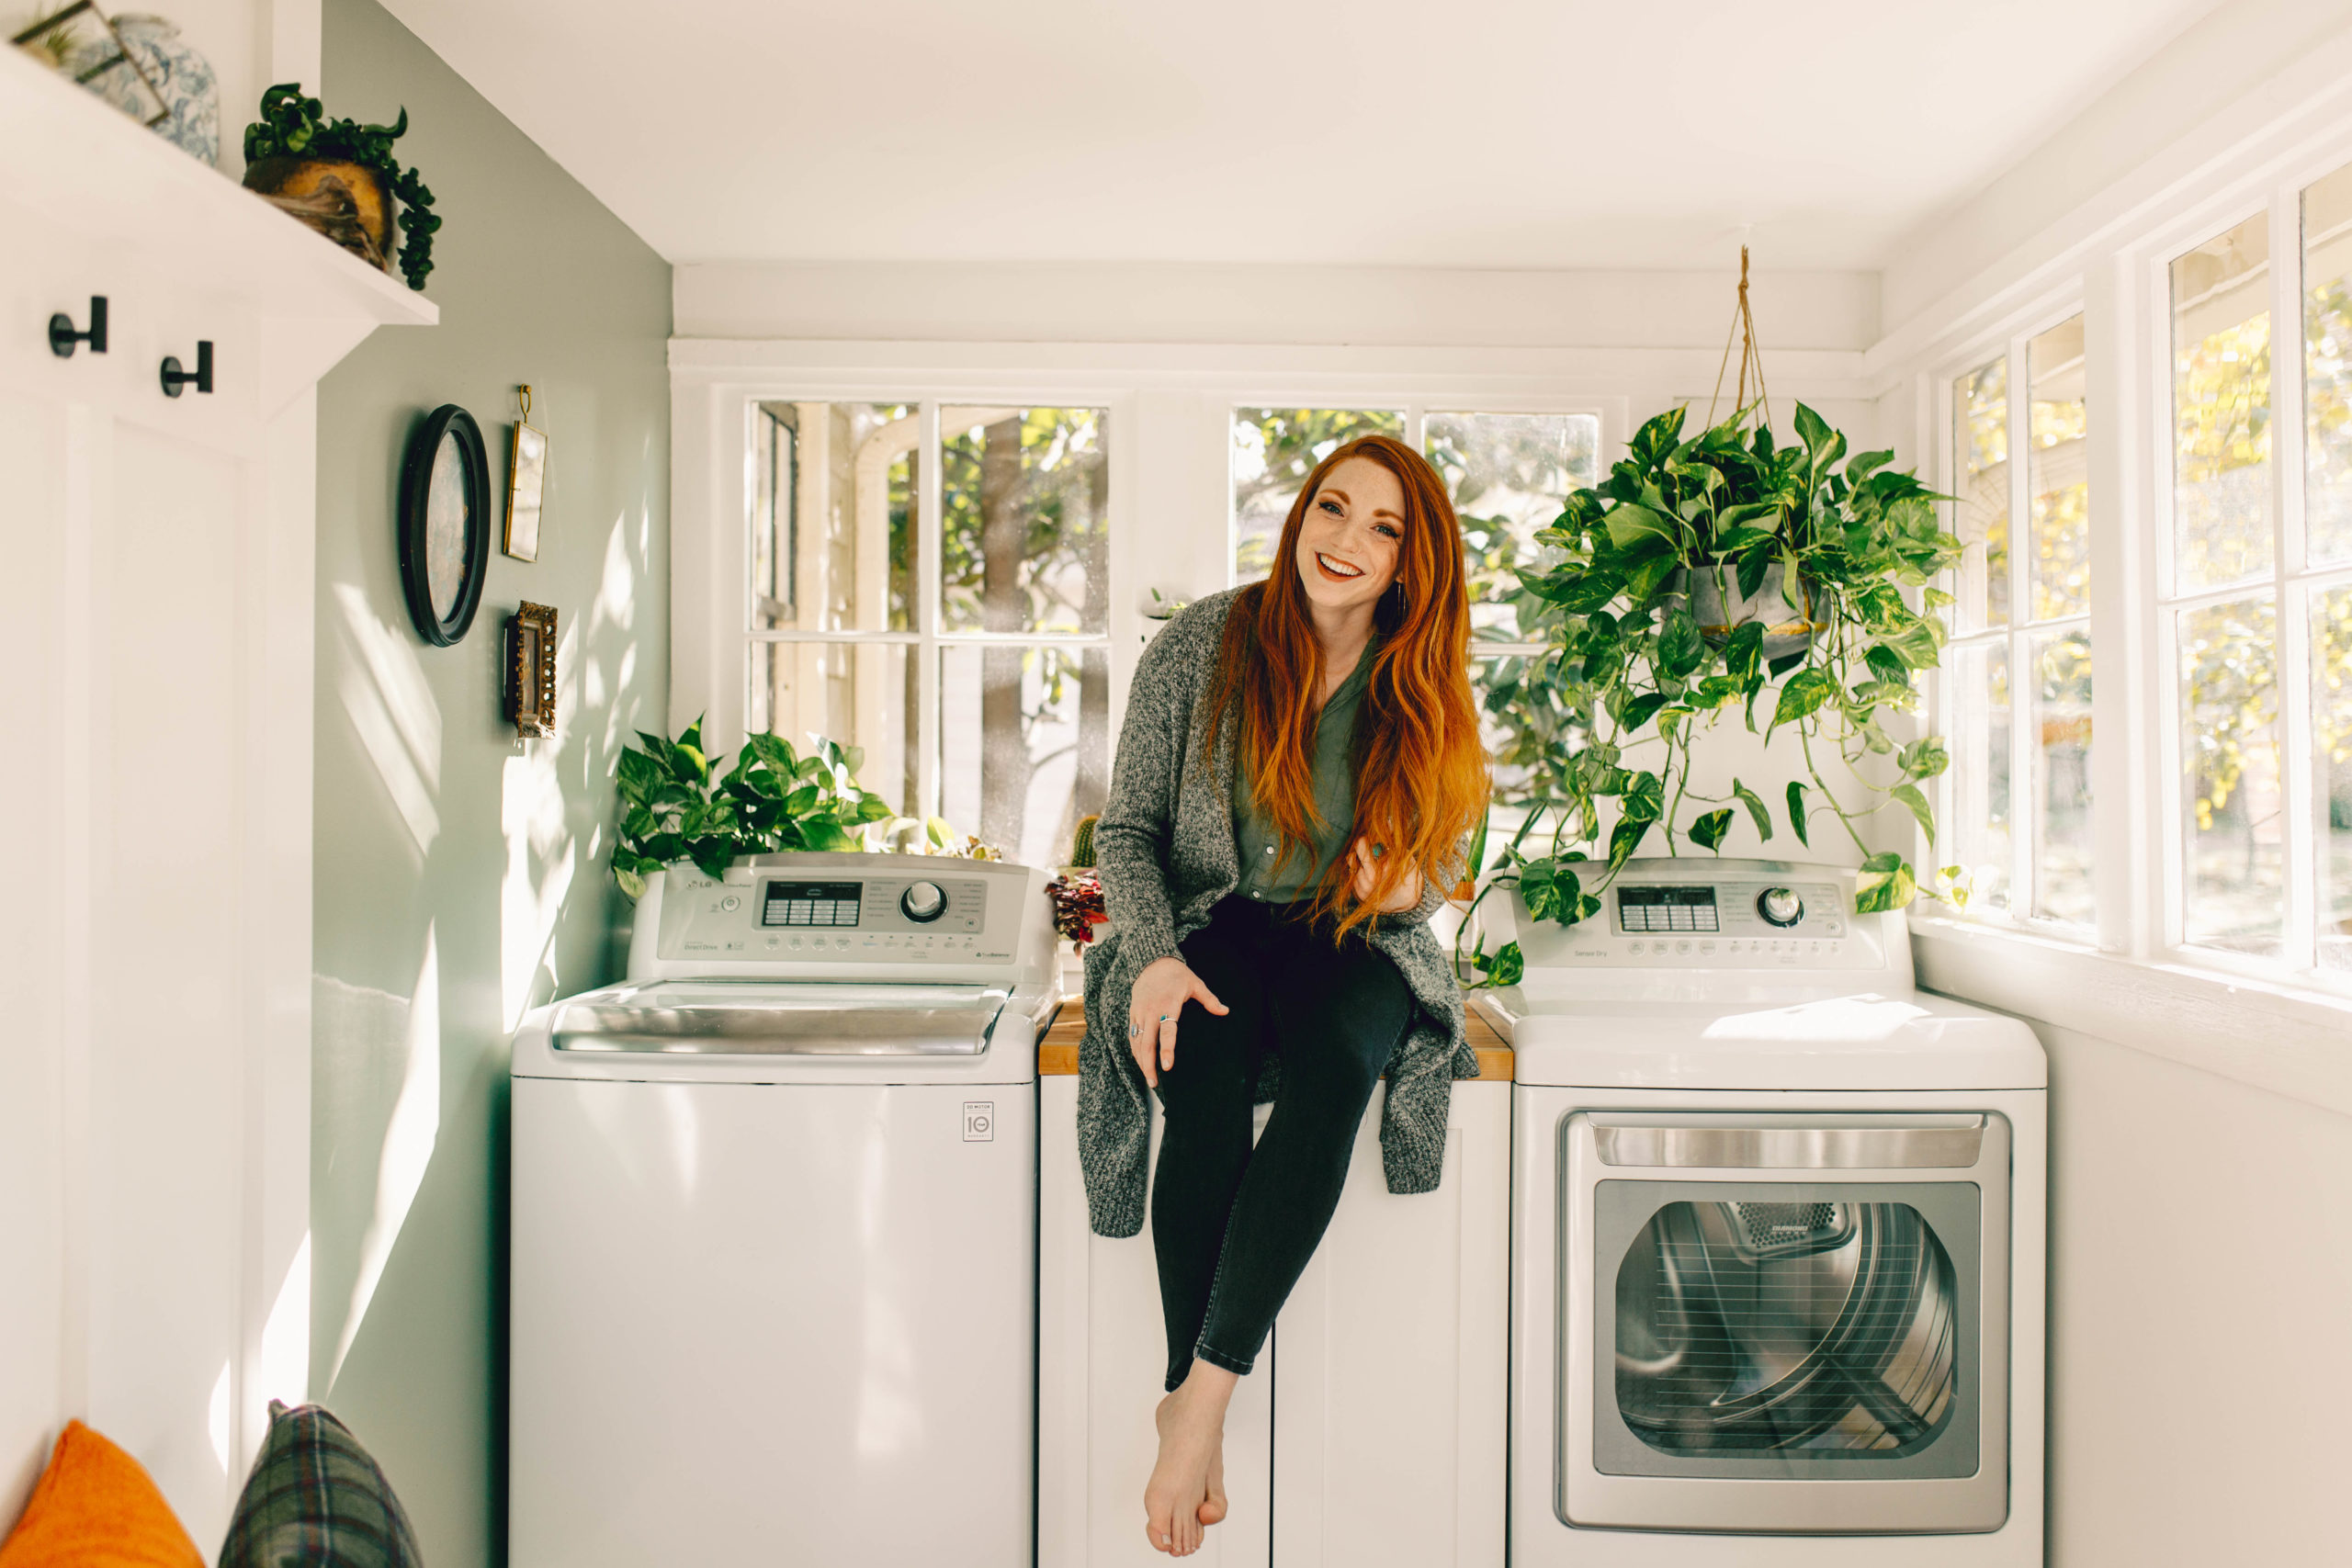
After six weeks of sawdust, paint fumes, our dog eating steel wool, and an infinite number of trips to Home Depot, I am SO excited to say that we have completed our first One Room Challenge: our mudroom! I’m thrilled with how it turned out, and I hope you enjoy looking through our photos and hearing about the process.
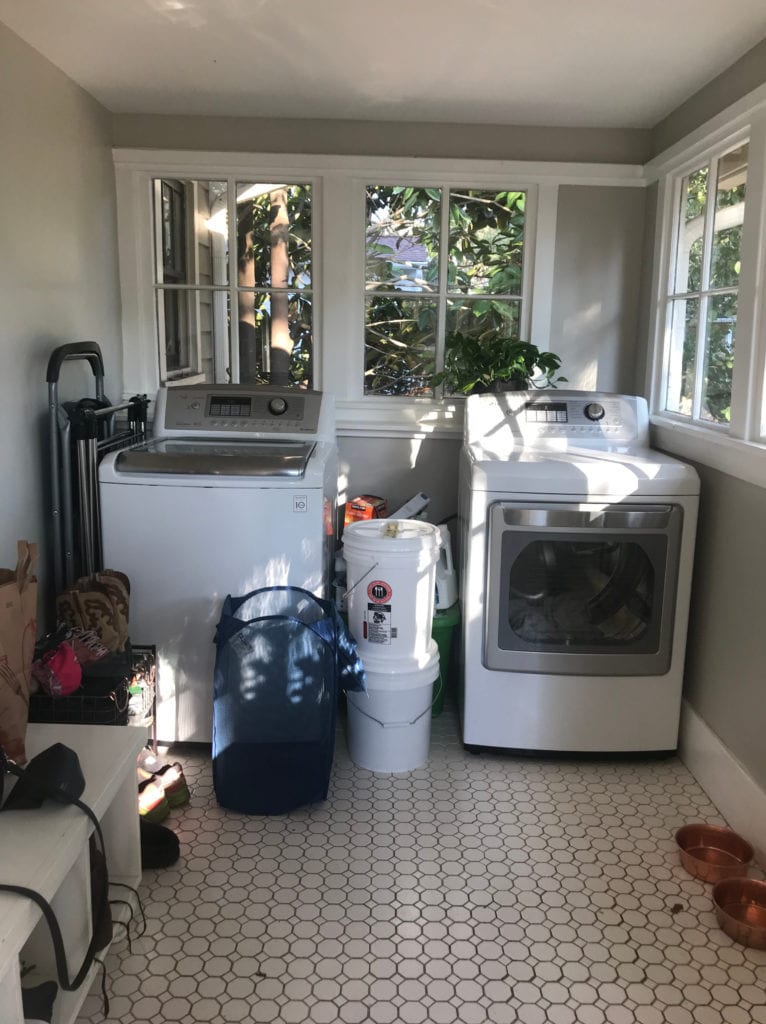
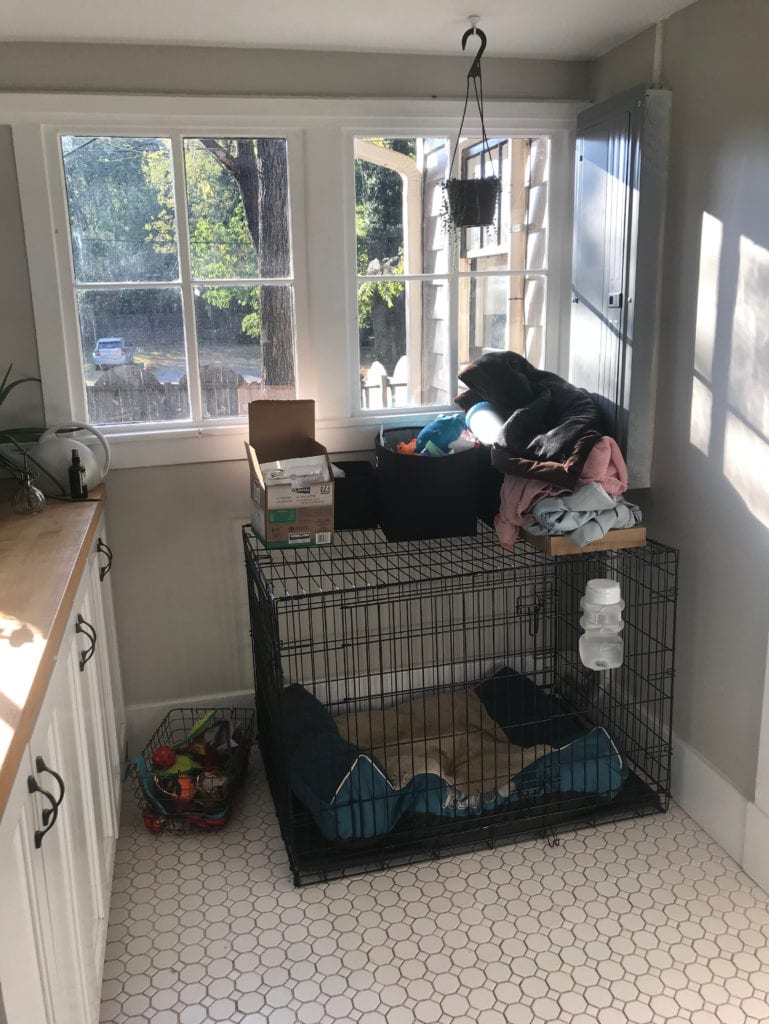
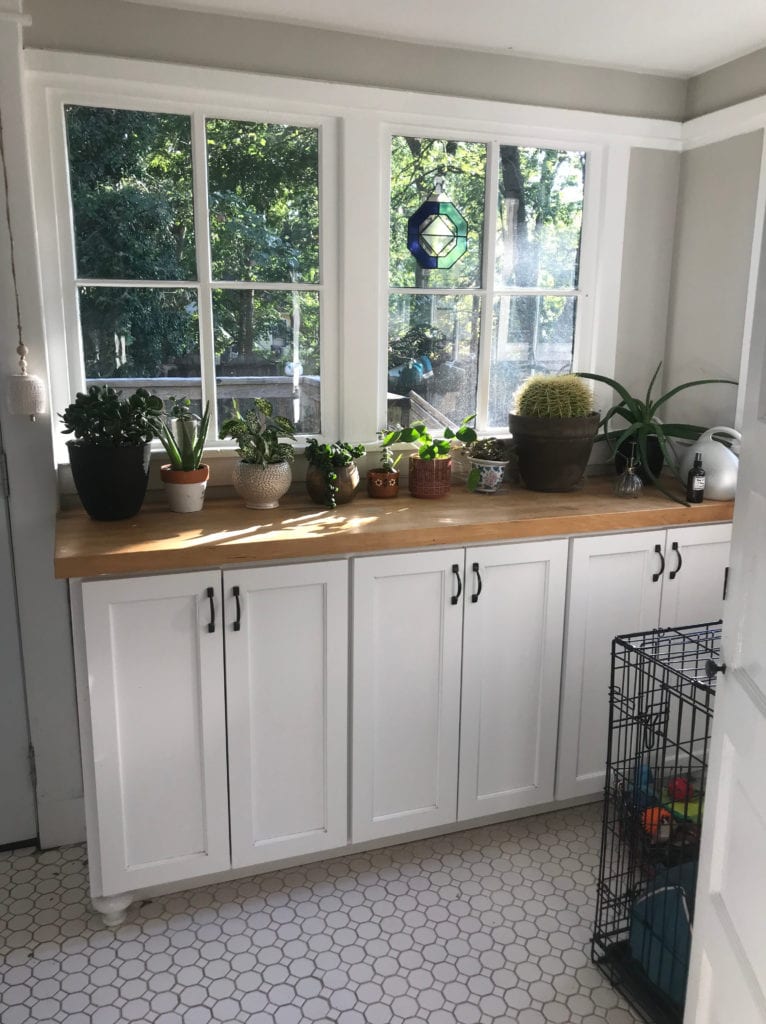
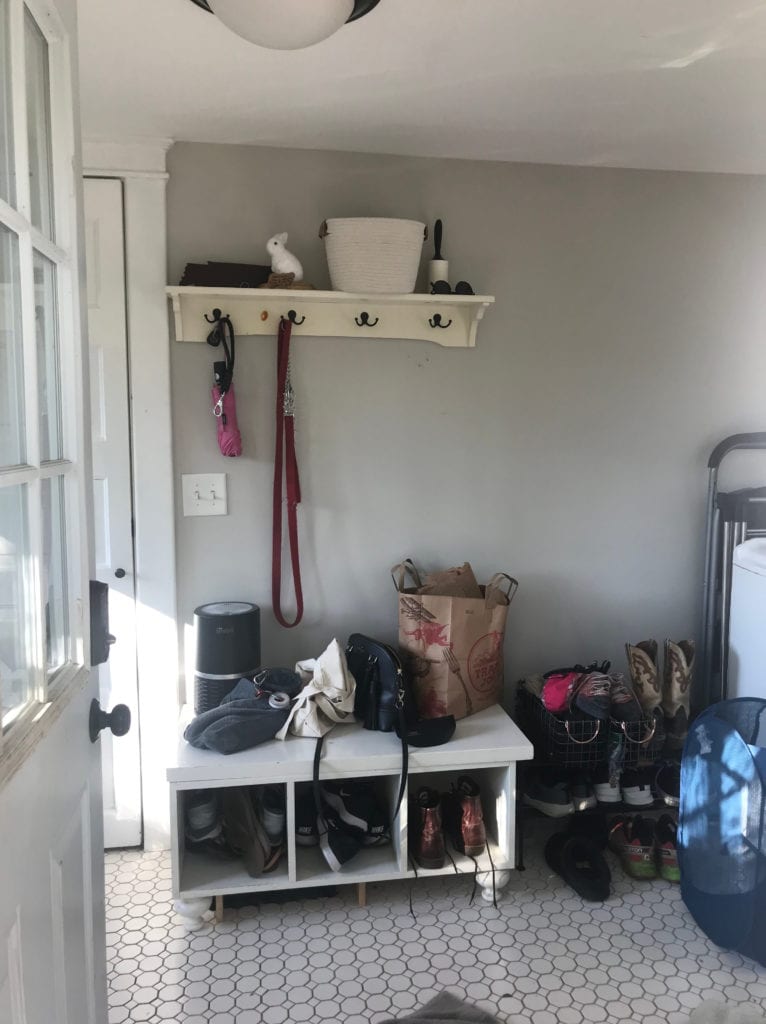
Before we get into the fun stuff, let’s just take a quick look back at our “before” photos, shall we?
I know it’s hard to believe, but I didn’t clean this room one bit before taking those photos! Shocking. As you can see, it’s a pretty decently sized room, but it wasn’t really fully functional. There was no space for laundry supplies because the cabinets under the window are our “pantry”–this is right off the kitchen– and Hank’s food, leashes, toys, and other dog paraphernalia couldn’t stay organized because there just wasn’t the right space.
There are a lot of little details that I love incorporating into decorating a room, and this room was no exception. I fully believe things can be beautiful and functional, and this room is both for us. I’m glad we lived in our house for almost six months before starting this process, because we were able to really decide what we needed to create and know exactly how we would use the space.
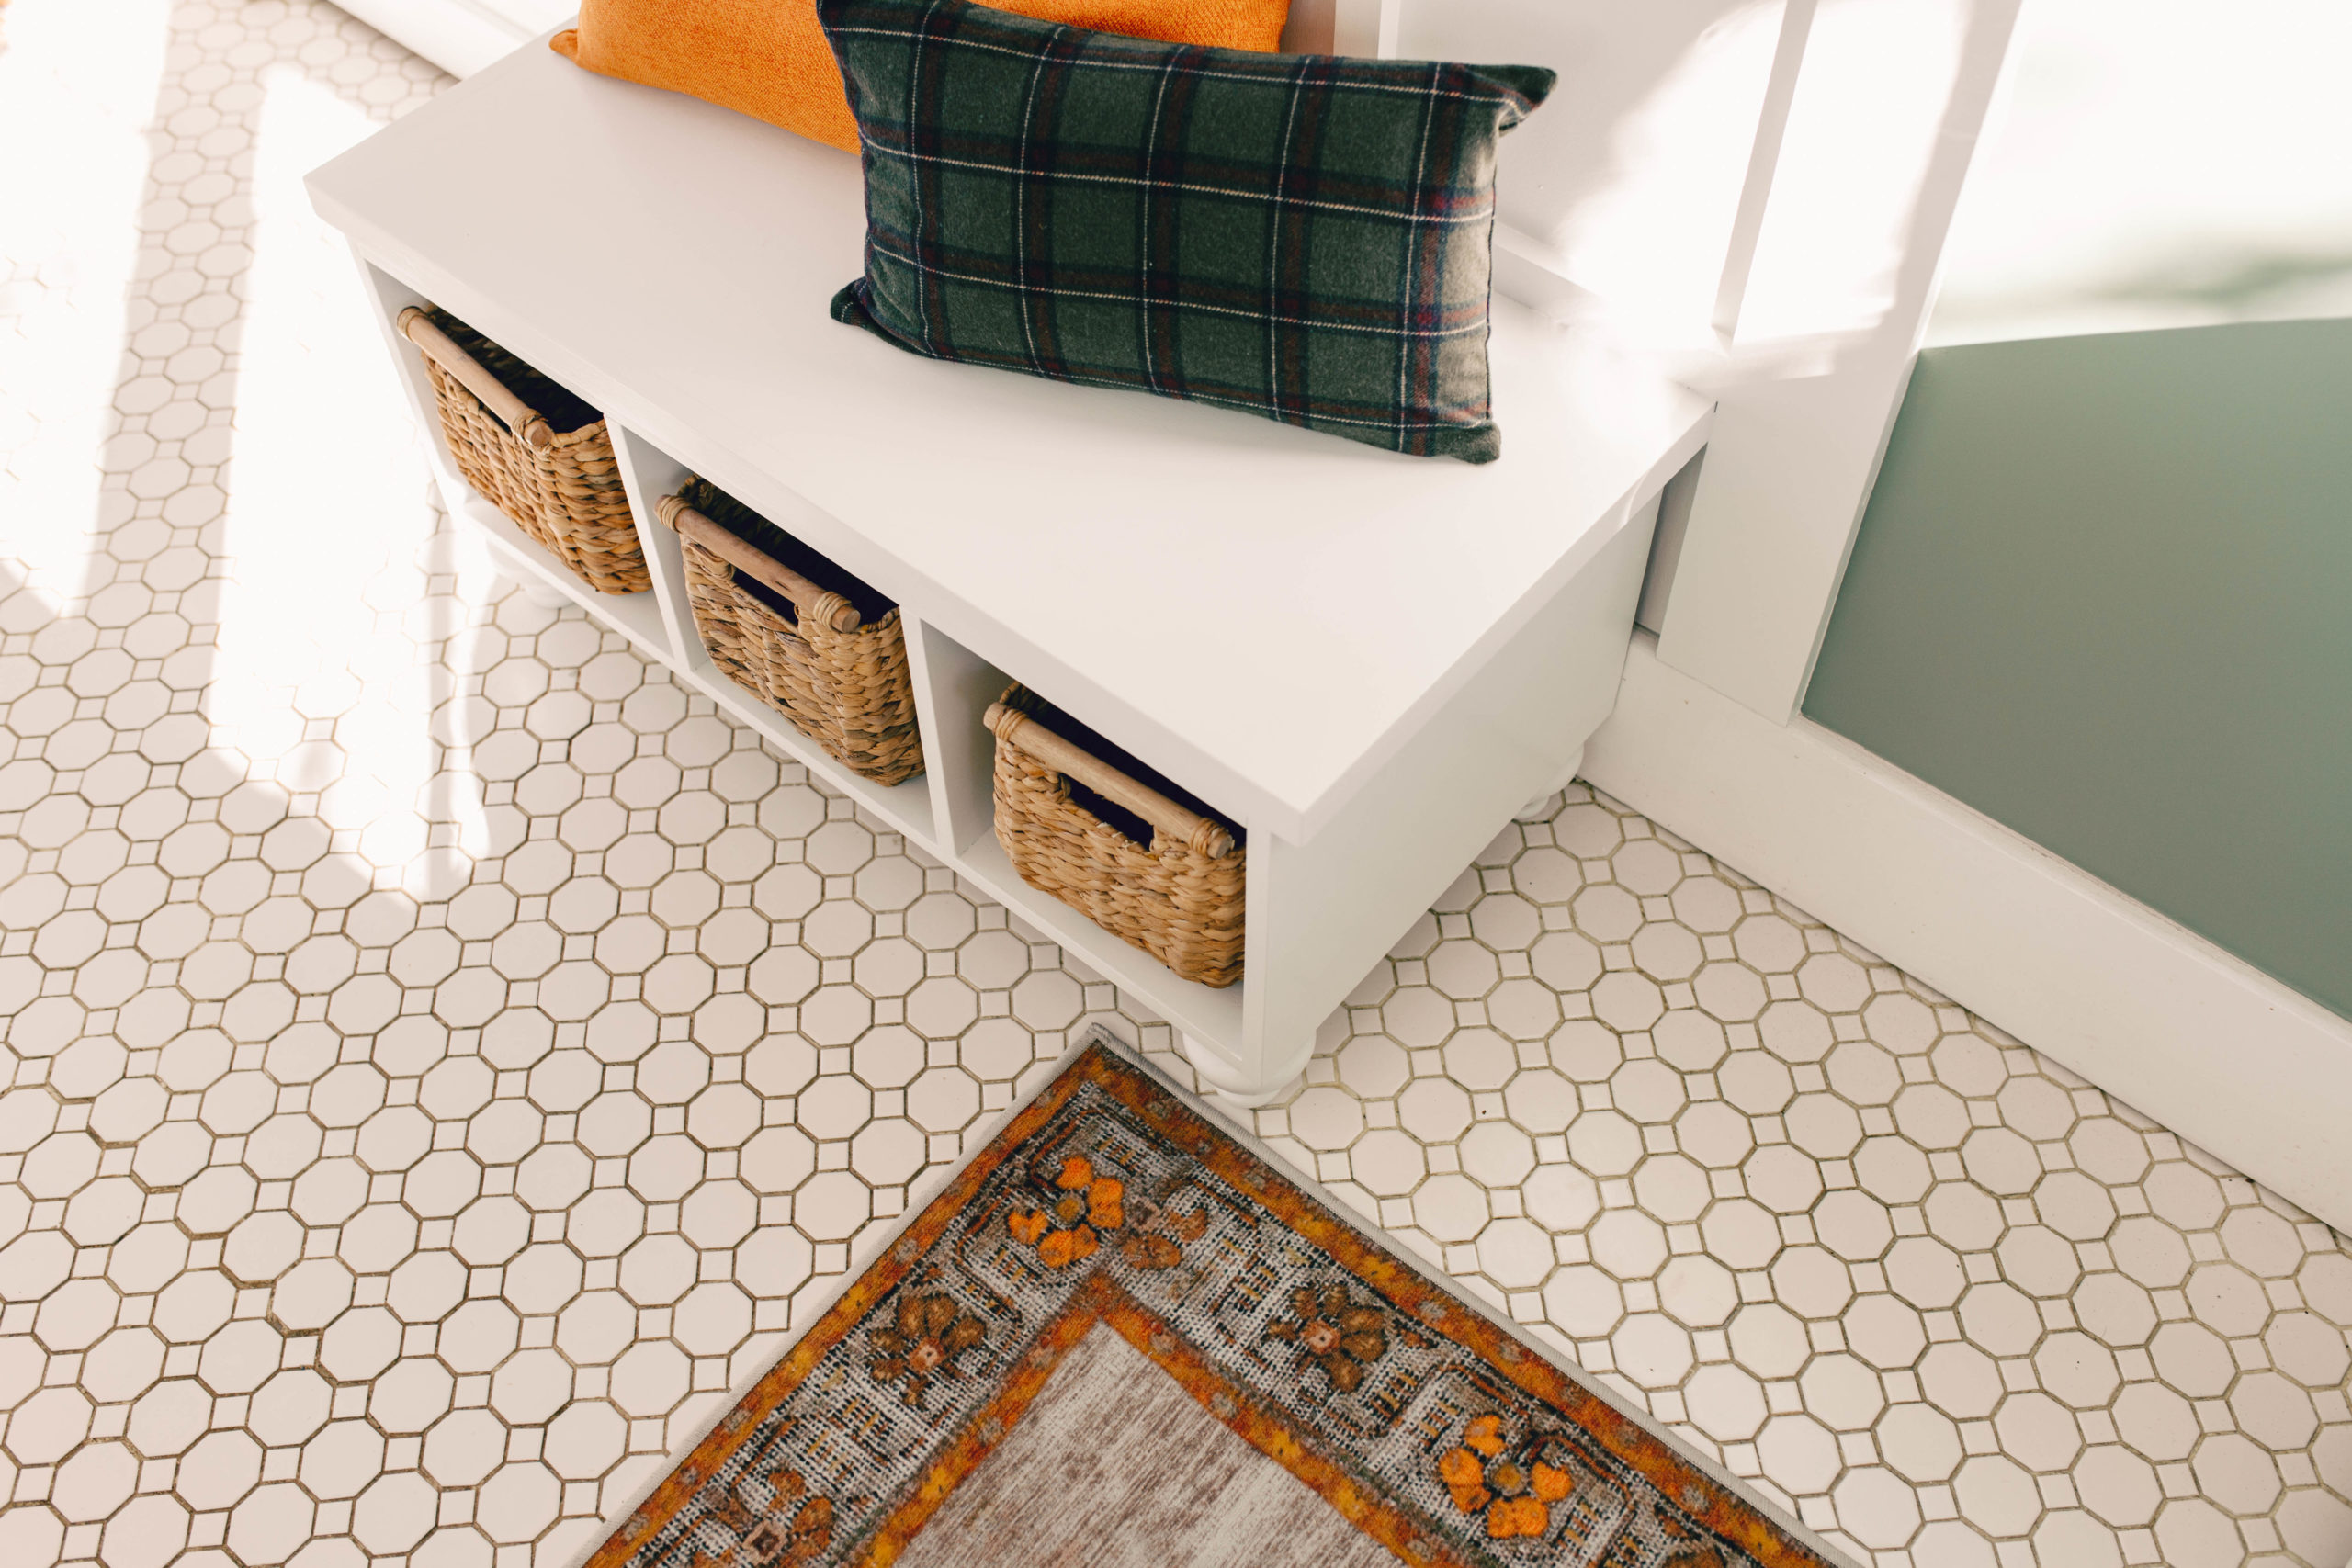
A mudroom is one of the most often overlooked areas in a home, but at least in ours, it is the most multipurpose room we have. It is a pantry, a laundry room, Hank’s bedroom/dining room/playroom, and it is definitely a very literal mudroom. How Hank can find mud and get it all over himself so quickly, I’ll never know. There are constant muddy pawprints across this white tile, and I actually love it because I can stop him at the door, wipe his paws, and keep the rest of our floors mud-free. In addition to Hank’s nasty feet, our nasty shoes come into this room, and we try to keep our house clean by creating a shoe drop zone here.
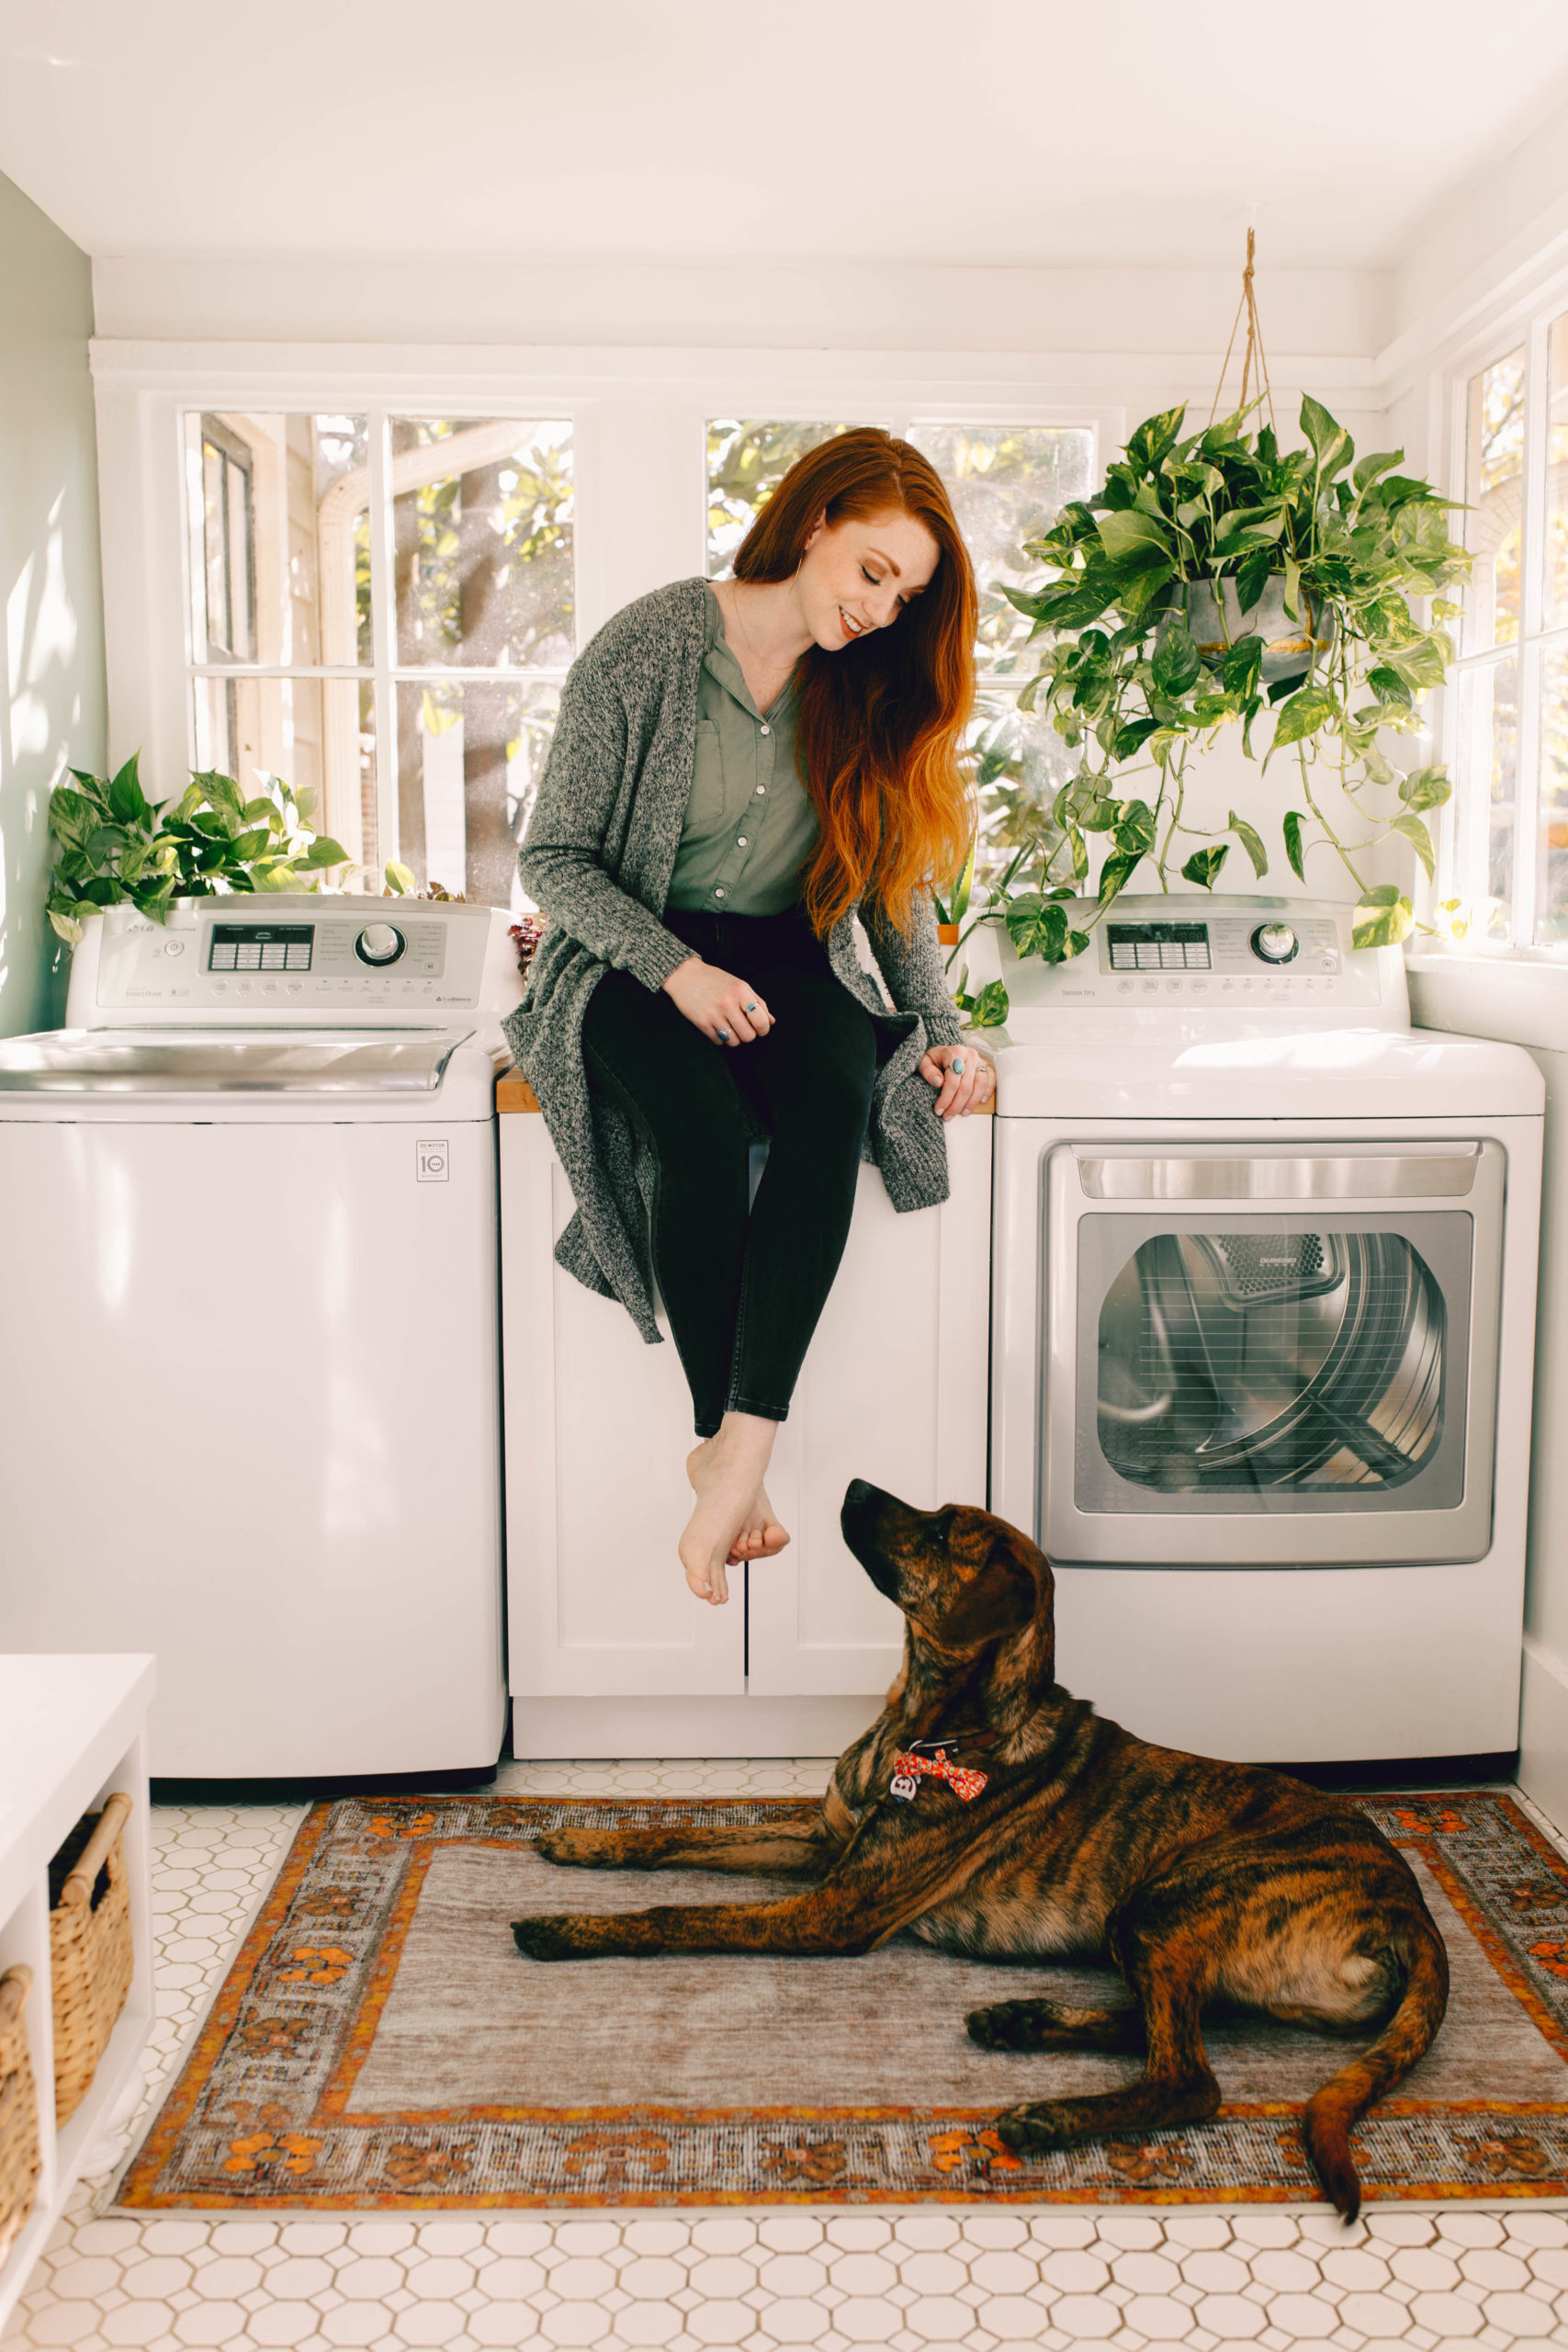
Hank is now a year and a half old, and we can let him sleep outside his kennel now. He still stays in his kennel when we’re gone… and if you’ve seen my Instagram stories of him getting in trouble you know exactly why. Bored/lonely Hank = no plants, blankets, pillows, or socks are safe. That said, he doesn’t need this as his “room” so much anymore, but it is still where all his stuff is housed.
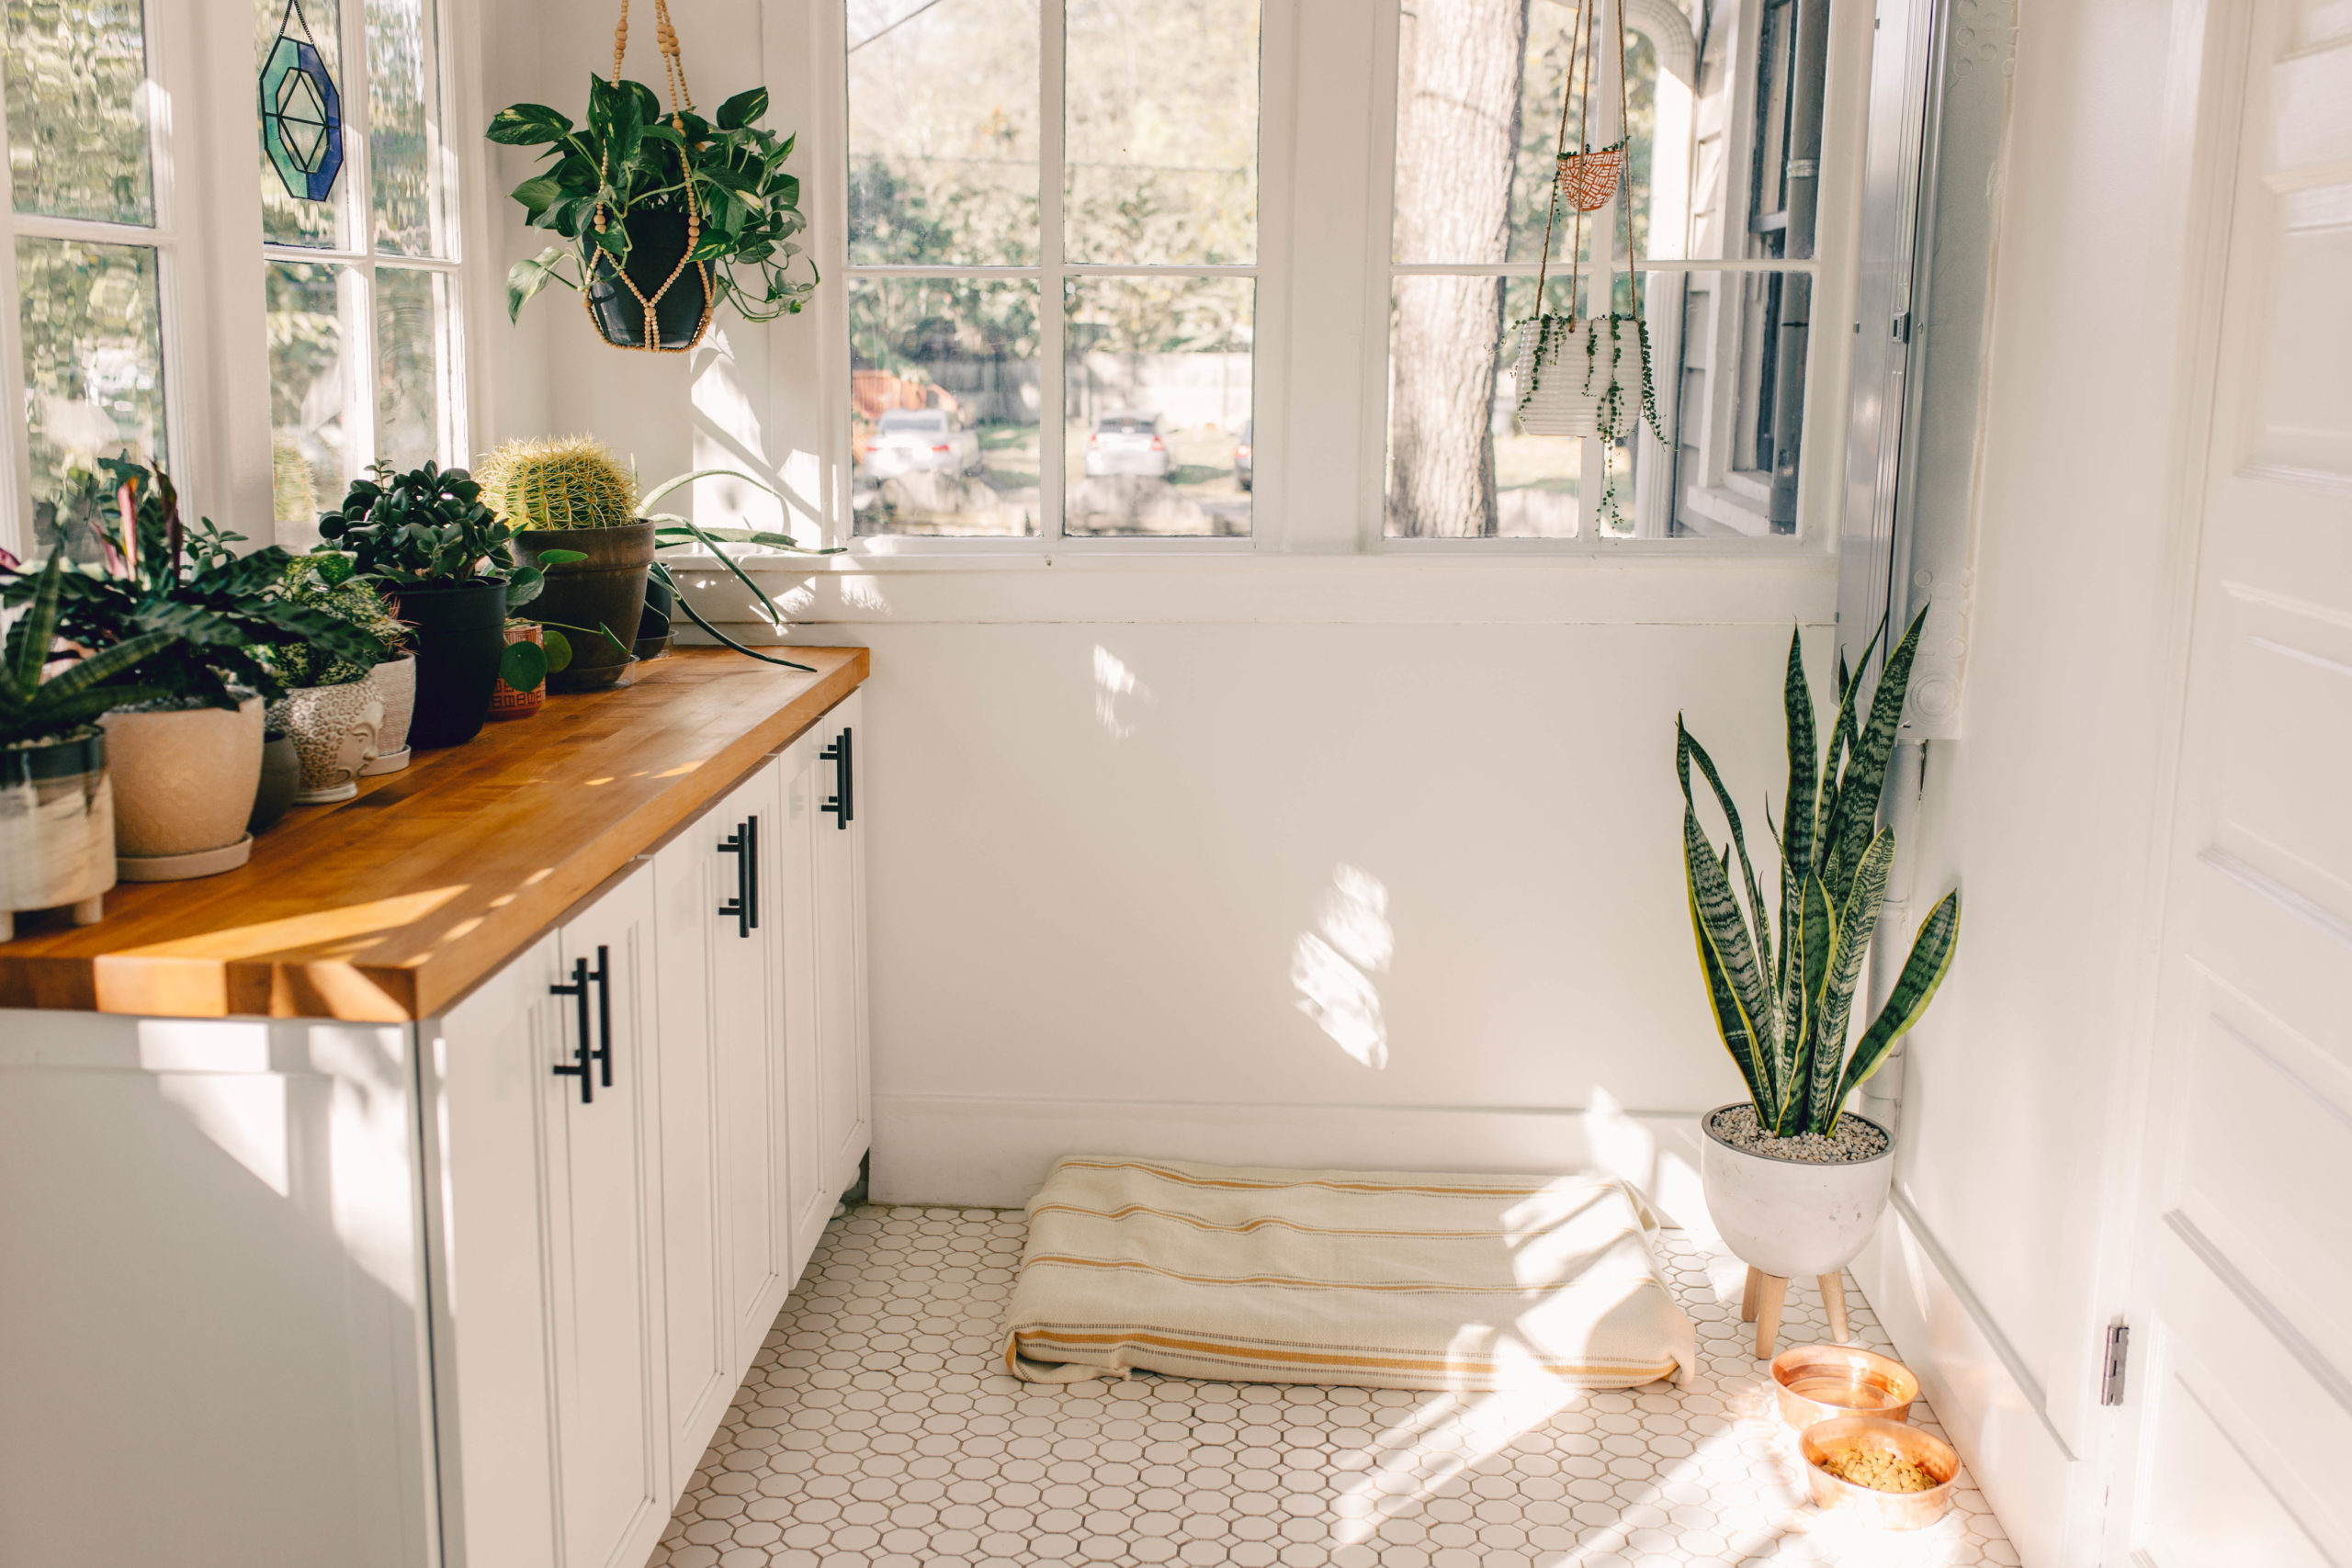
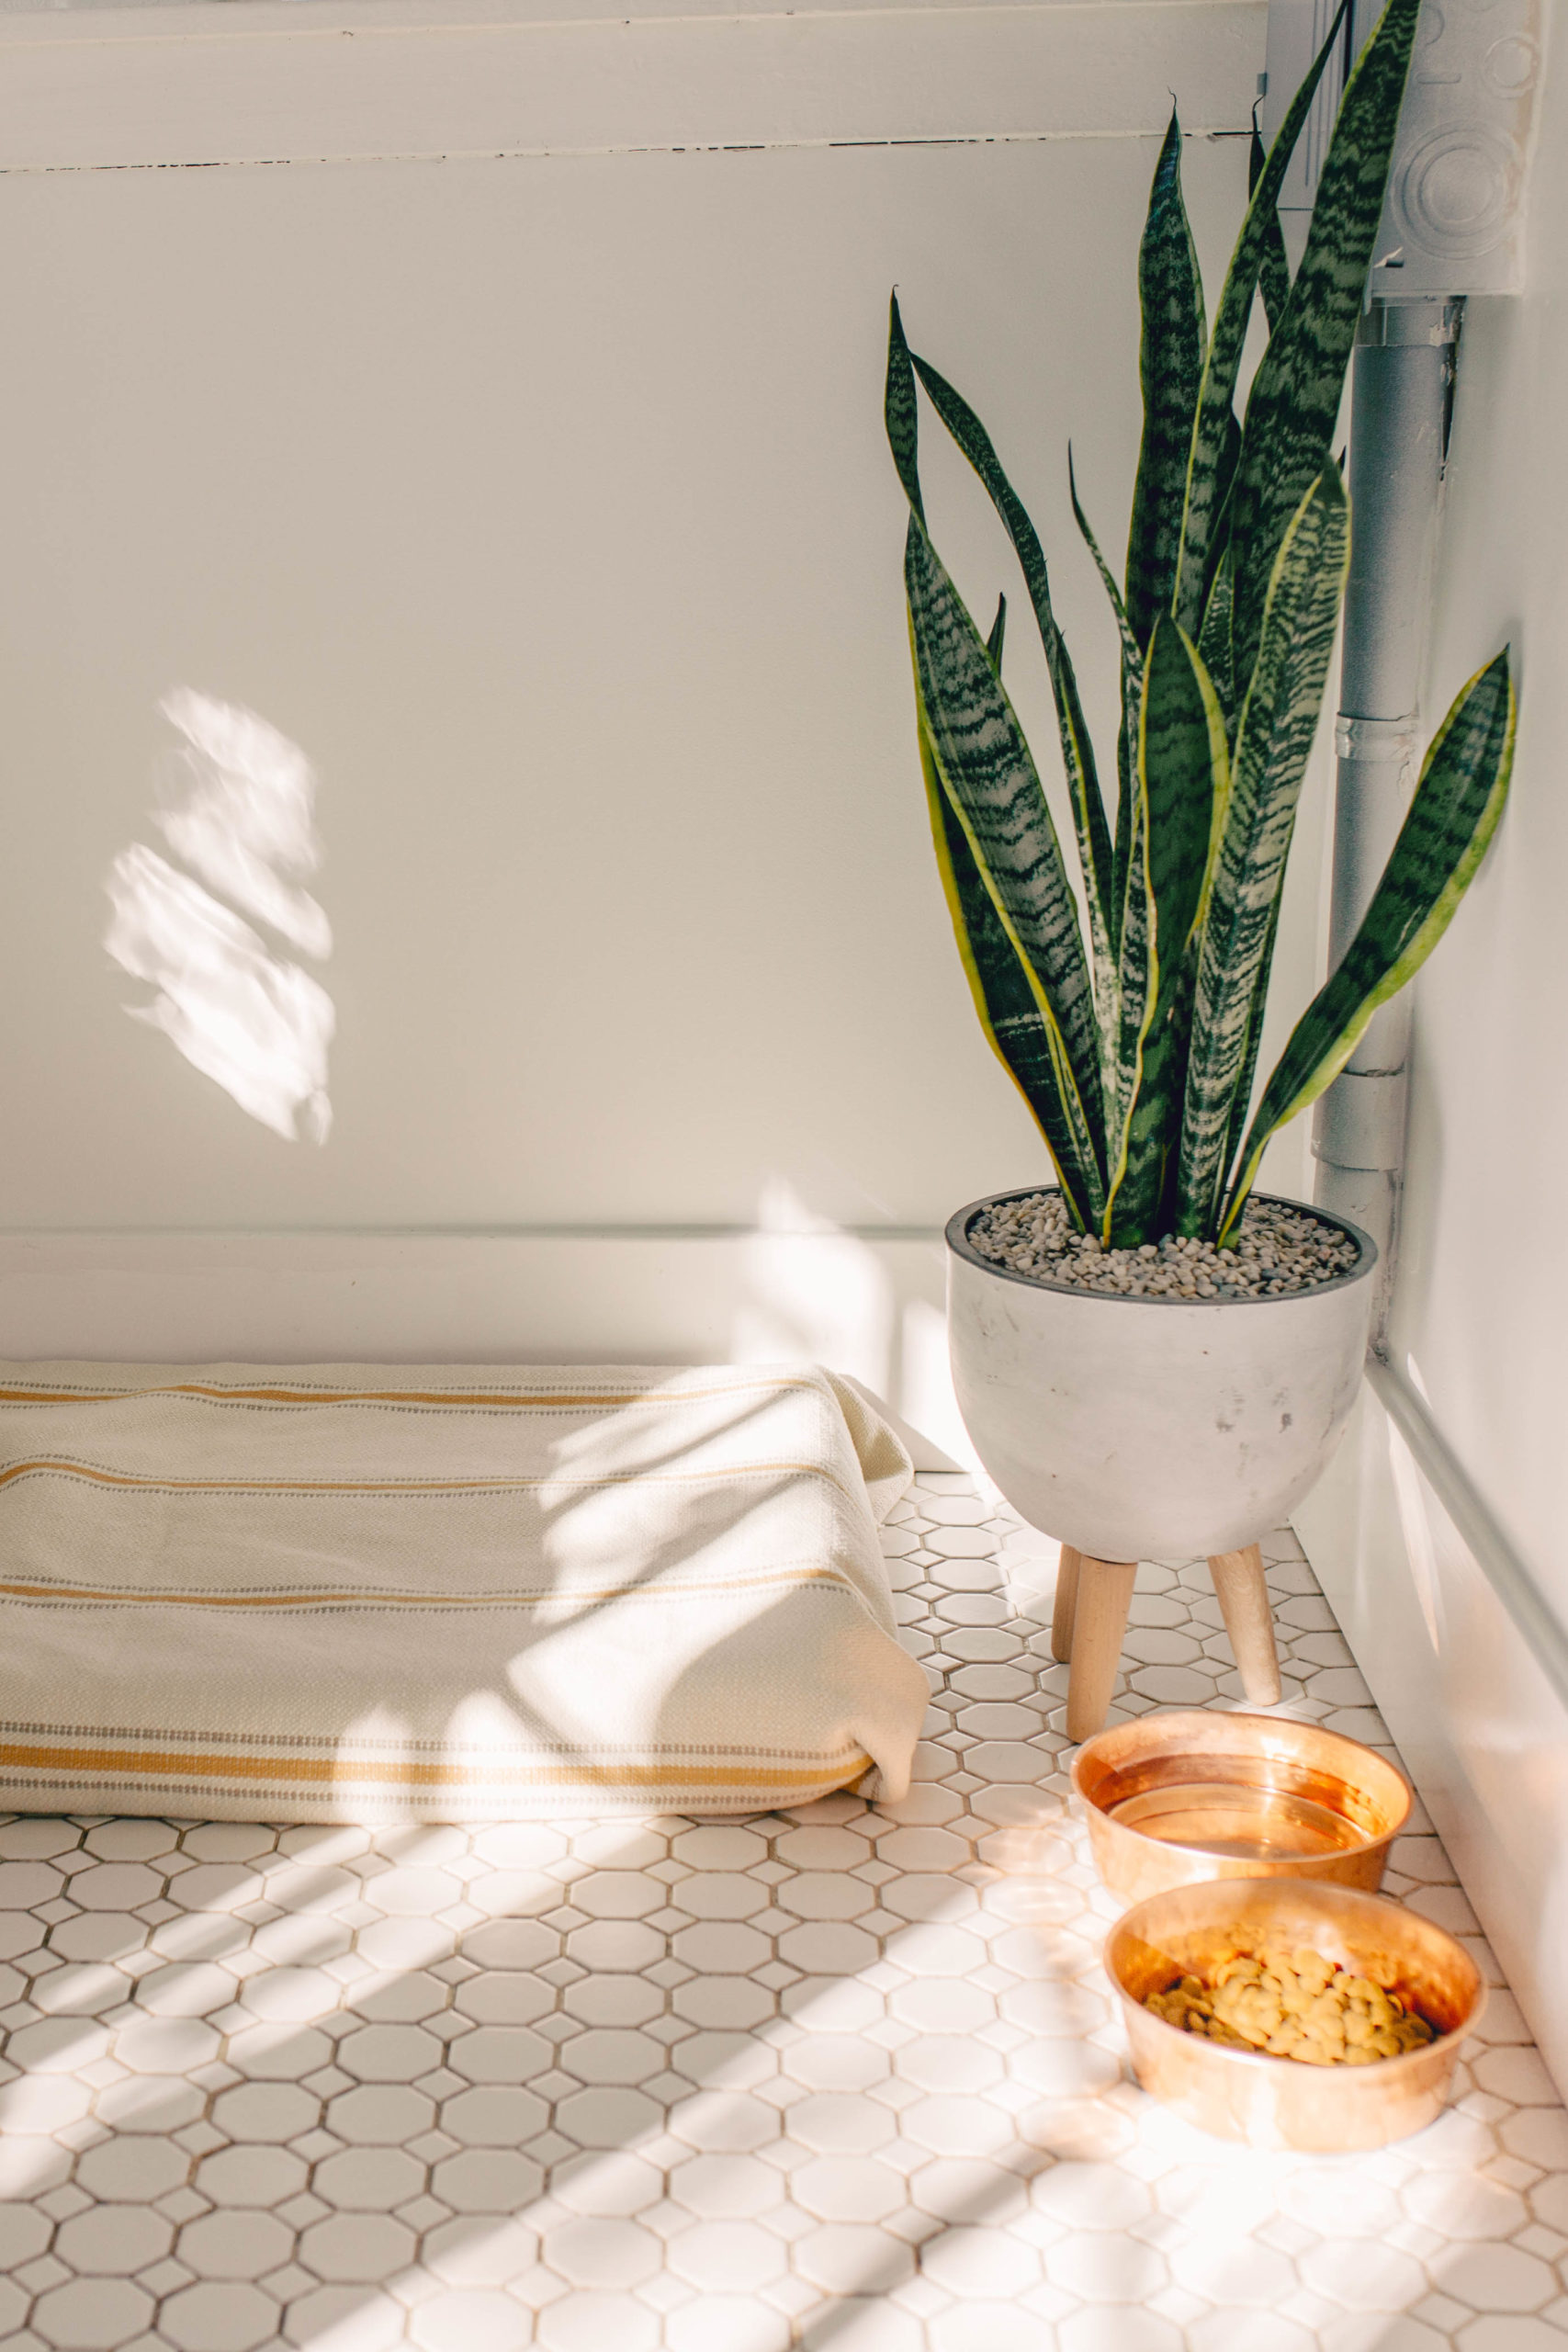
Hank’s bed is this memory foam one from Amazon. We’ve learned the hard way that our dog is bougie and prefers a very comfortable (memory foam) bed, and will complain loudly in the morning if he doesn’t get a warm, cozy, soft bed. I found the fabric to sew his bed cover at an estate sale, and though it is a light color, it’s washable. I know, I know, he’s spoiled. You try and tell those big sad eyes “no”.
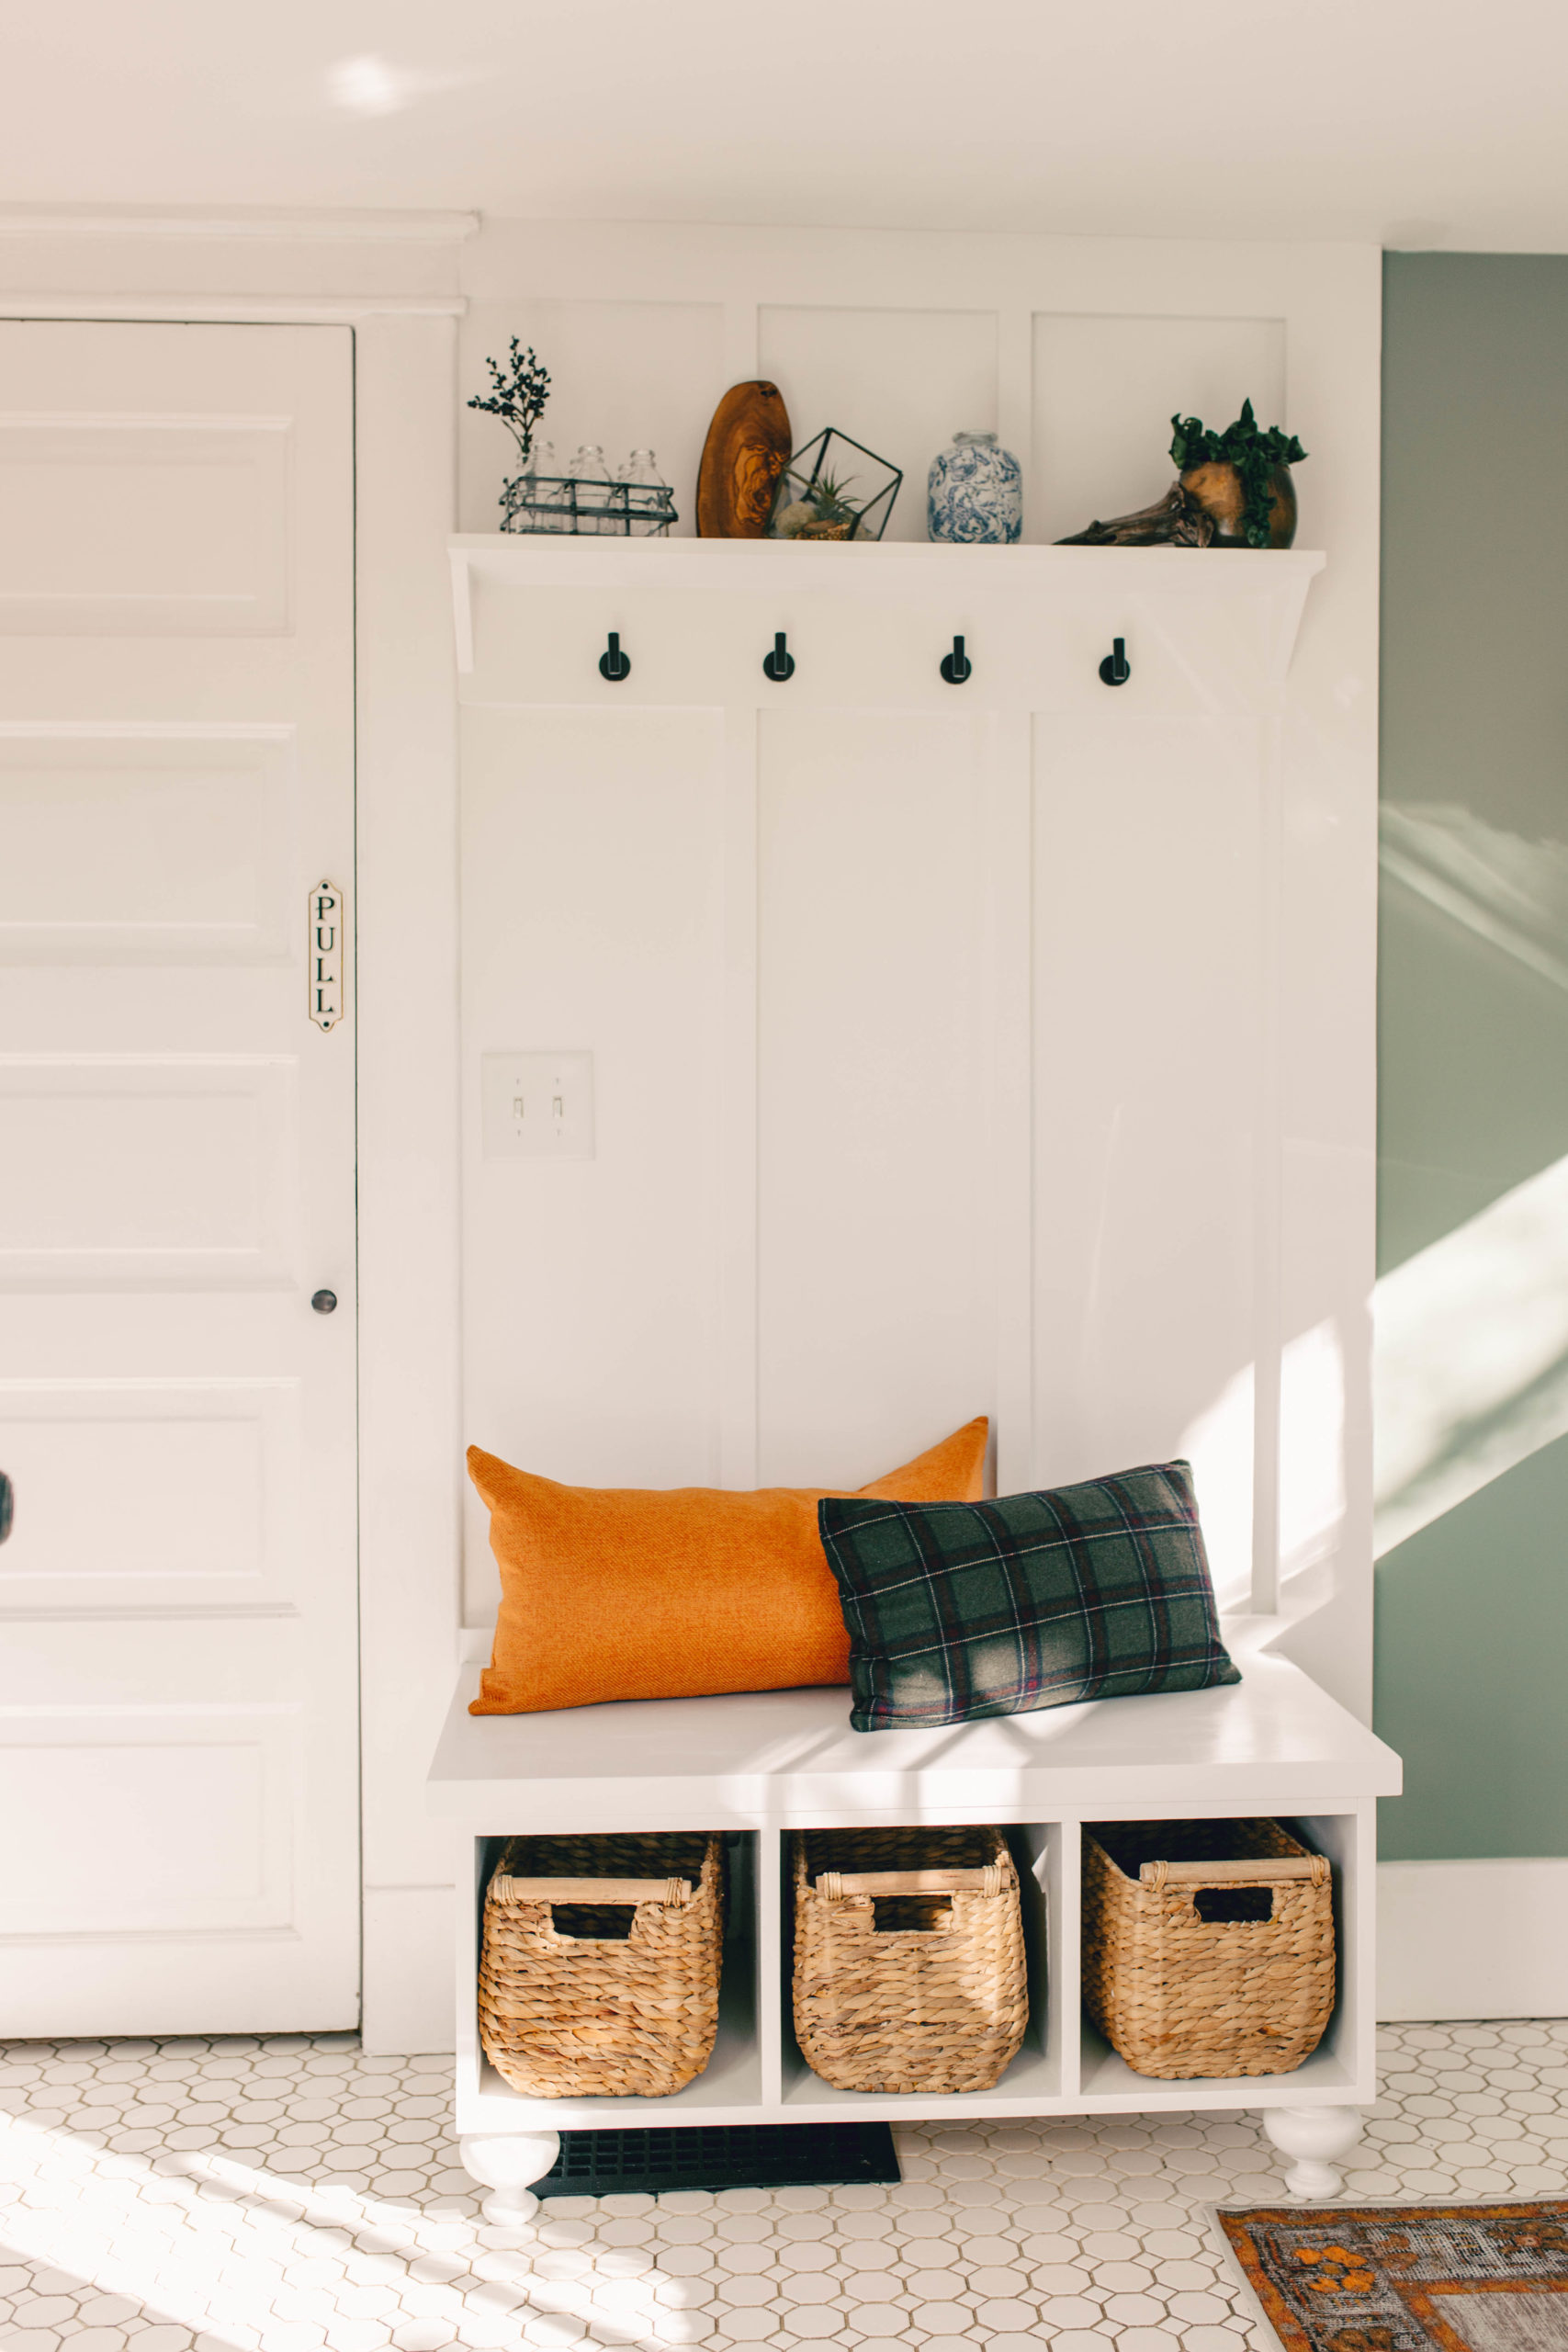
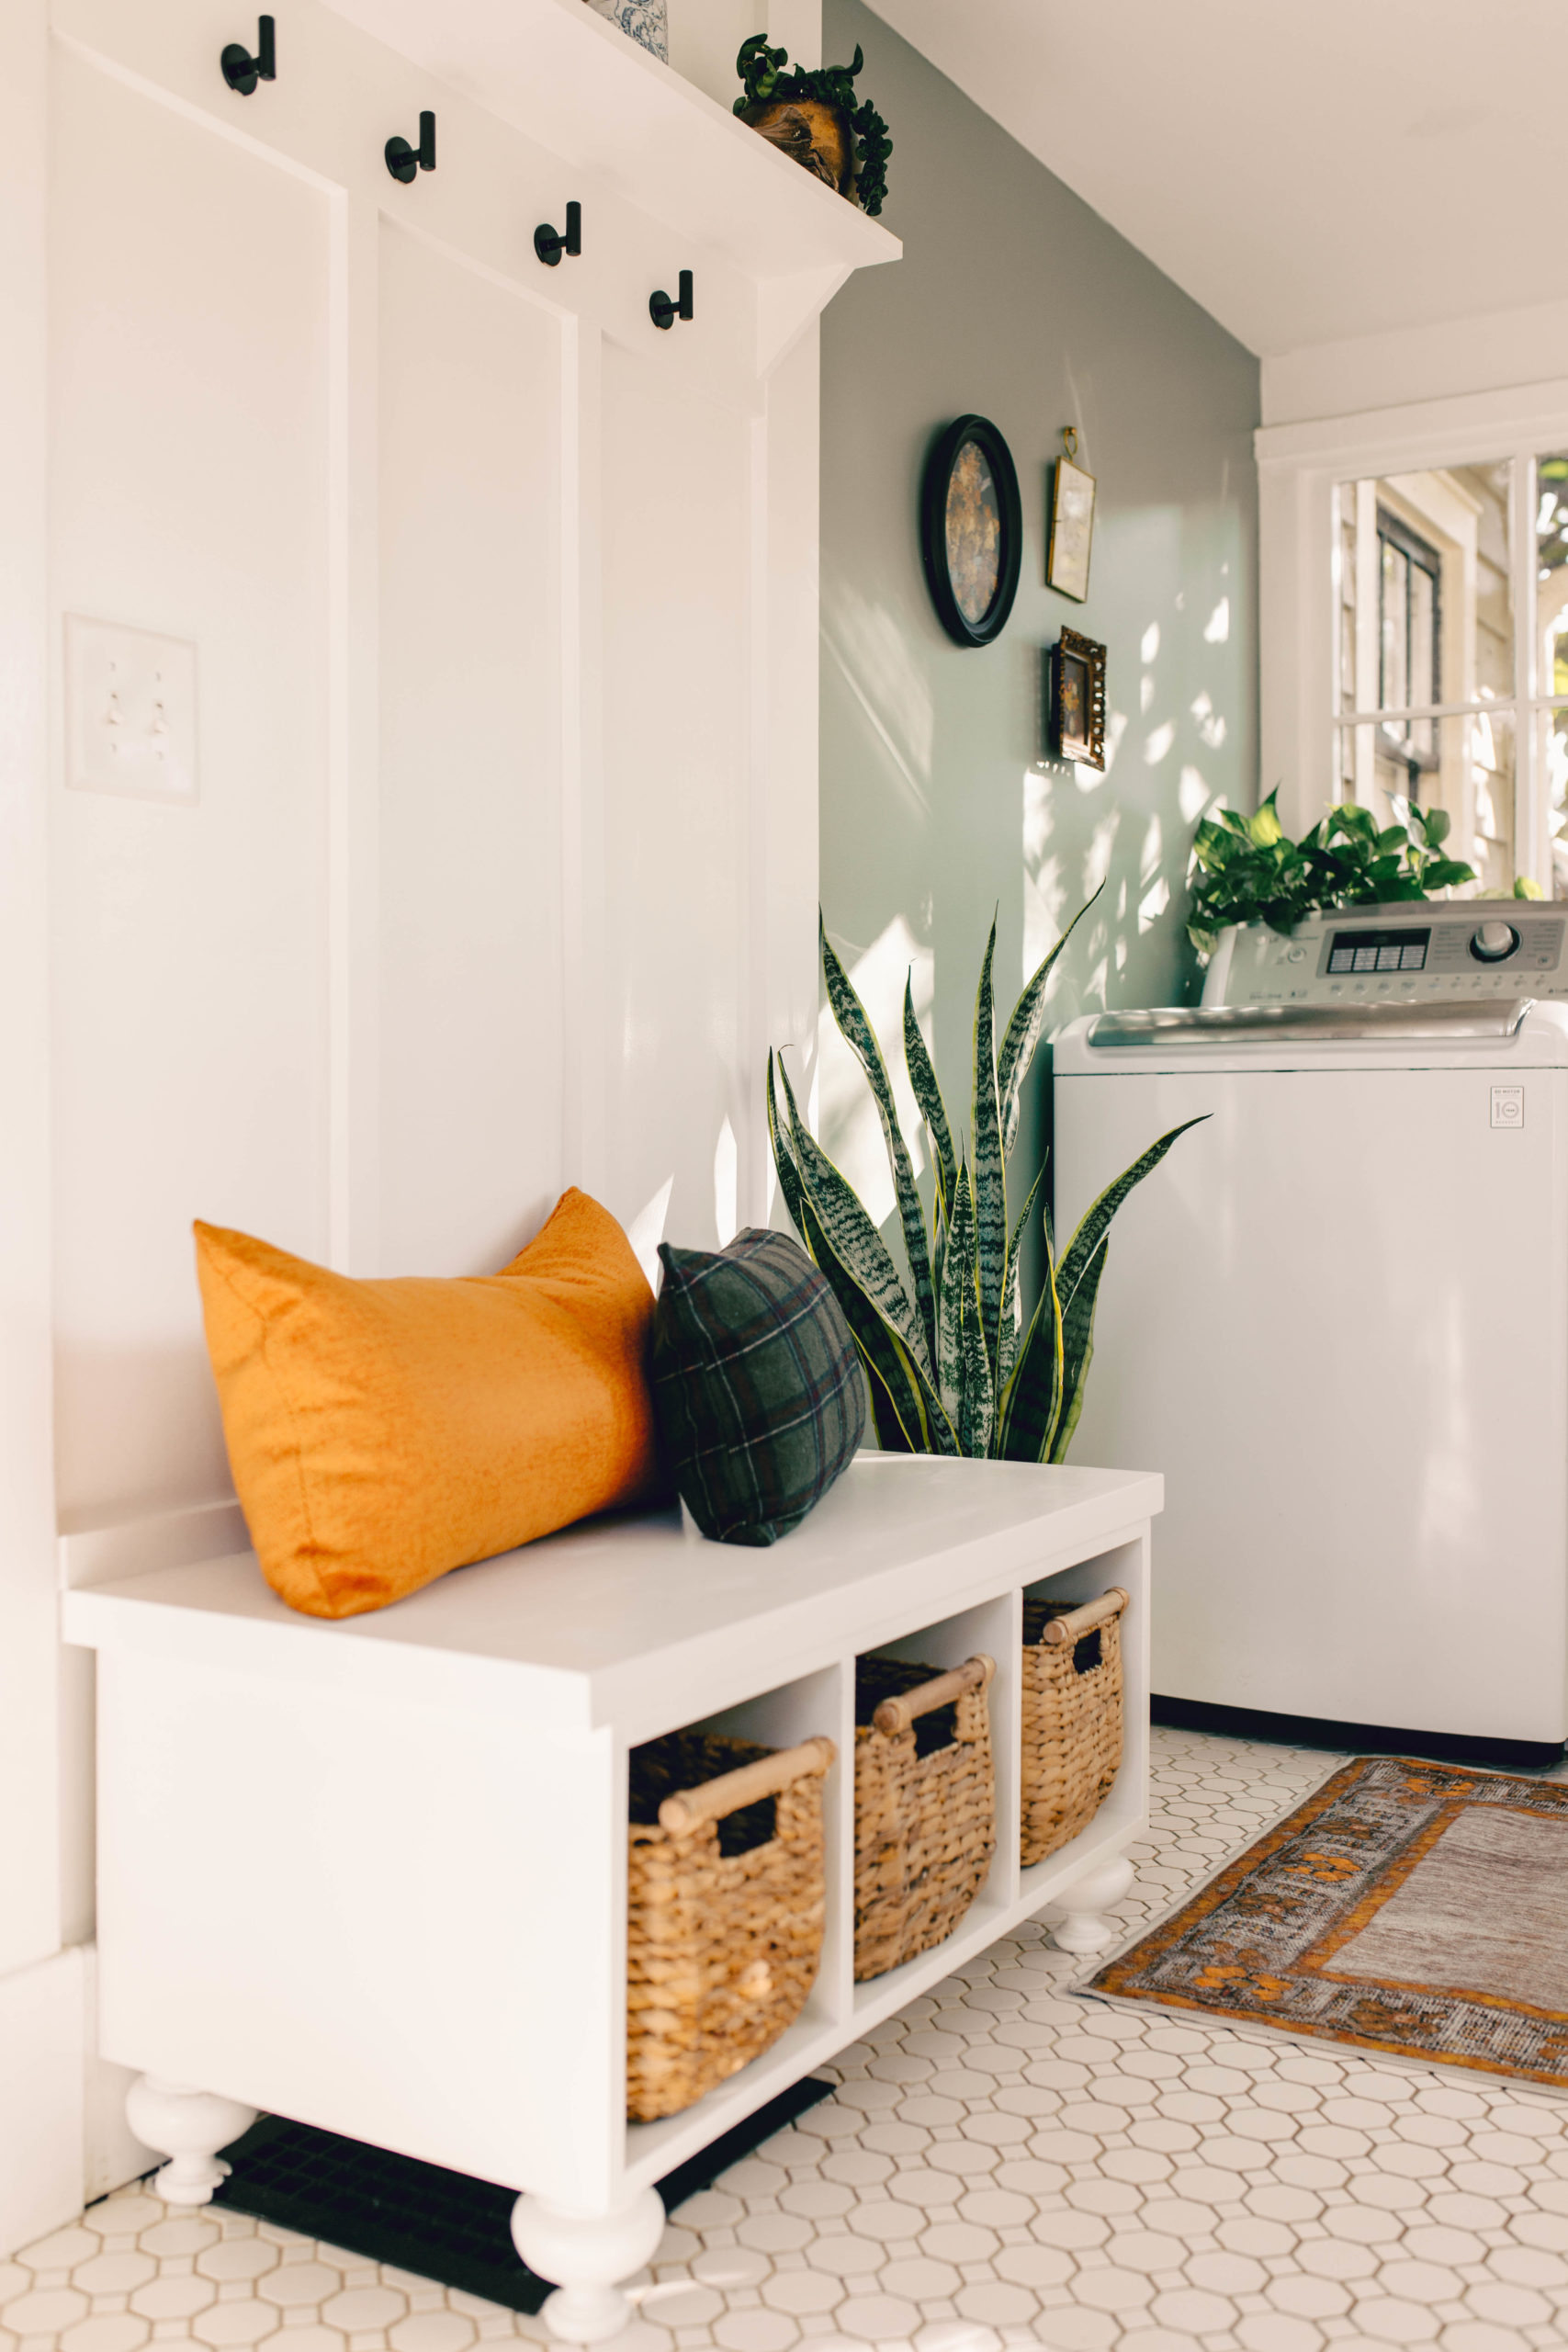
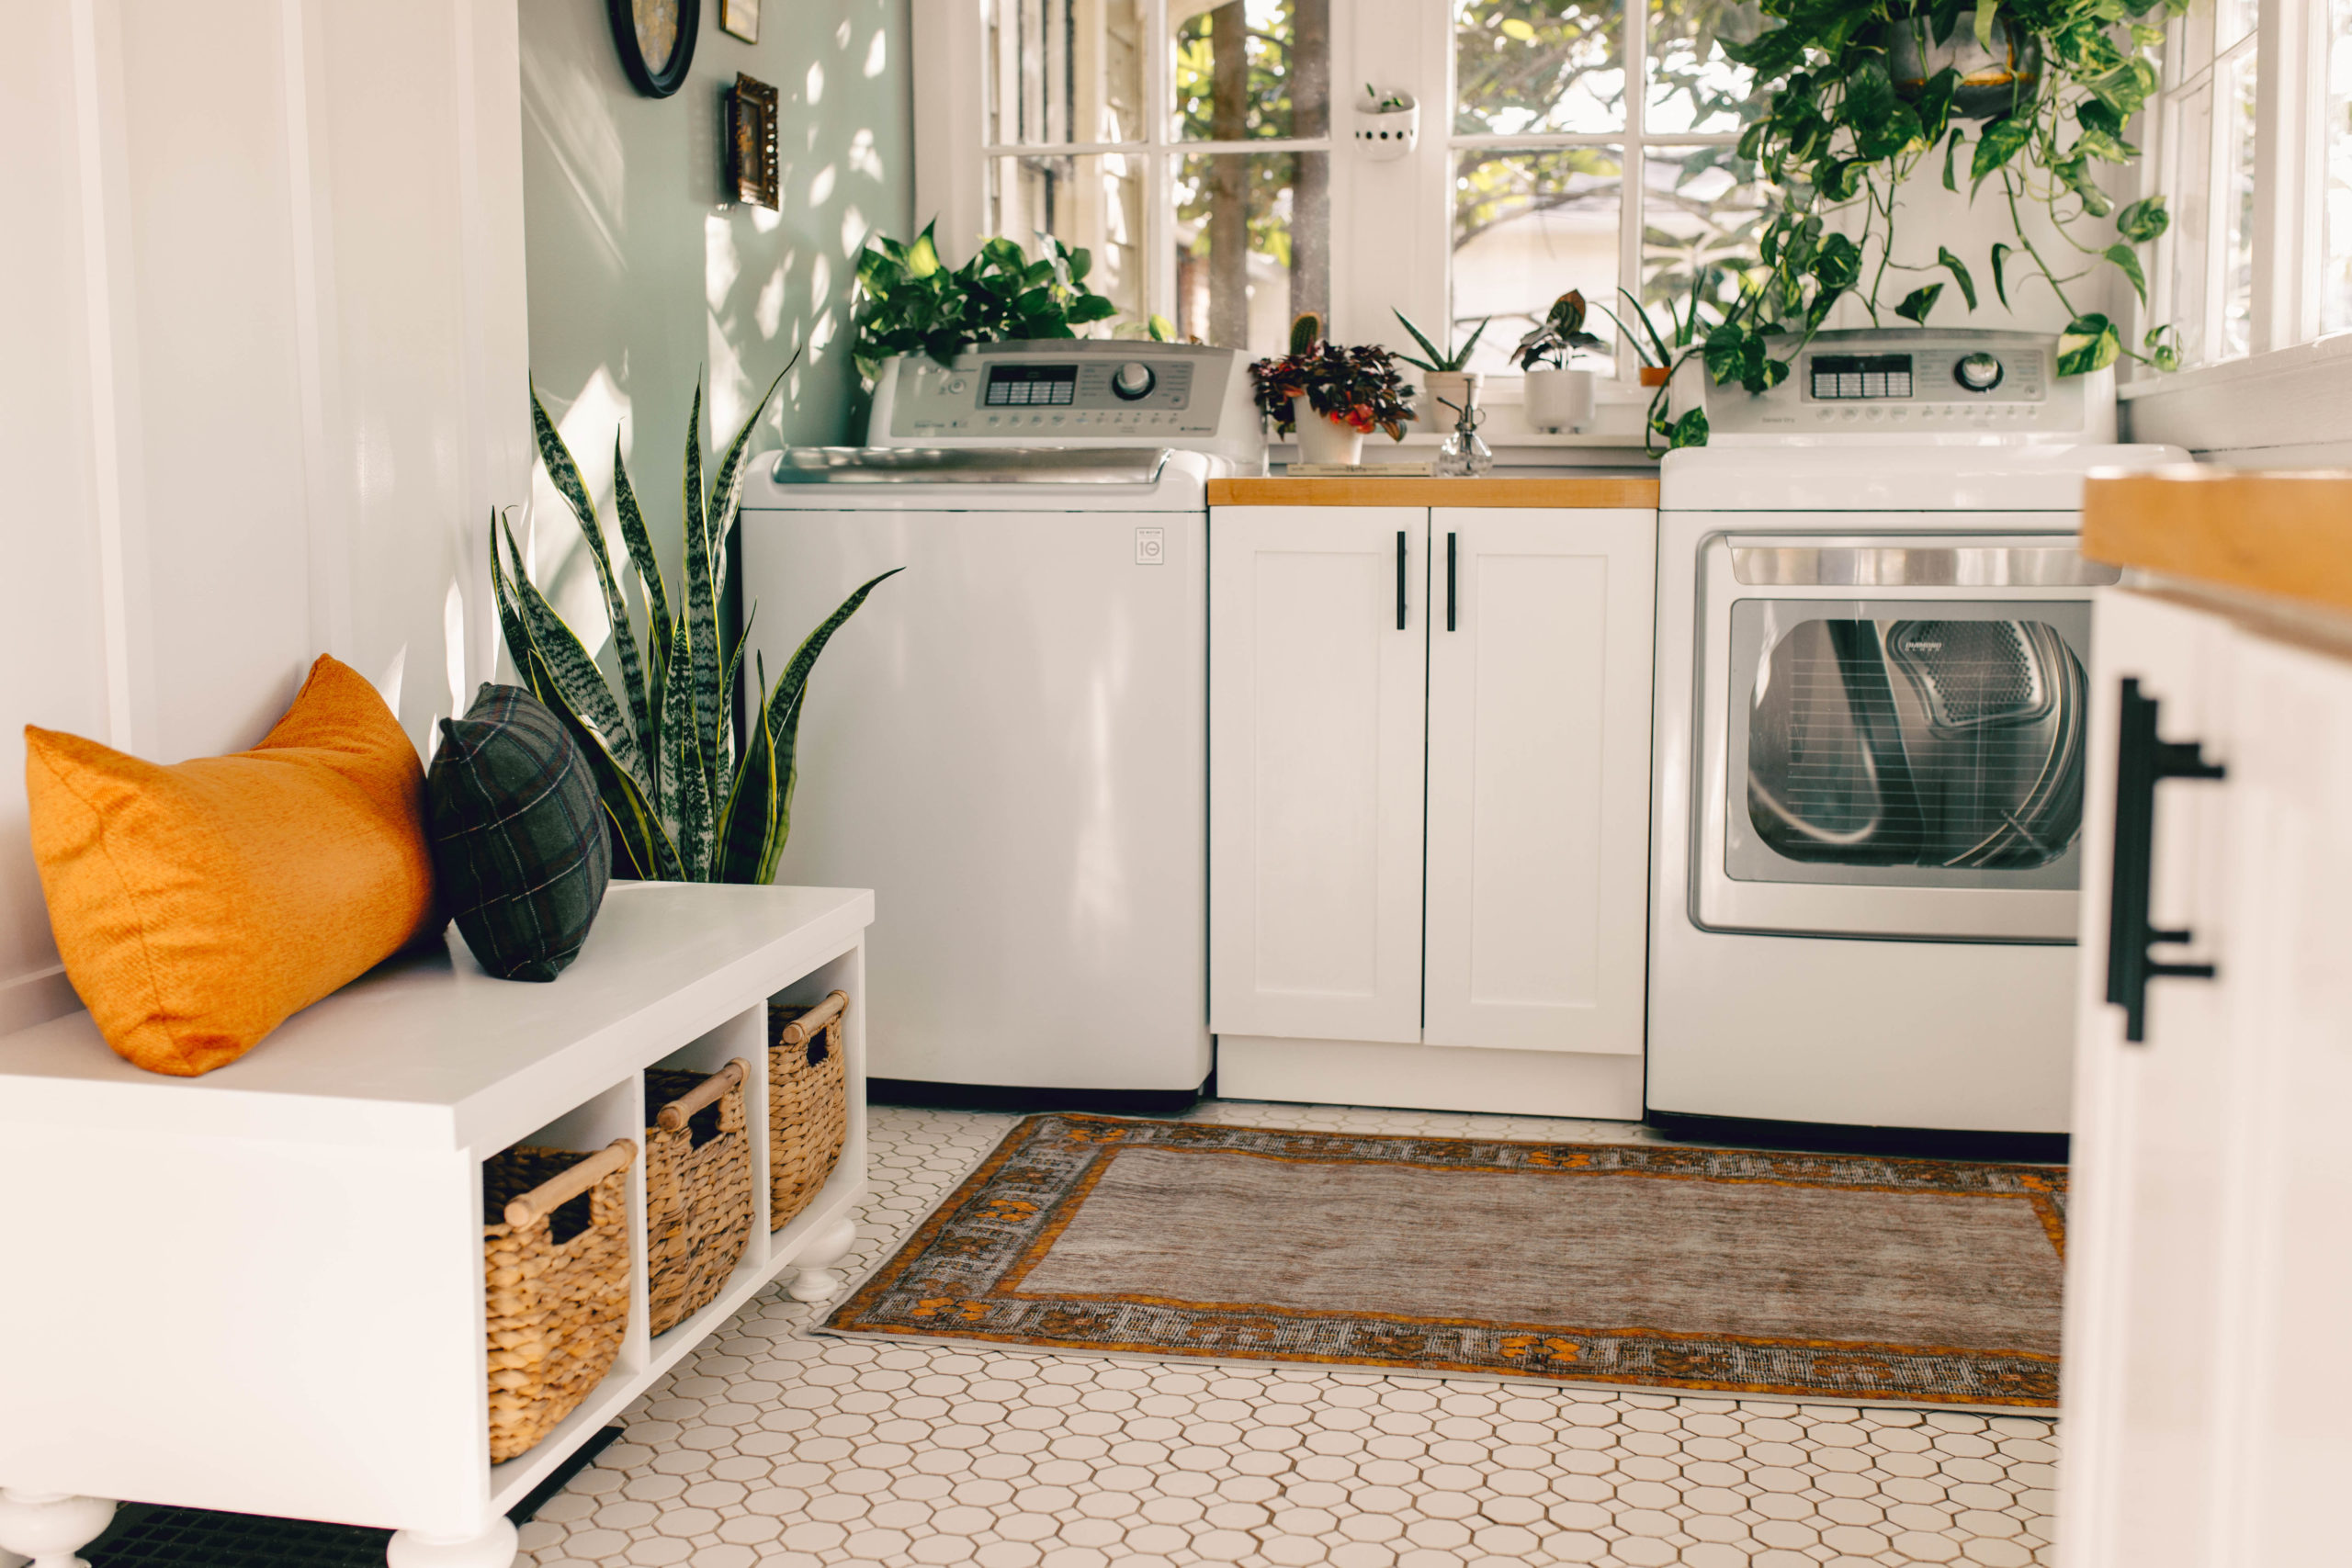
One of my favorite elements is the board and batten drop zone. Jonny and I spent a Saturday planning and building it out, which was a fun project. We started by using the materials list from Young House Love, and then tweaking it to fit this space and what I was envisioning. It ended up taking me longer to paint it than to build it because it took so many coats and it had to dry really thoroughly between coats. What we learned: buy the better (straighter) boards. It’s even worth it to drive to a different home depot if yours doesn’t have the size you need. We used a 1×5 on the right side to mimic the door frame, a 1×4 for the top piece, and 1x2s for the middle pieces. We didn’t put down any “board” behind the batten because our walls have a smooth finish (knockdown texture is very uncommon in Nashville) and painting the whole thing with Sherwin Williams Pure White semi-gloss paint did the trick. I love it!
The cabinet was a true adventure. Because, again, we knew exactly how we wanted our space to function, we knew we needed a custom cabinet to exactly fit everything we needed to put inside. I drew a very rough sketch of what I wanted, and we went from there. We spent one afternoon at the Habitat ReStore, where we found a cabinet base in a white flat pack material–for just $10! It was the right height, but about 8″ too wide, so Jonny cut it down so it fits perfectly between our washer and dryer. Then we ordered butcher block from Home Depot, and cut that down, too.
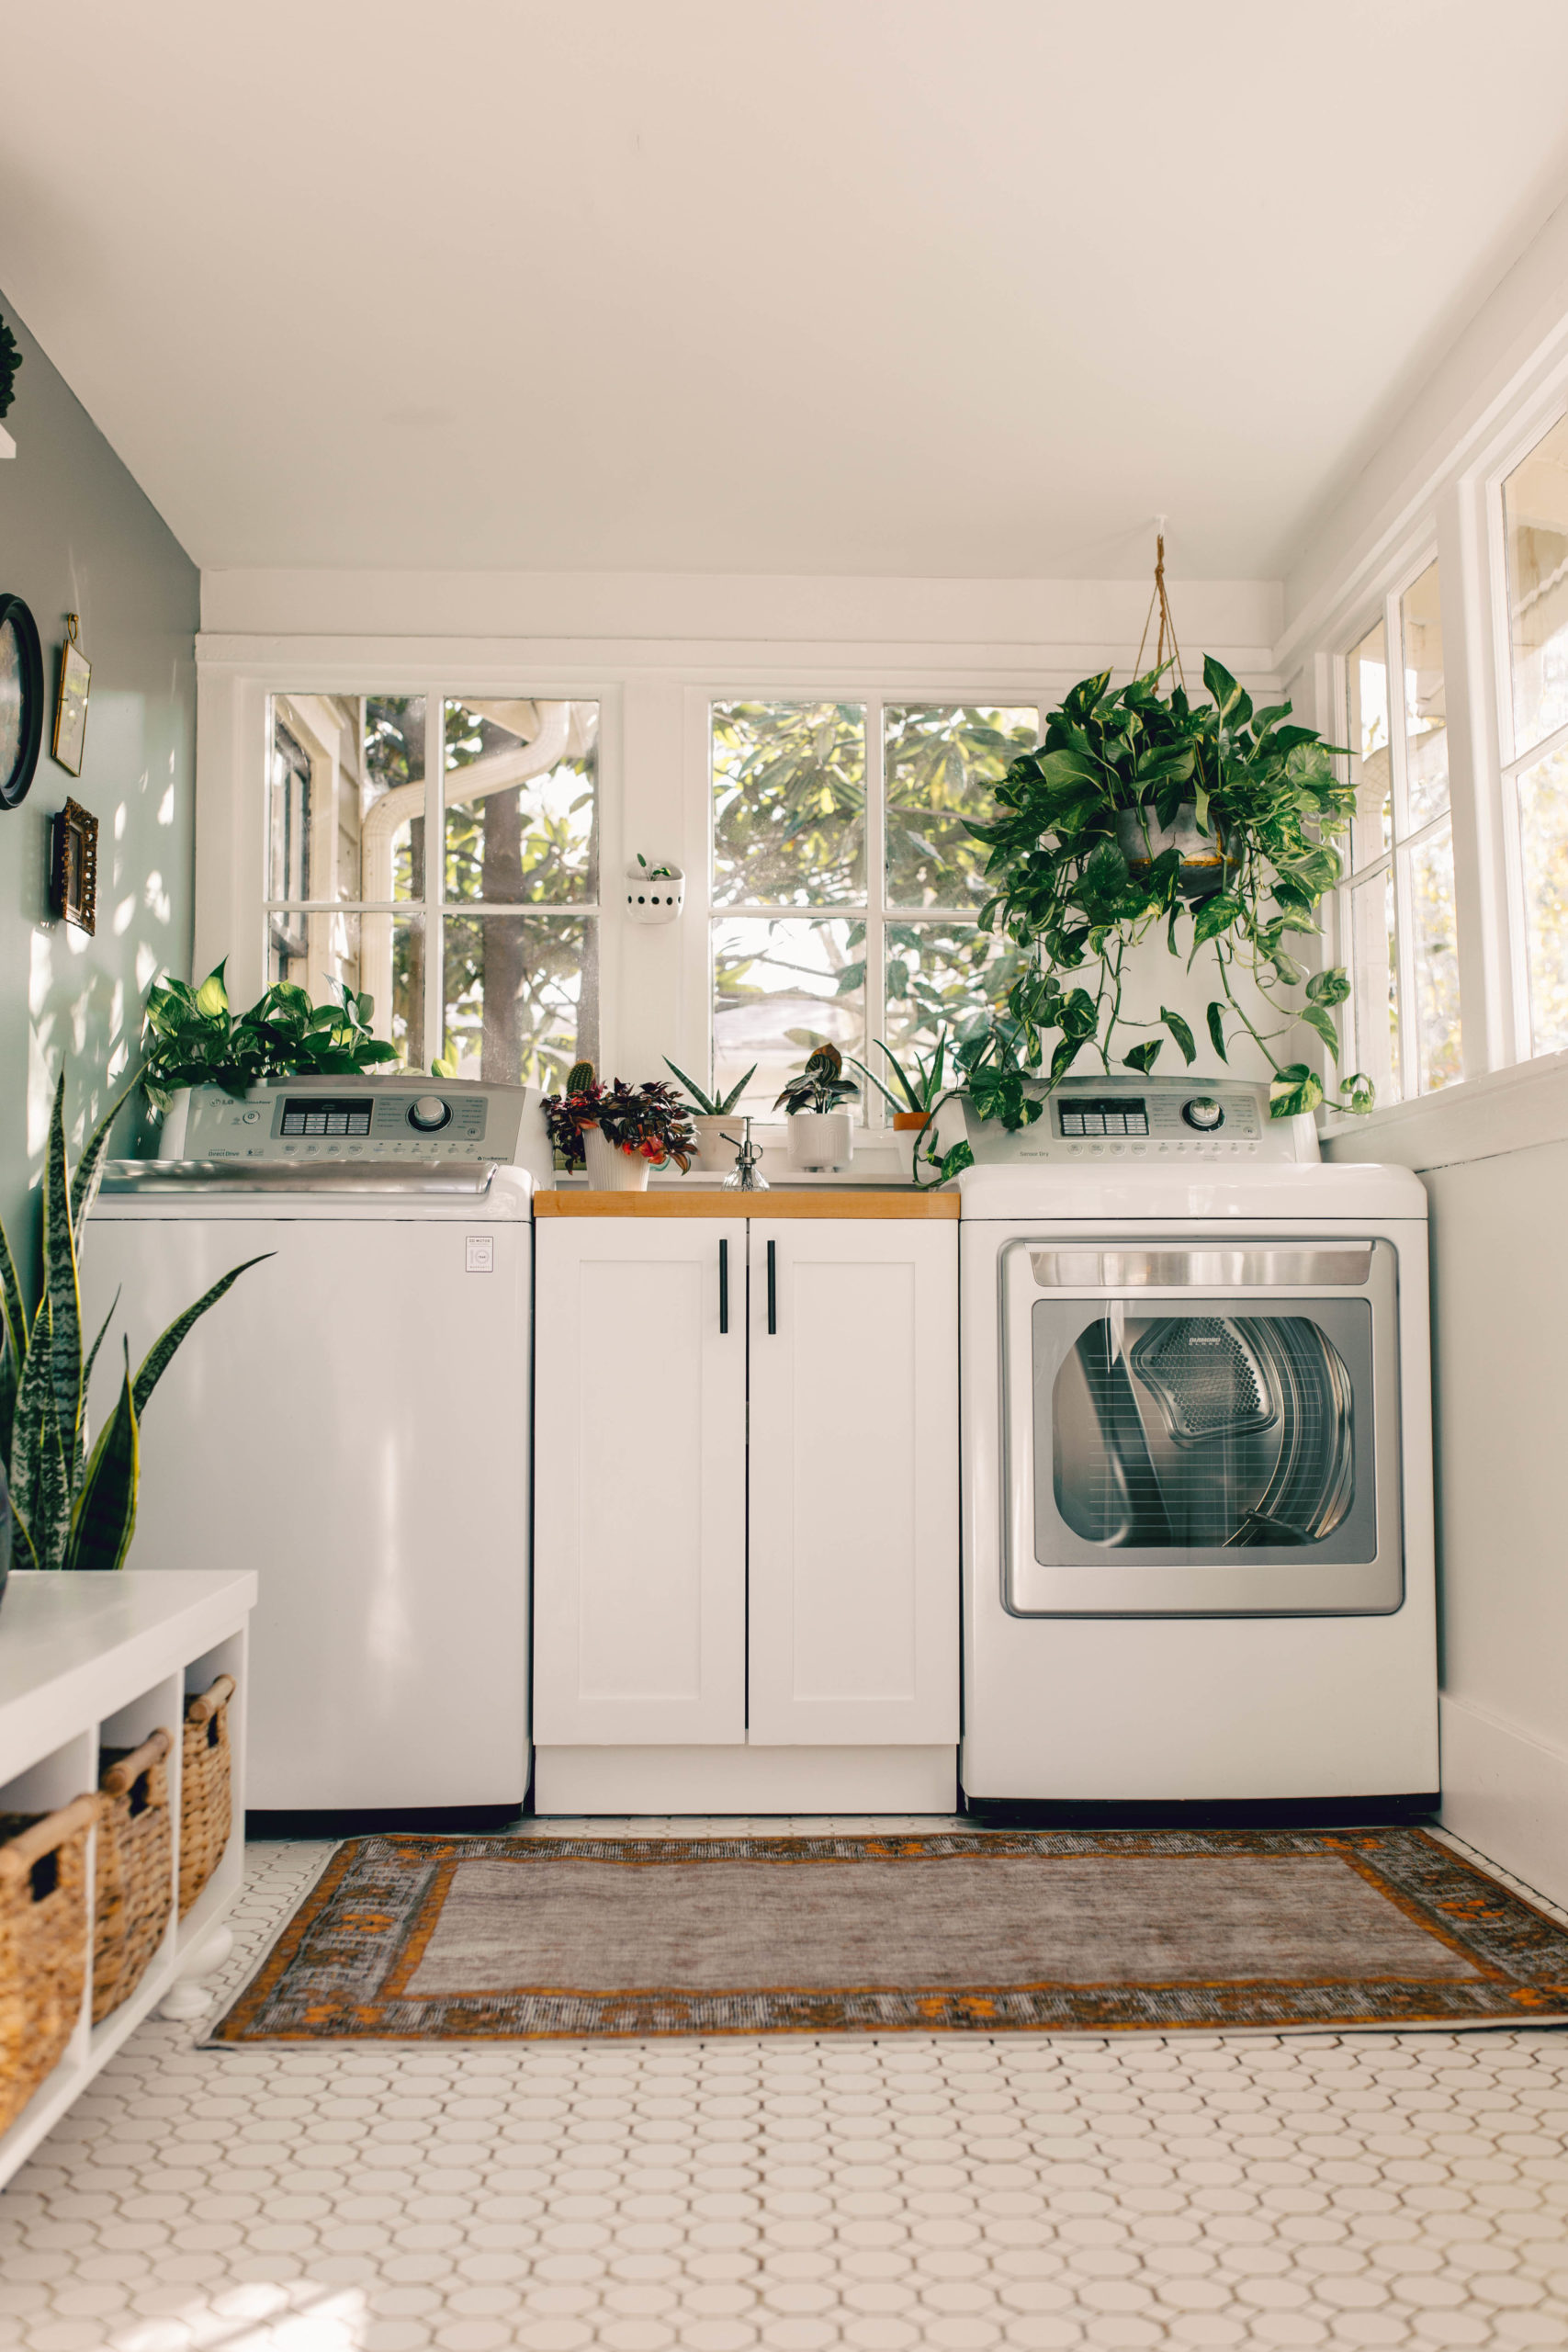
The hardest and most labor intensive part for both of us (mostly Jonny, let’s be honest, he did the cabinet almost totally on his own), was the cabinet doors. We thought about ordering them custom, but they wouldn’t have arrived in time, and they were expensive. We knew that Jonny could build them for a fraction of the cost, and he did! We went with shaker style doors to mimic the ones we already had across the room under the window. The last steps were painting the cabinet doors and installing a pull-out shelf. The shelf holds all of our laundry supplies (detergent, essential oils, dryer balls, white vinegar, and oxyclean) as well as our hand vacuum, which plugs in through a hole in the back of the cabinet. The bottom shelf holds all of Hank’s stuff: food, medicine, his doggie “cologne” (which works wonders between his weekly bath!) and his favorite: treats. I’m glad we built the cabinet ourselves rather than trying to find something pre-built or paying through the nose for a custom cabinet. Now it fits everything we need perfectly, looks beautiful, and really ties the whole room together.
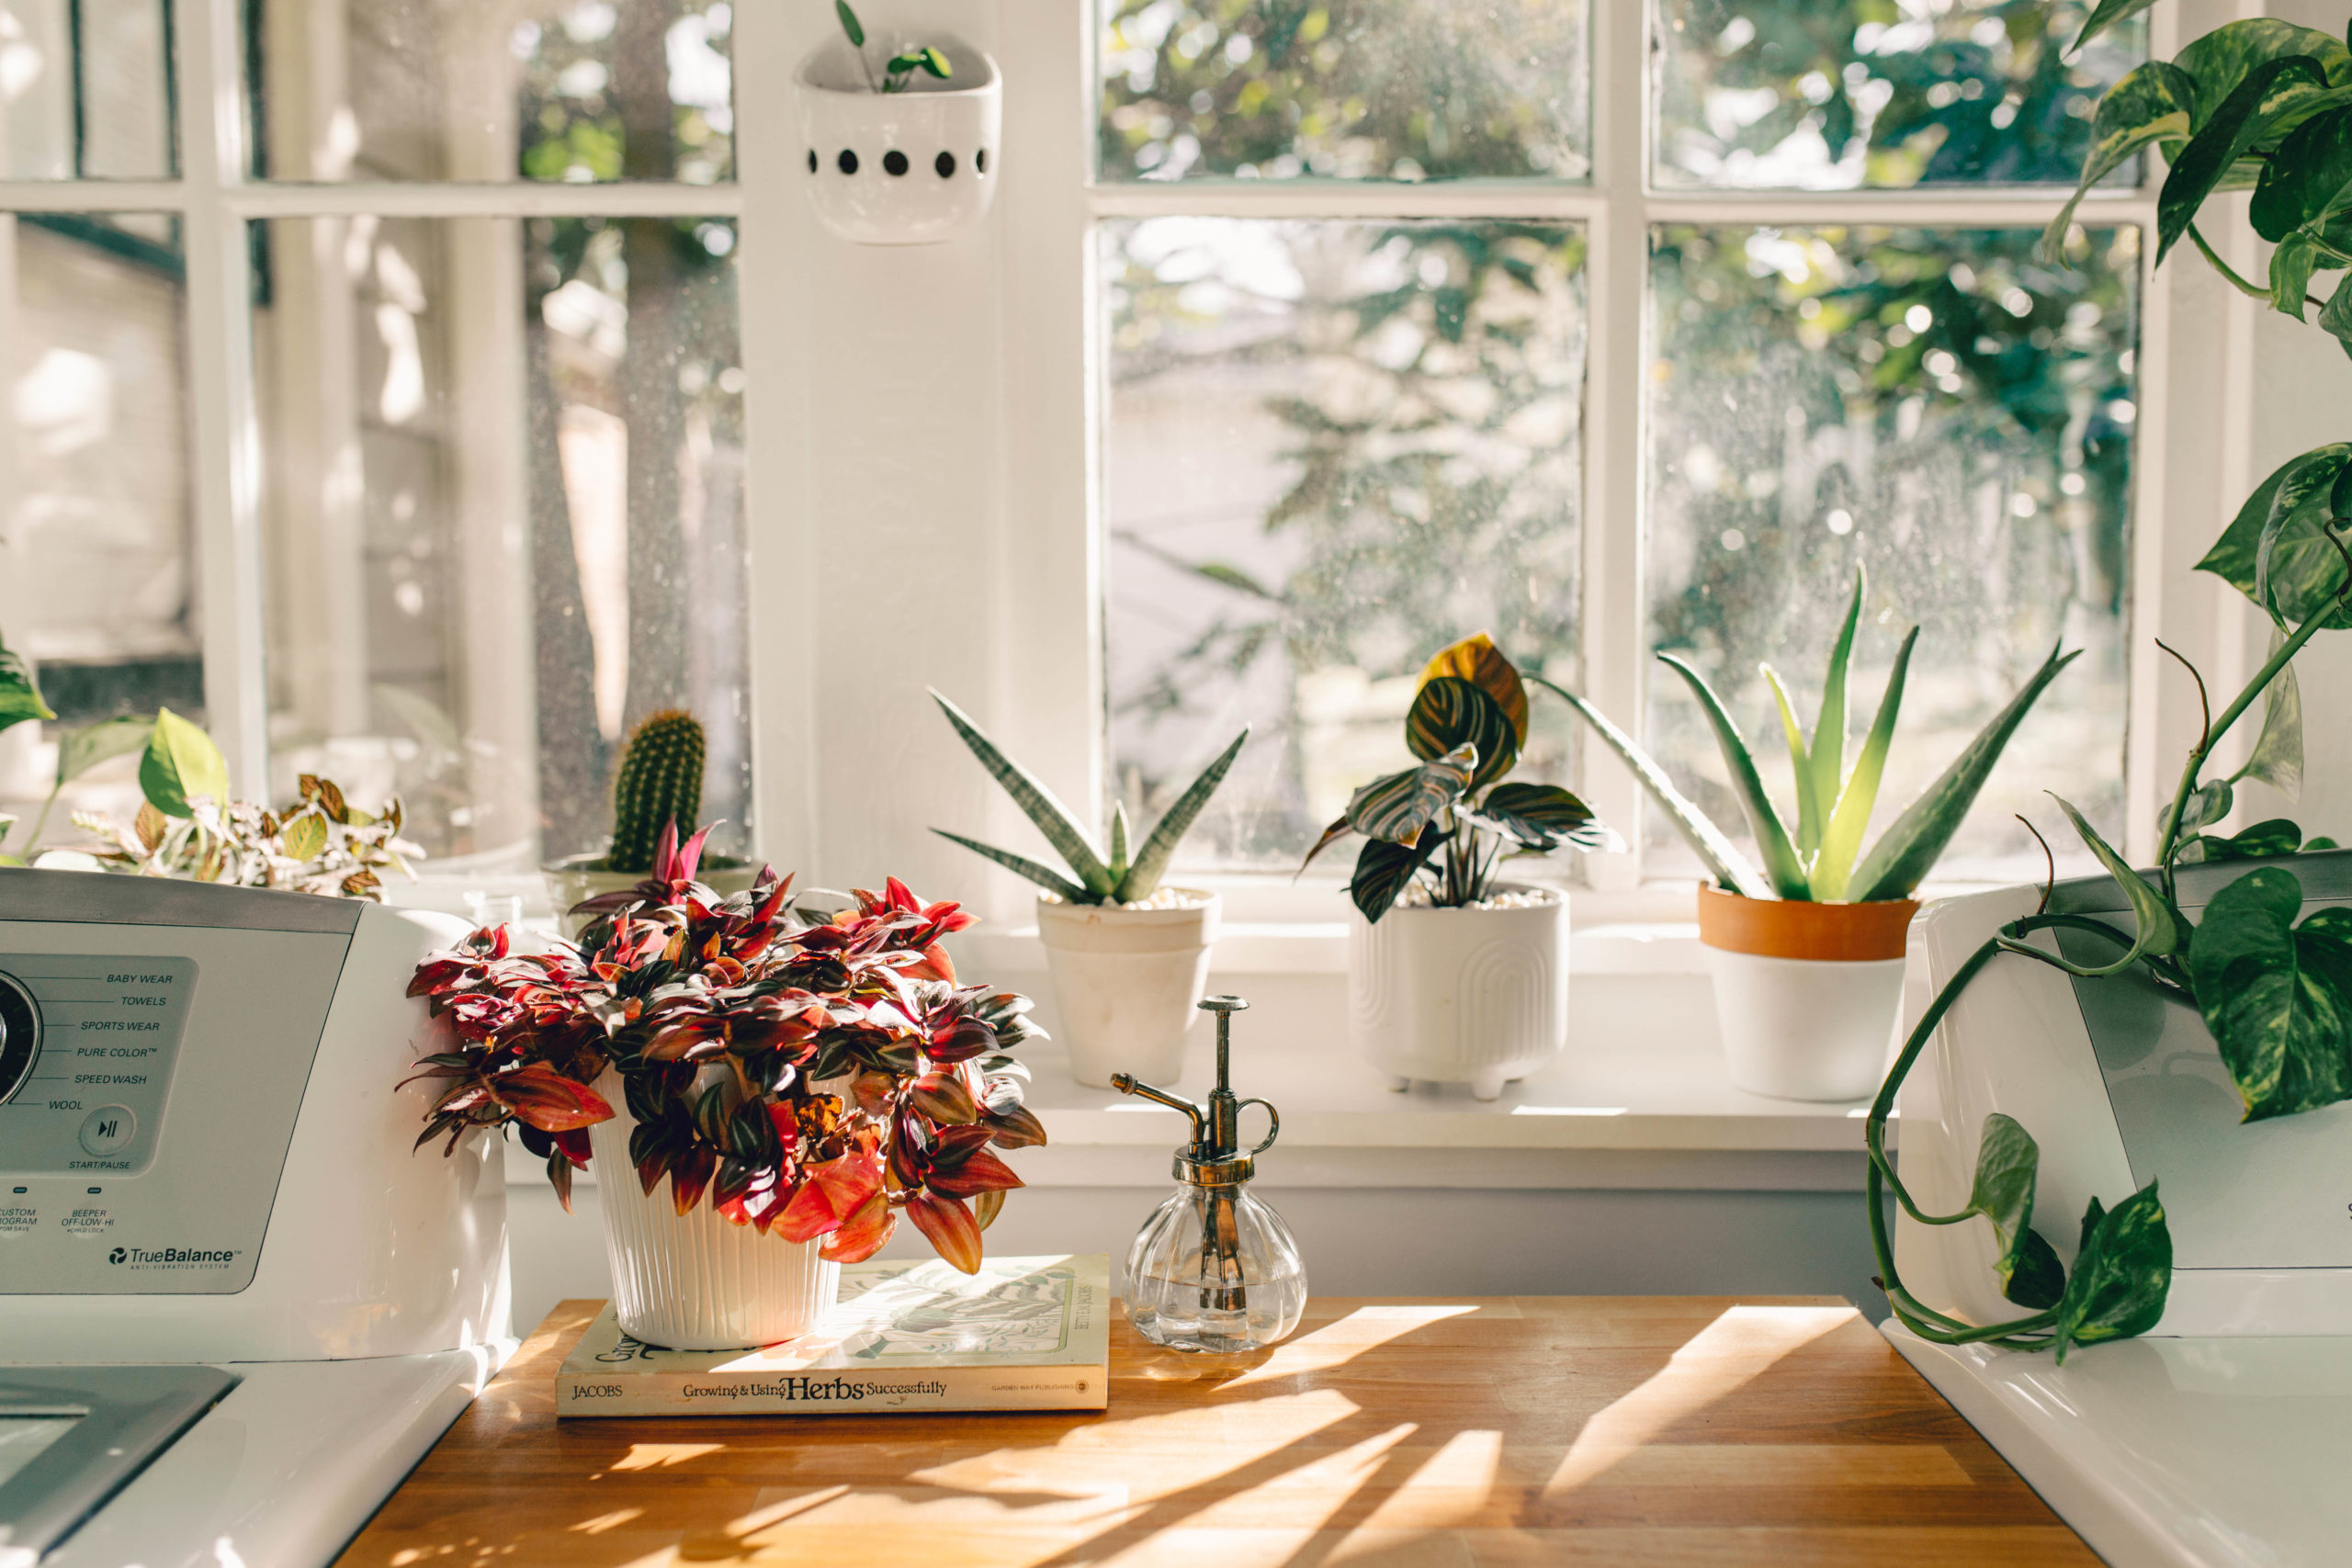
On the other cabinets, not much needed to be done besides changing the hardware and refinishing the butcher block. If you remember, the butcher block was in rough shape when we bought the house, and after having plants on it and water spilled on it, it had several rings and dark marks that needed to go. I used this sander and after wiping the counter clean, finished off with this conditioner. Some people like to seal their butcher block with a thin polyurethane sealer, but after doing some research I felt like this option would be better for us.
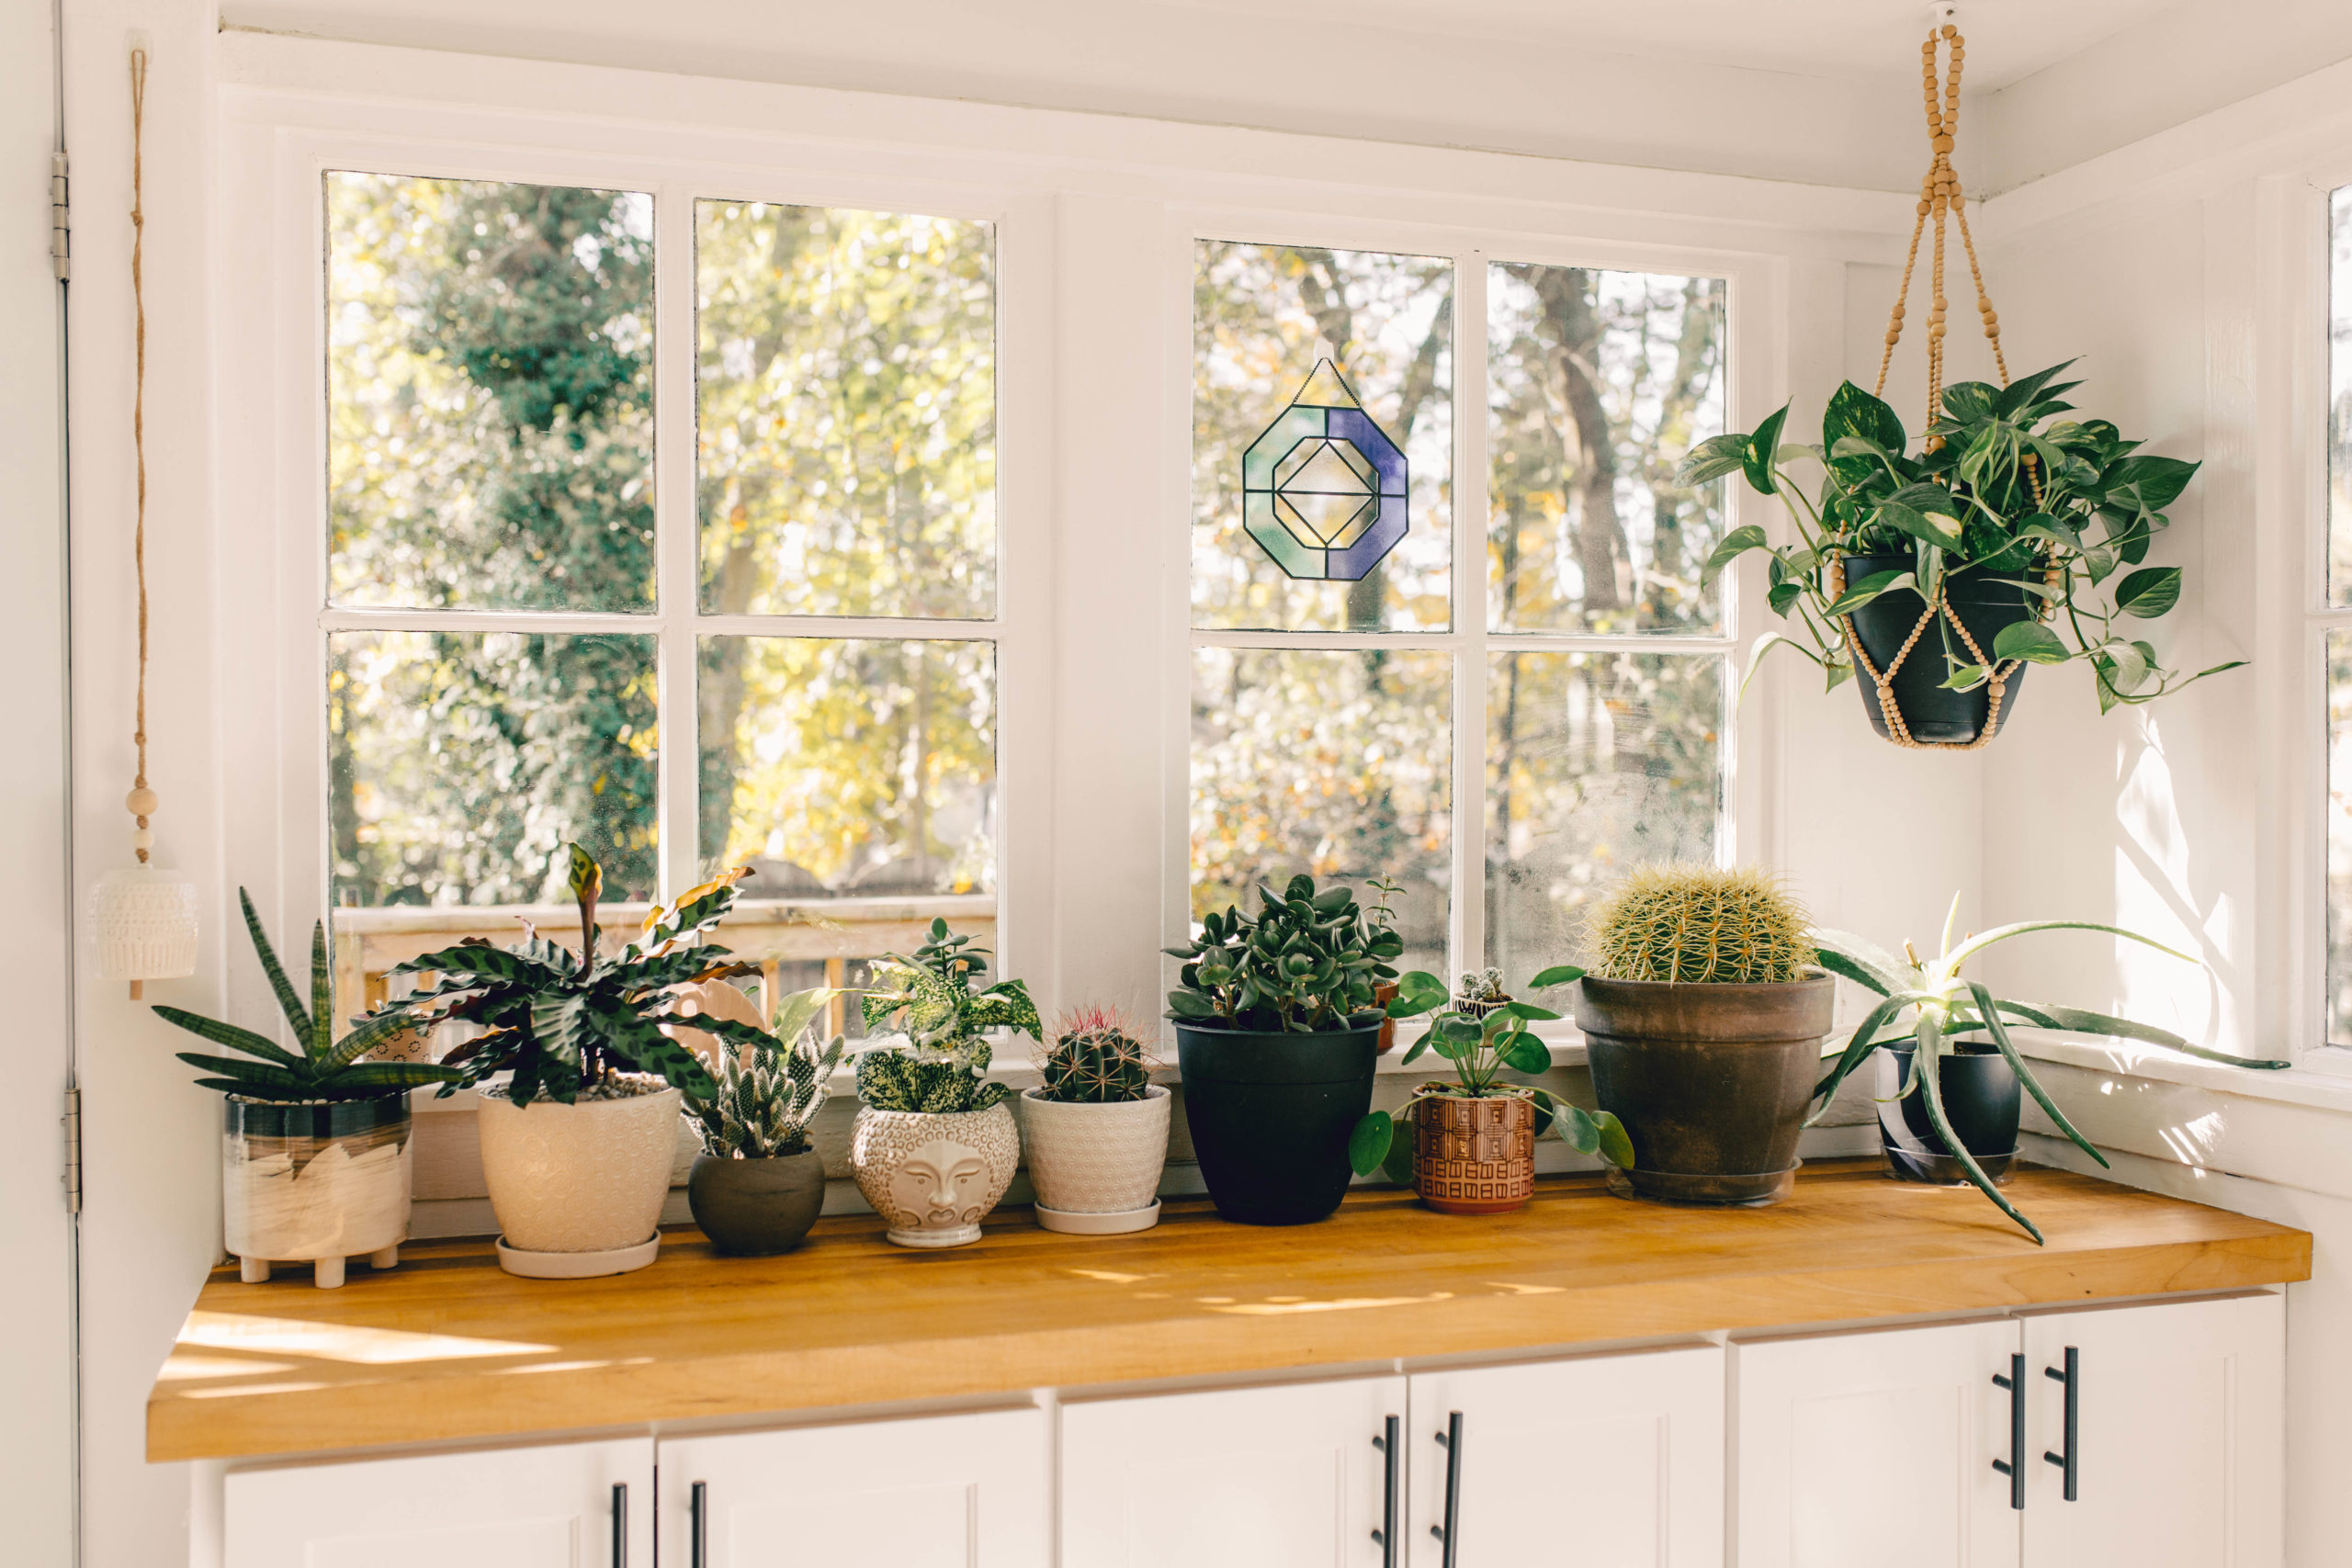
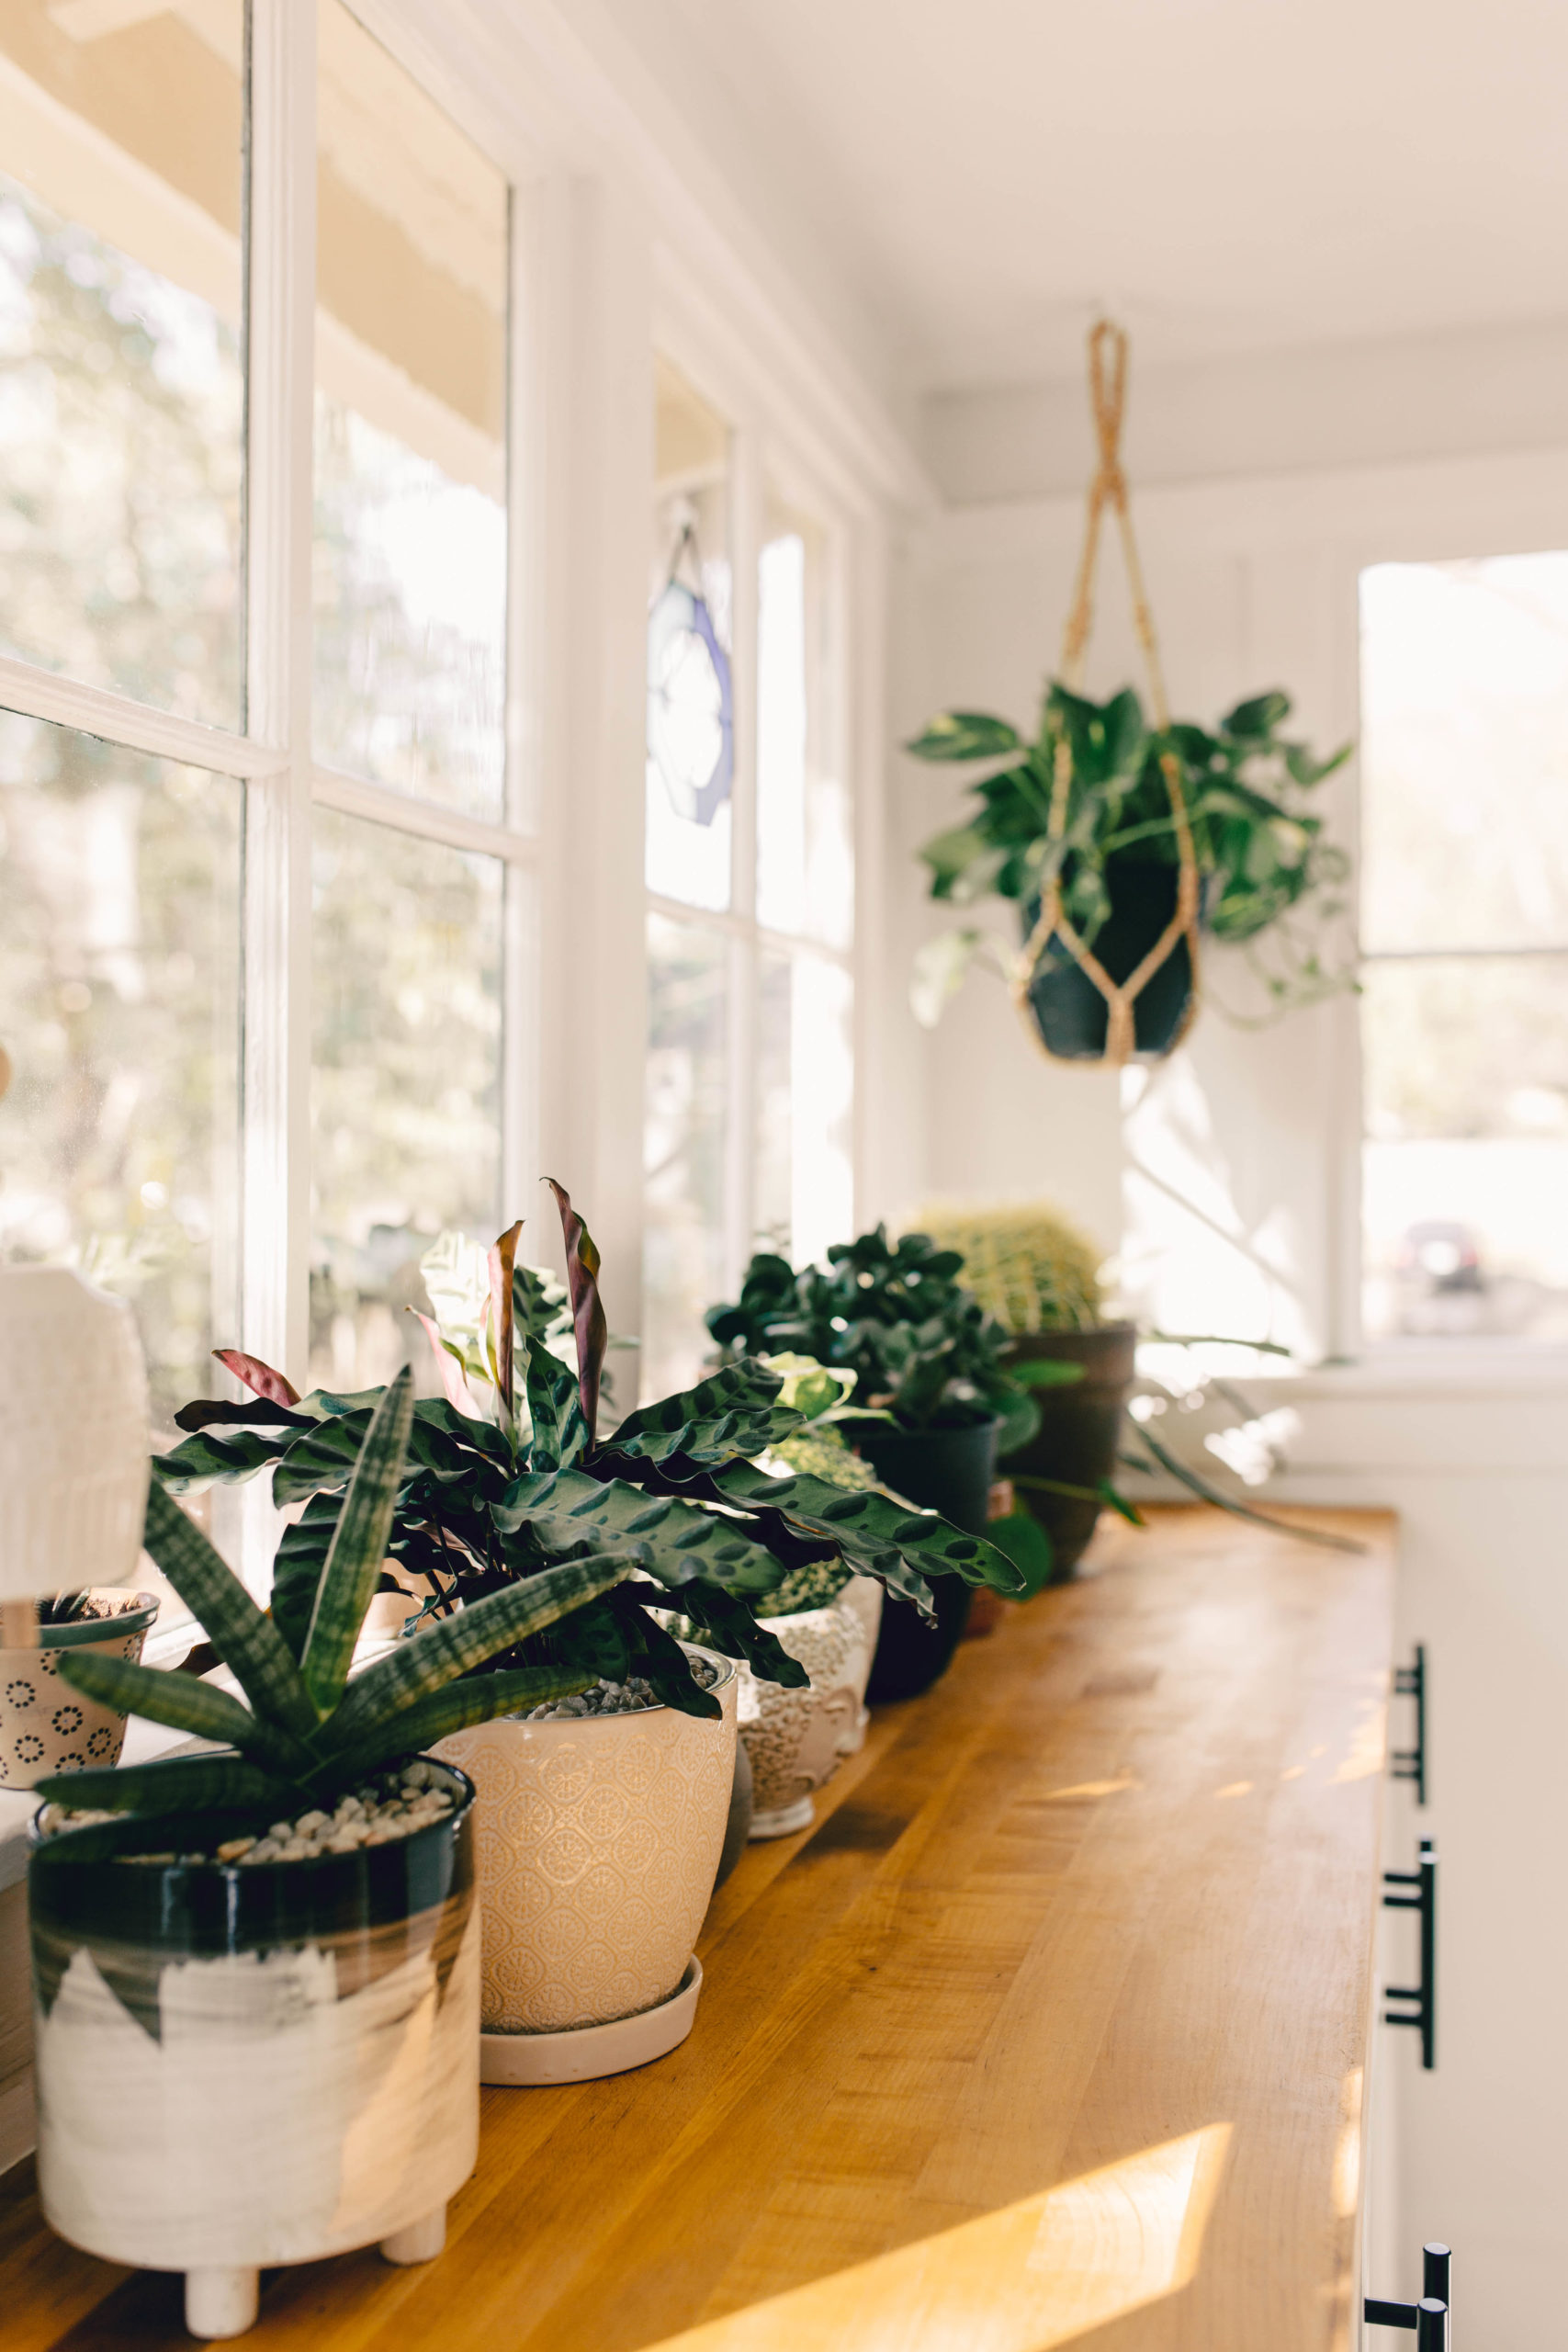
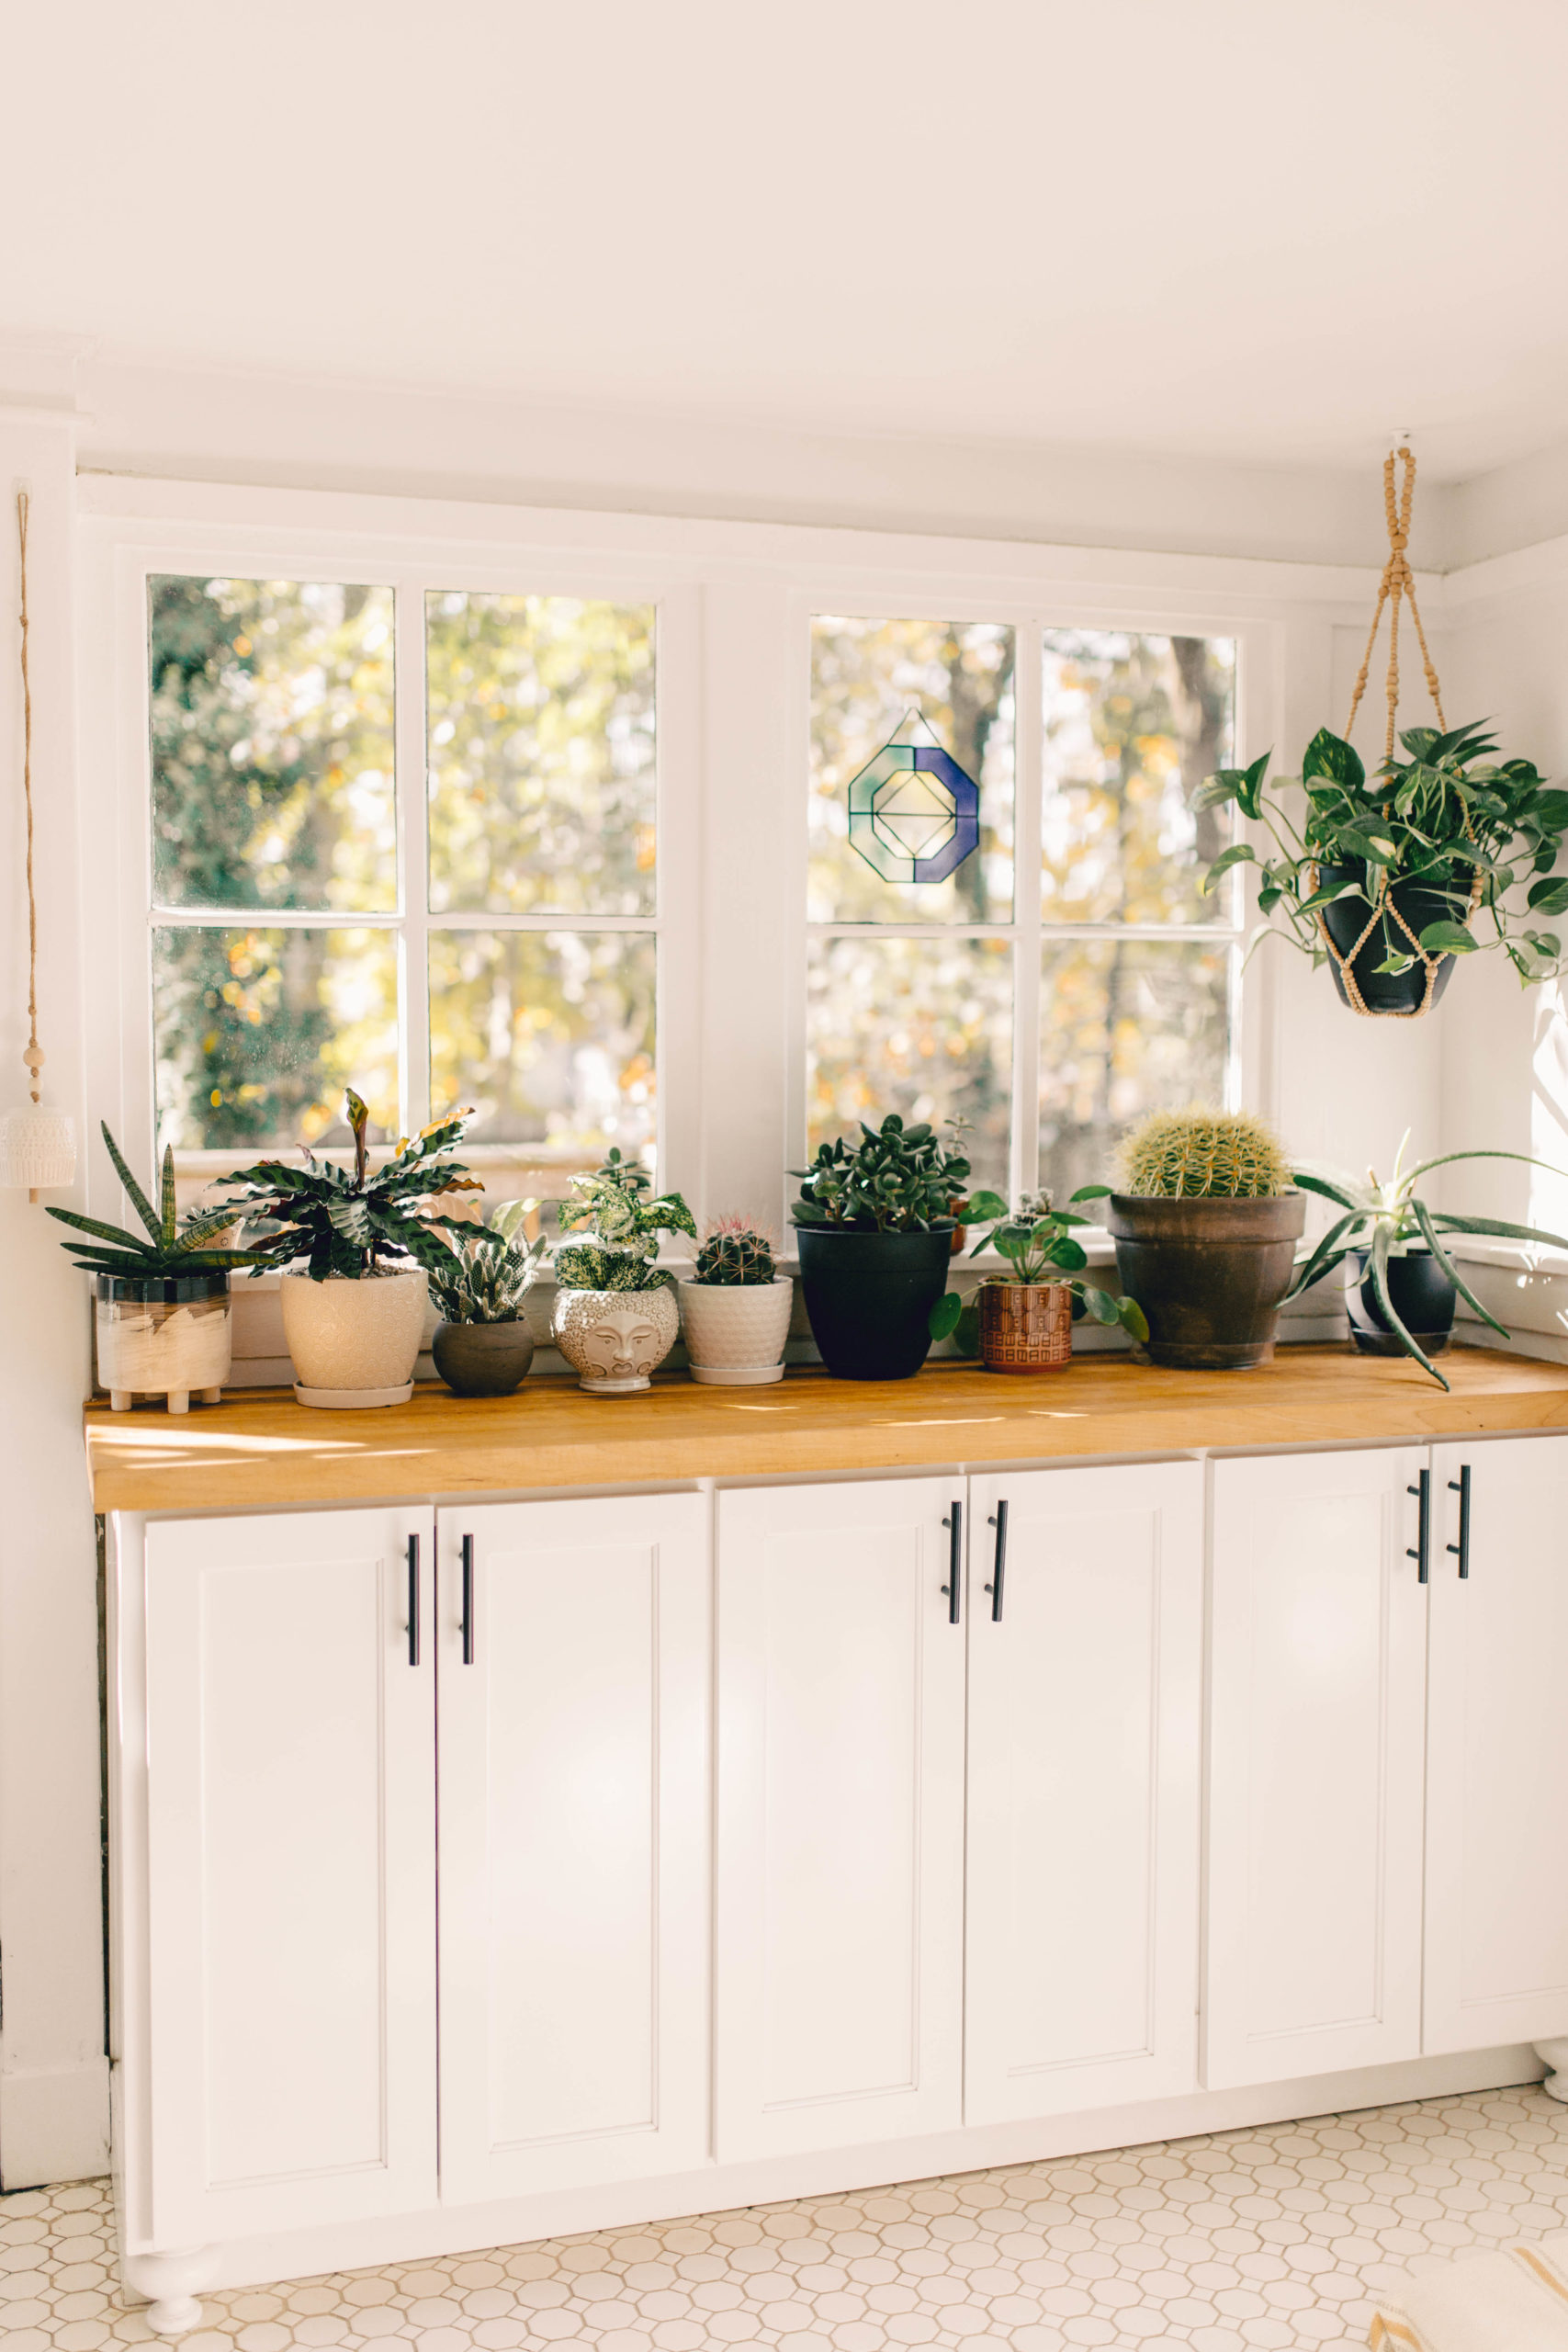
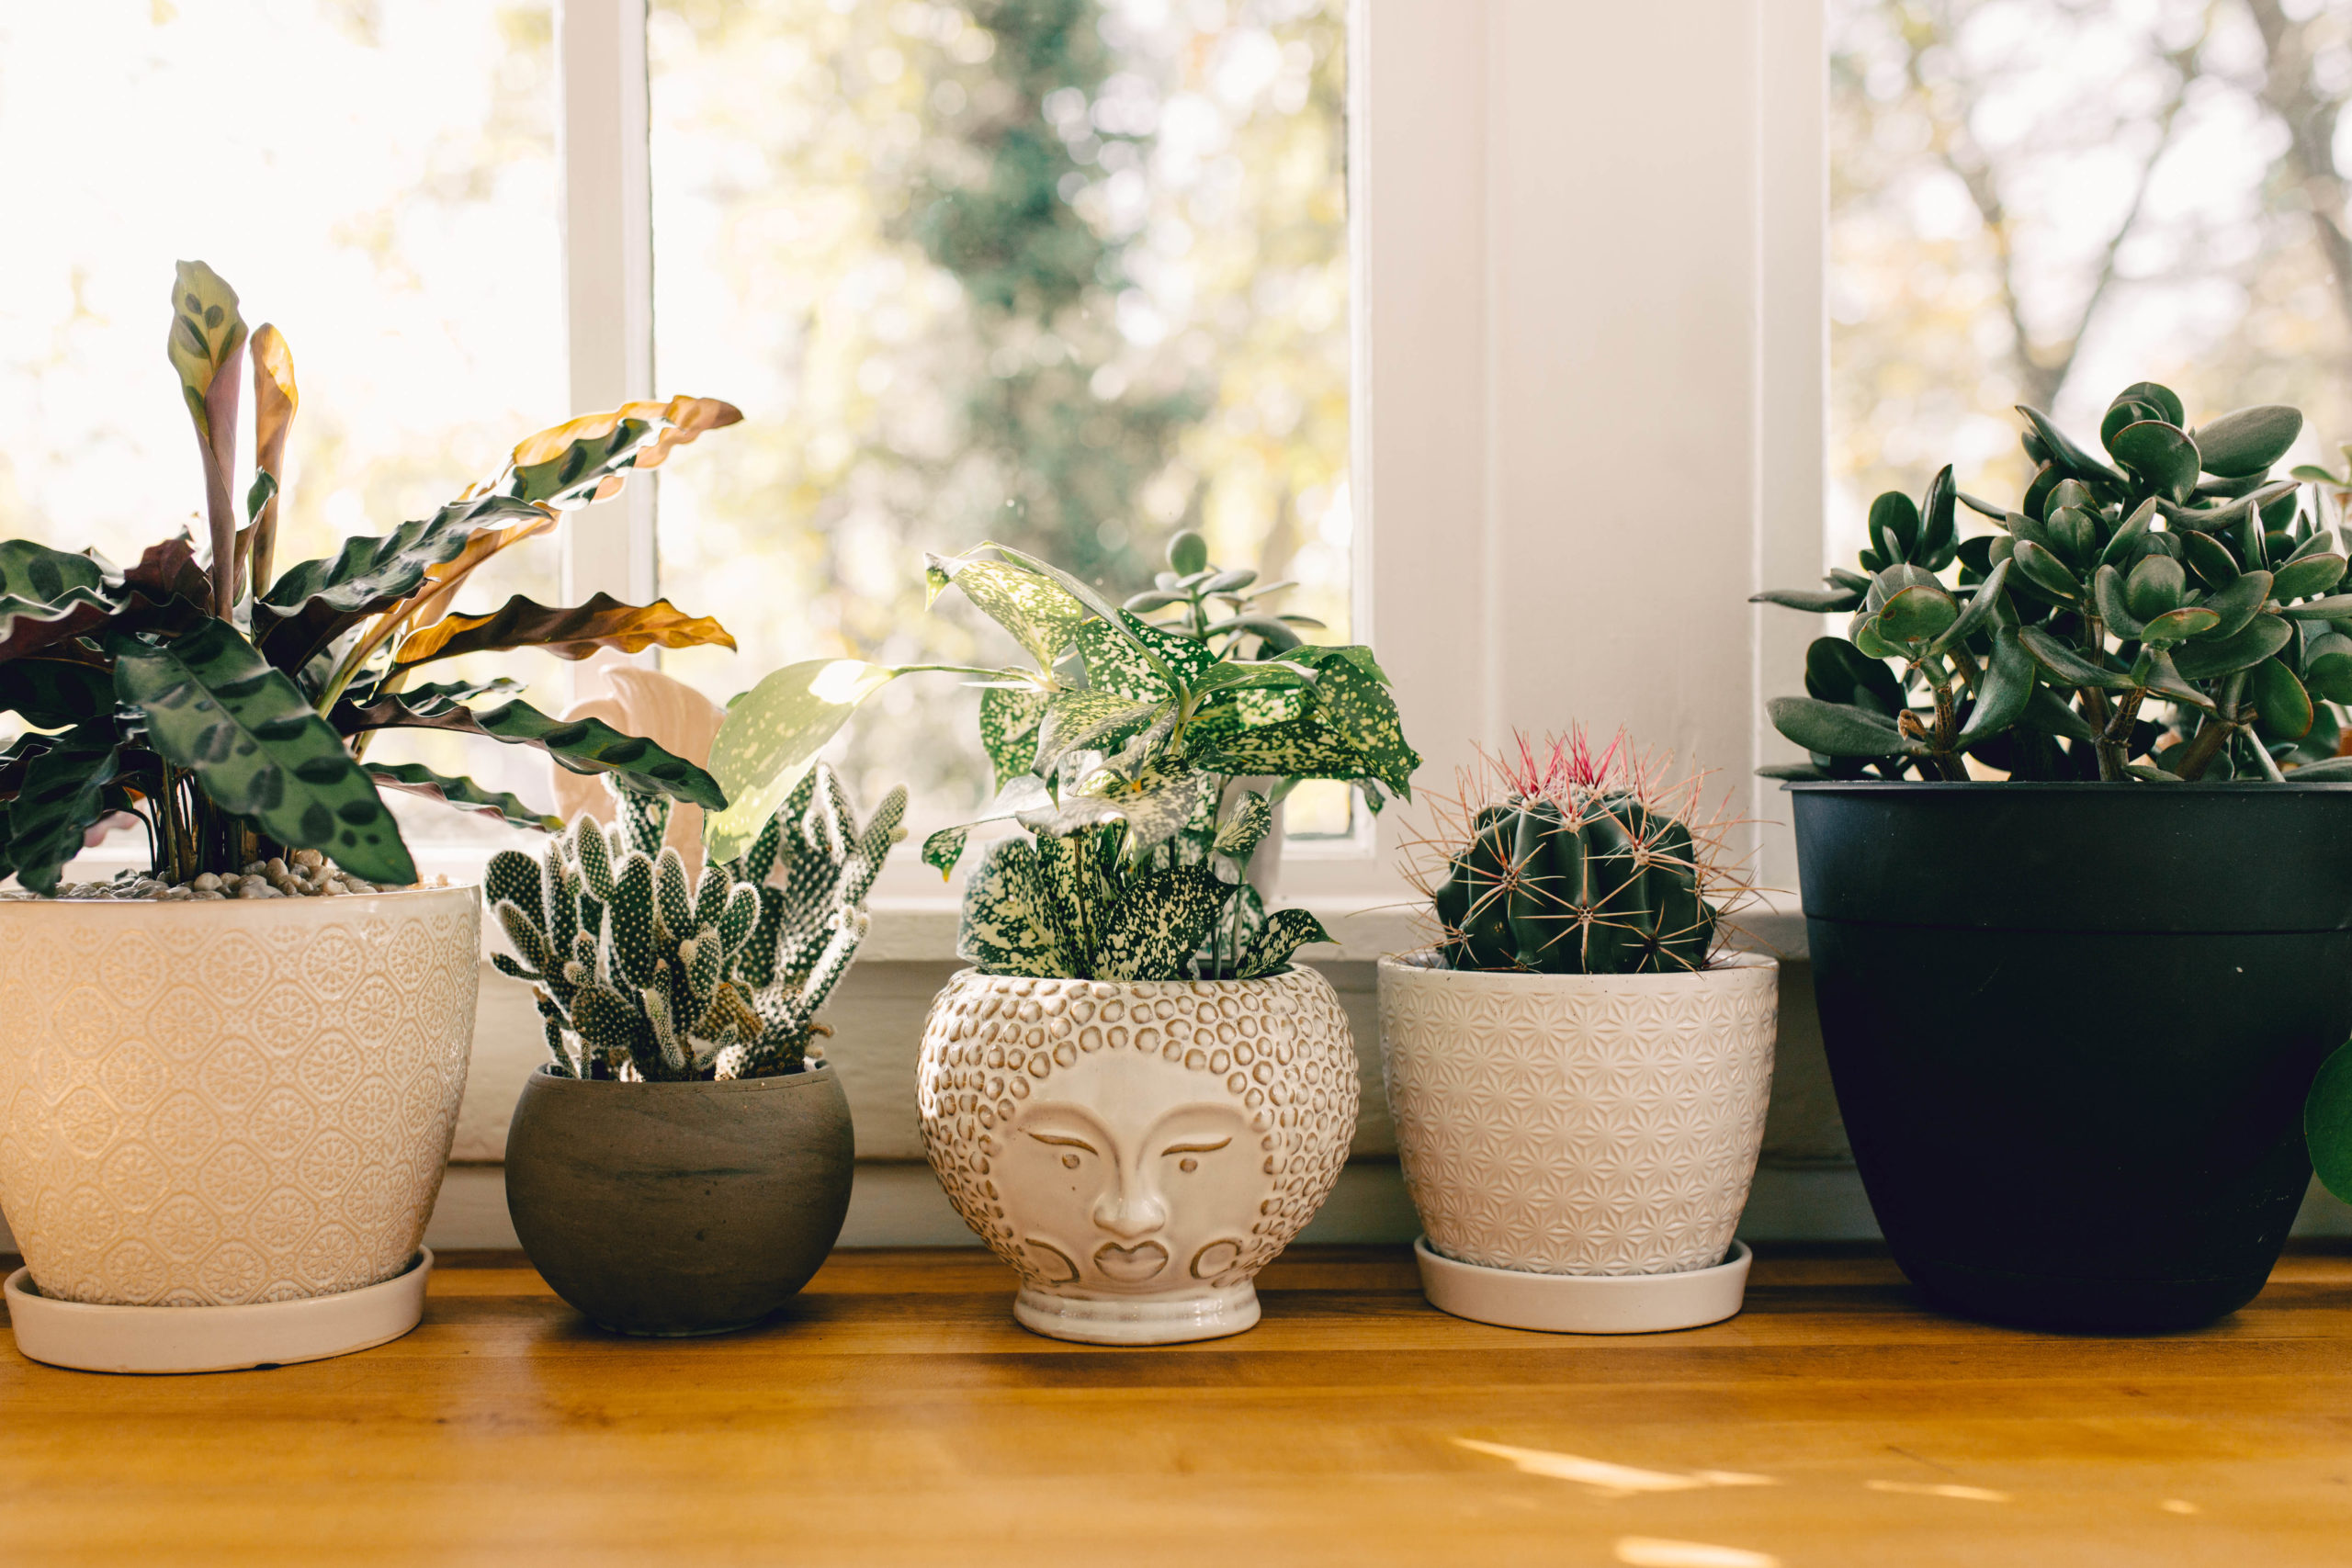
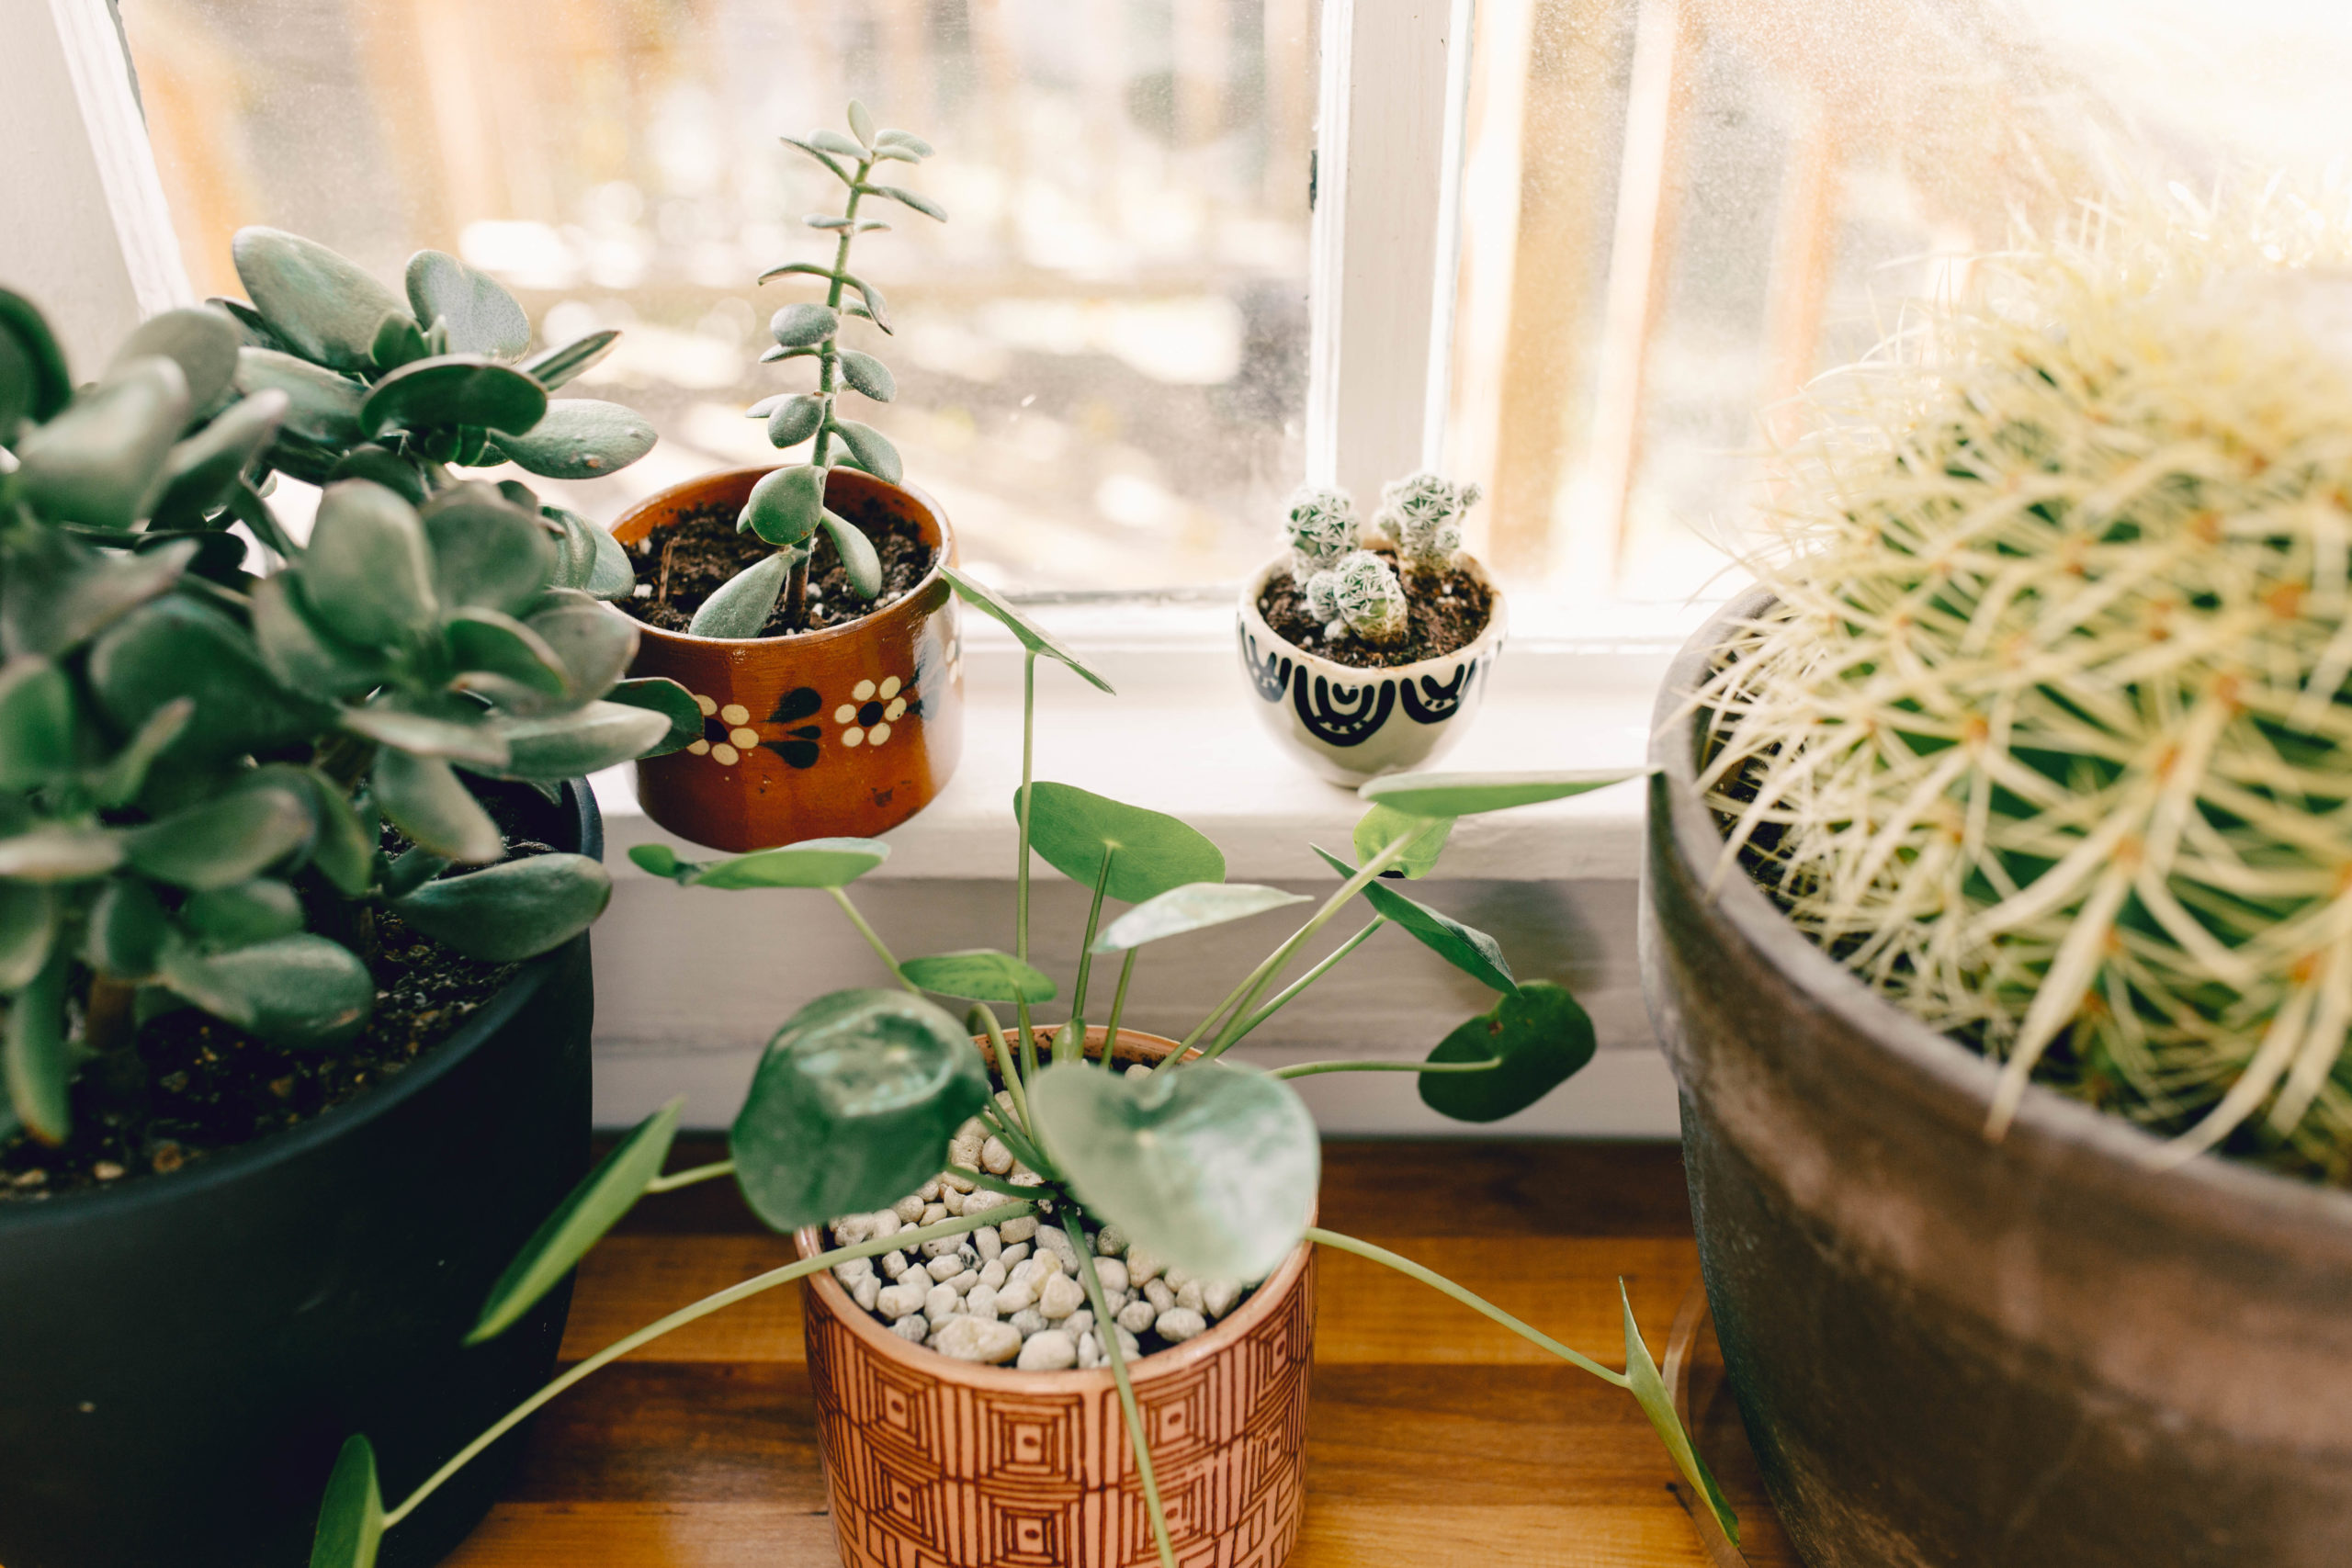
Because this room has windows on three sides, it’s the perfect spot for lots and lots of plants. I really wanted this room to have a greenhouse vibe. Lots and lots of green, bright white, and natural tones. We painted the wall Jade Dragon by Sherwin Williams, and I love how it echoes the green from the plants inside and the trees outside. It’s one shade lighter than our kitchen, which is Rock Garden by Sherwin Williams. I was a little nervous to paint this wall because I tend to opt on the side of neutral rather than tons of color but I’m SO glad I did! I love how it turned out, and I think it ended up still looking pretty neutral, but with some depth.
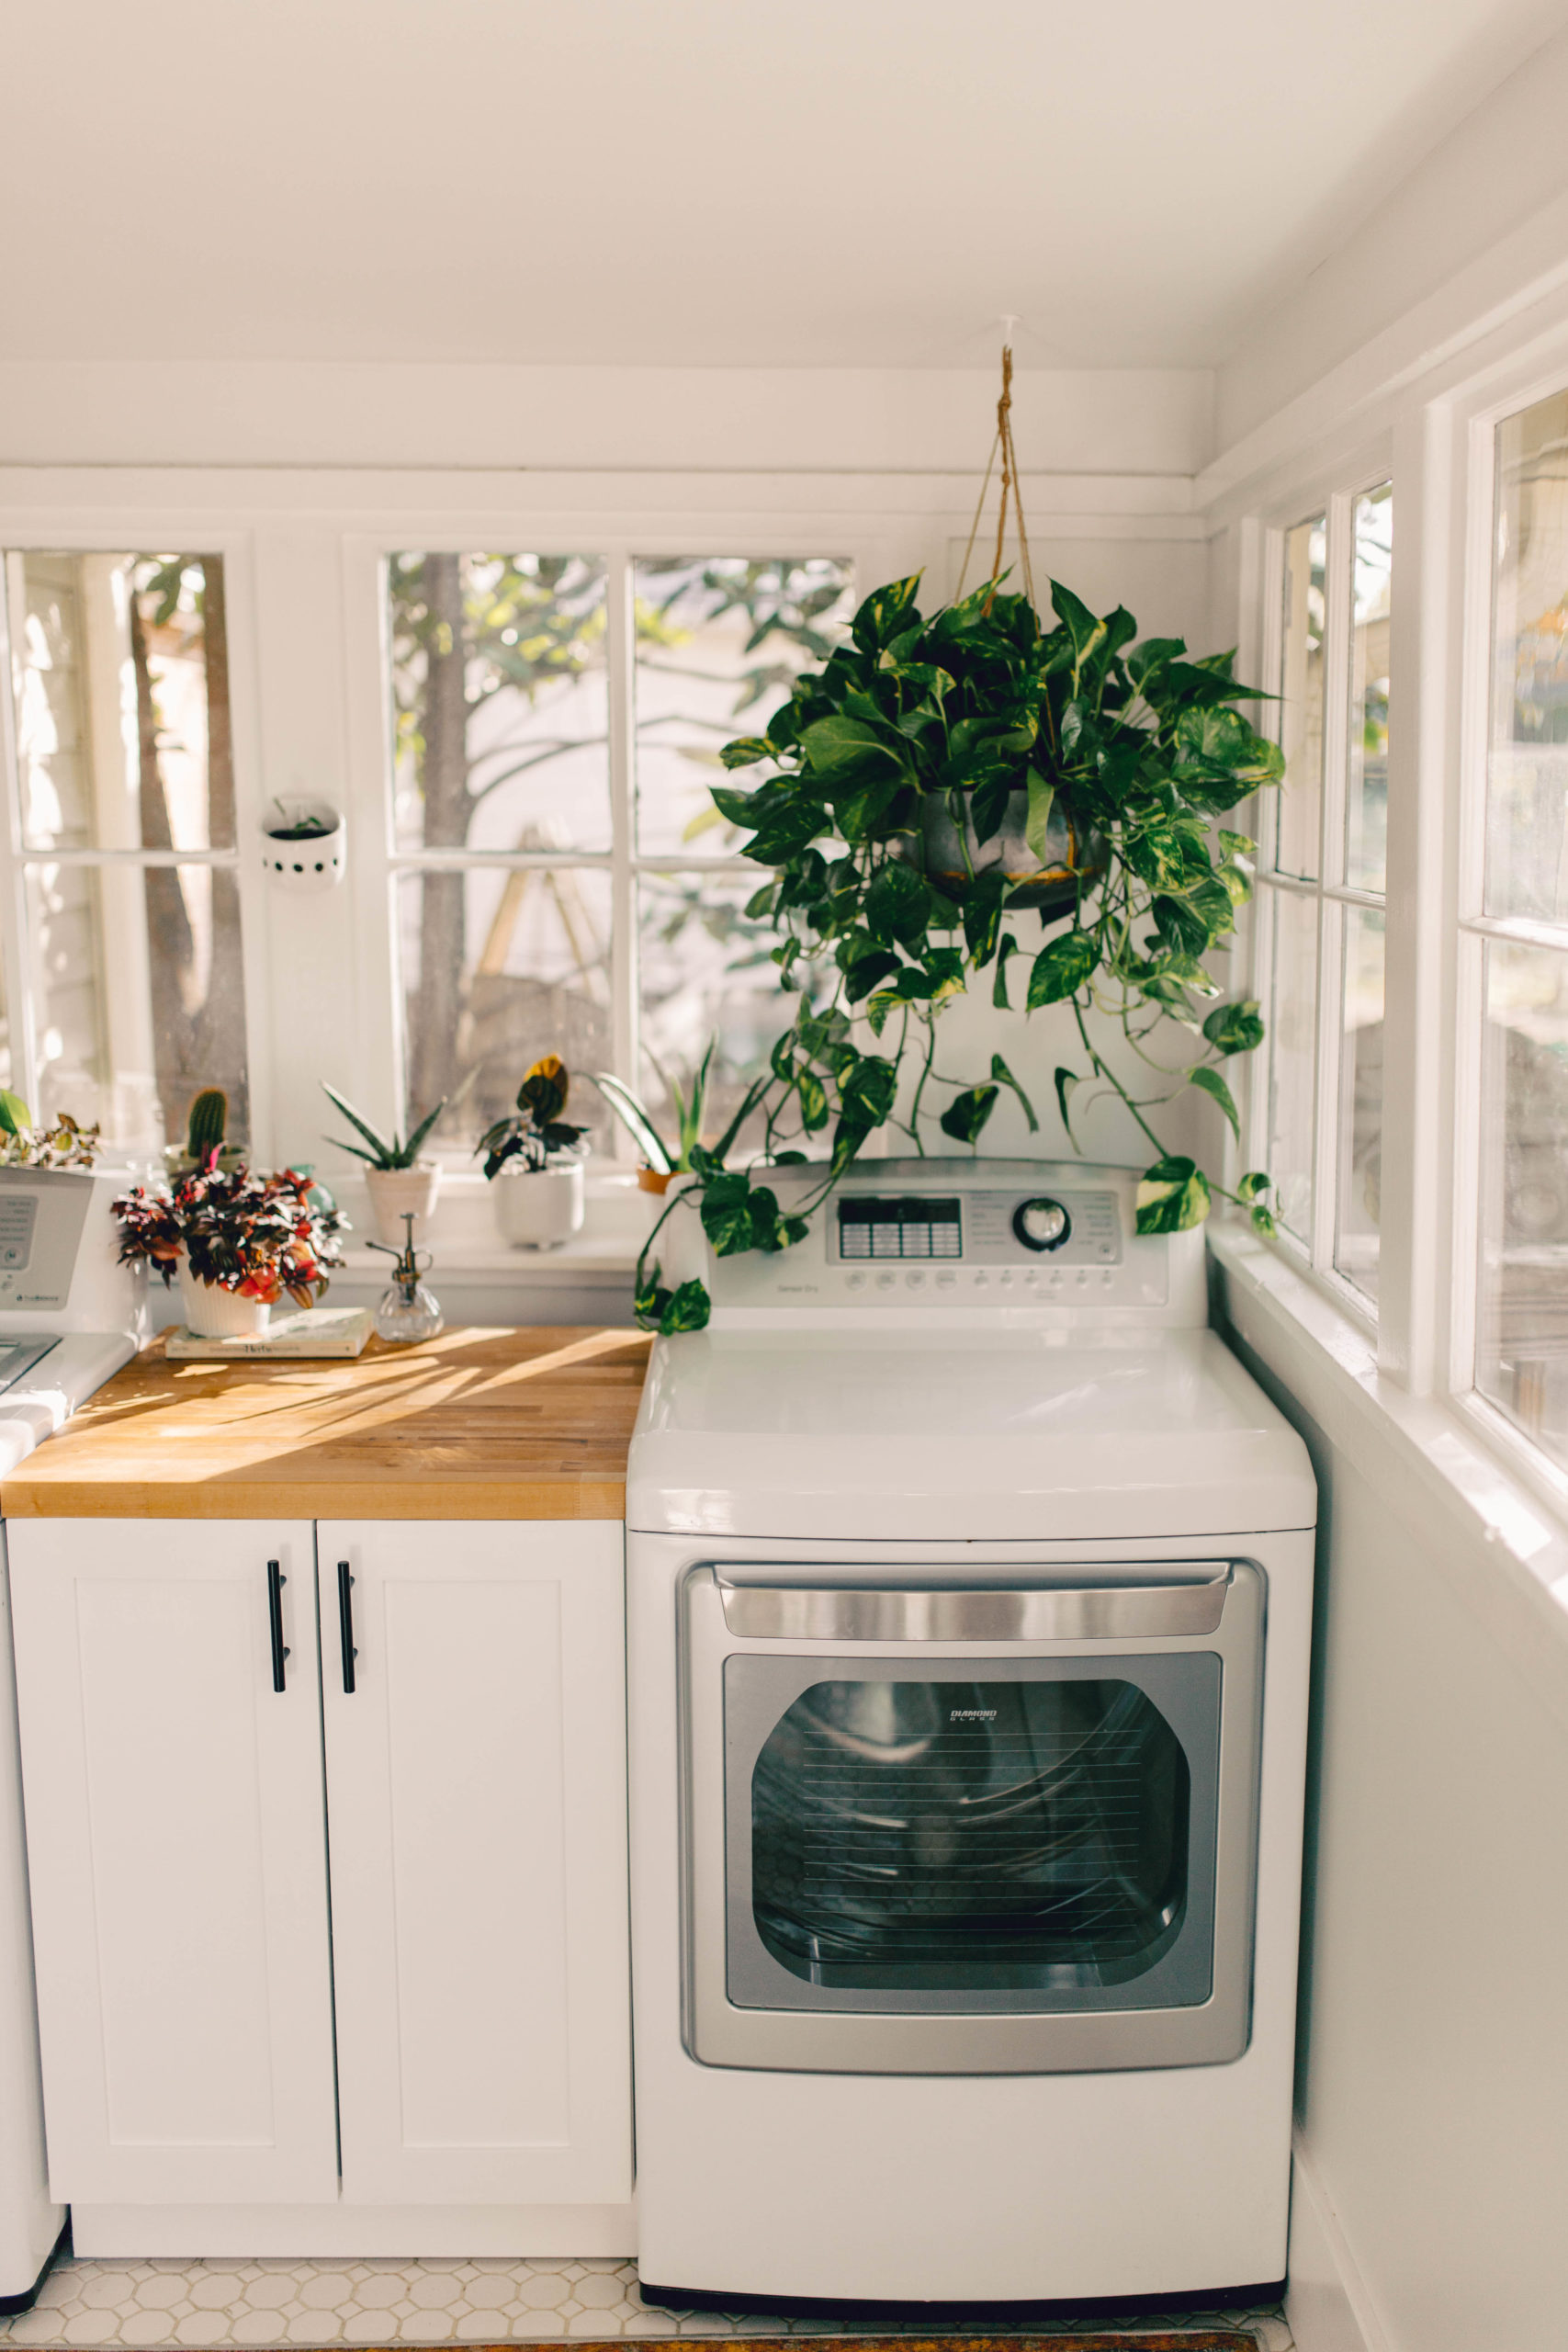
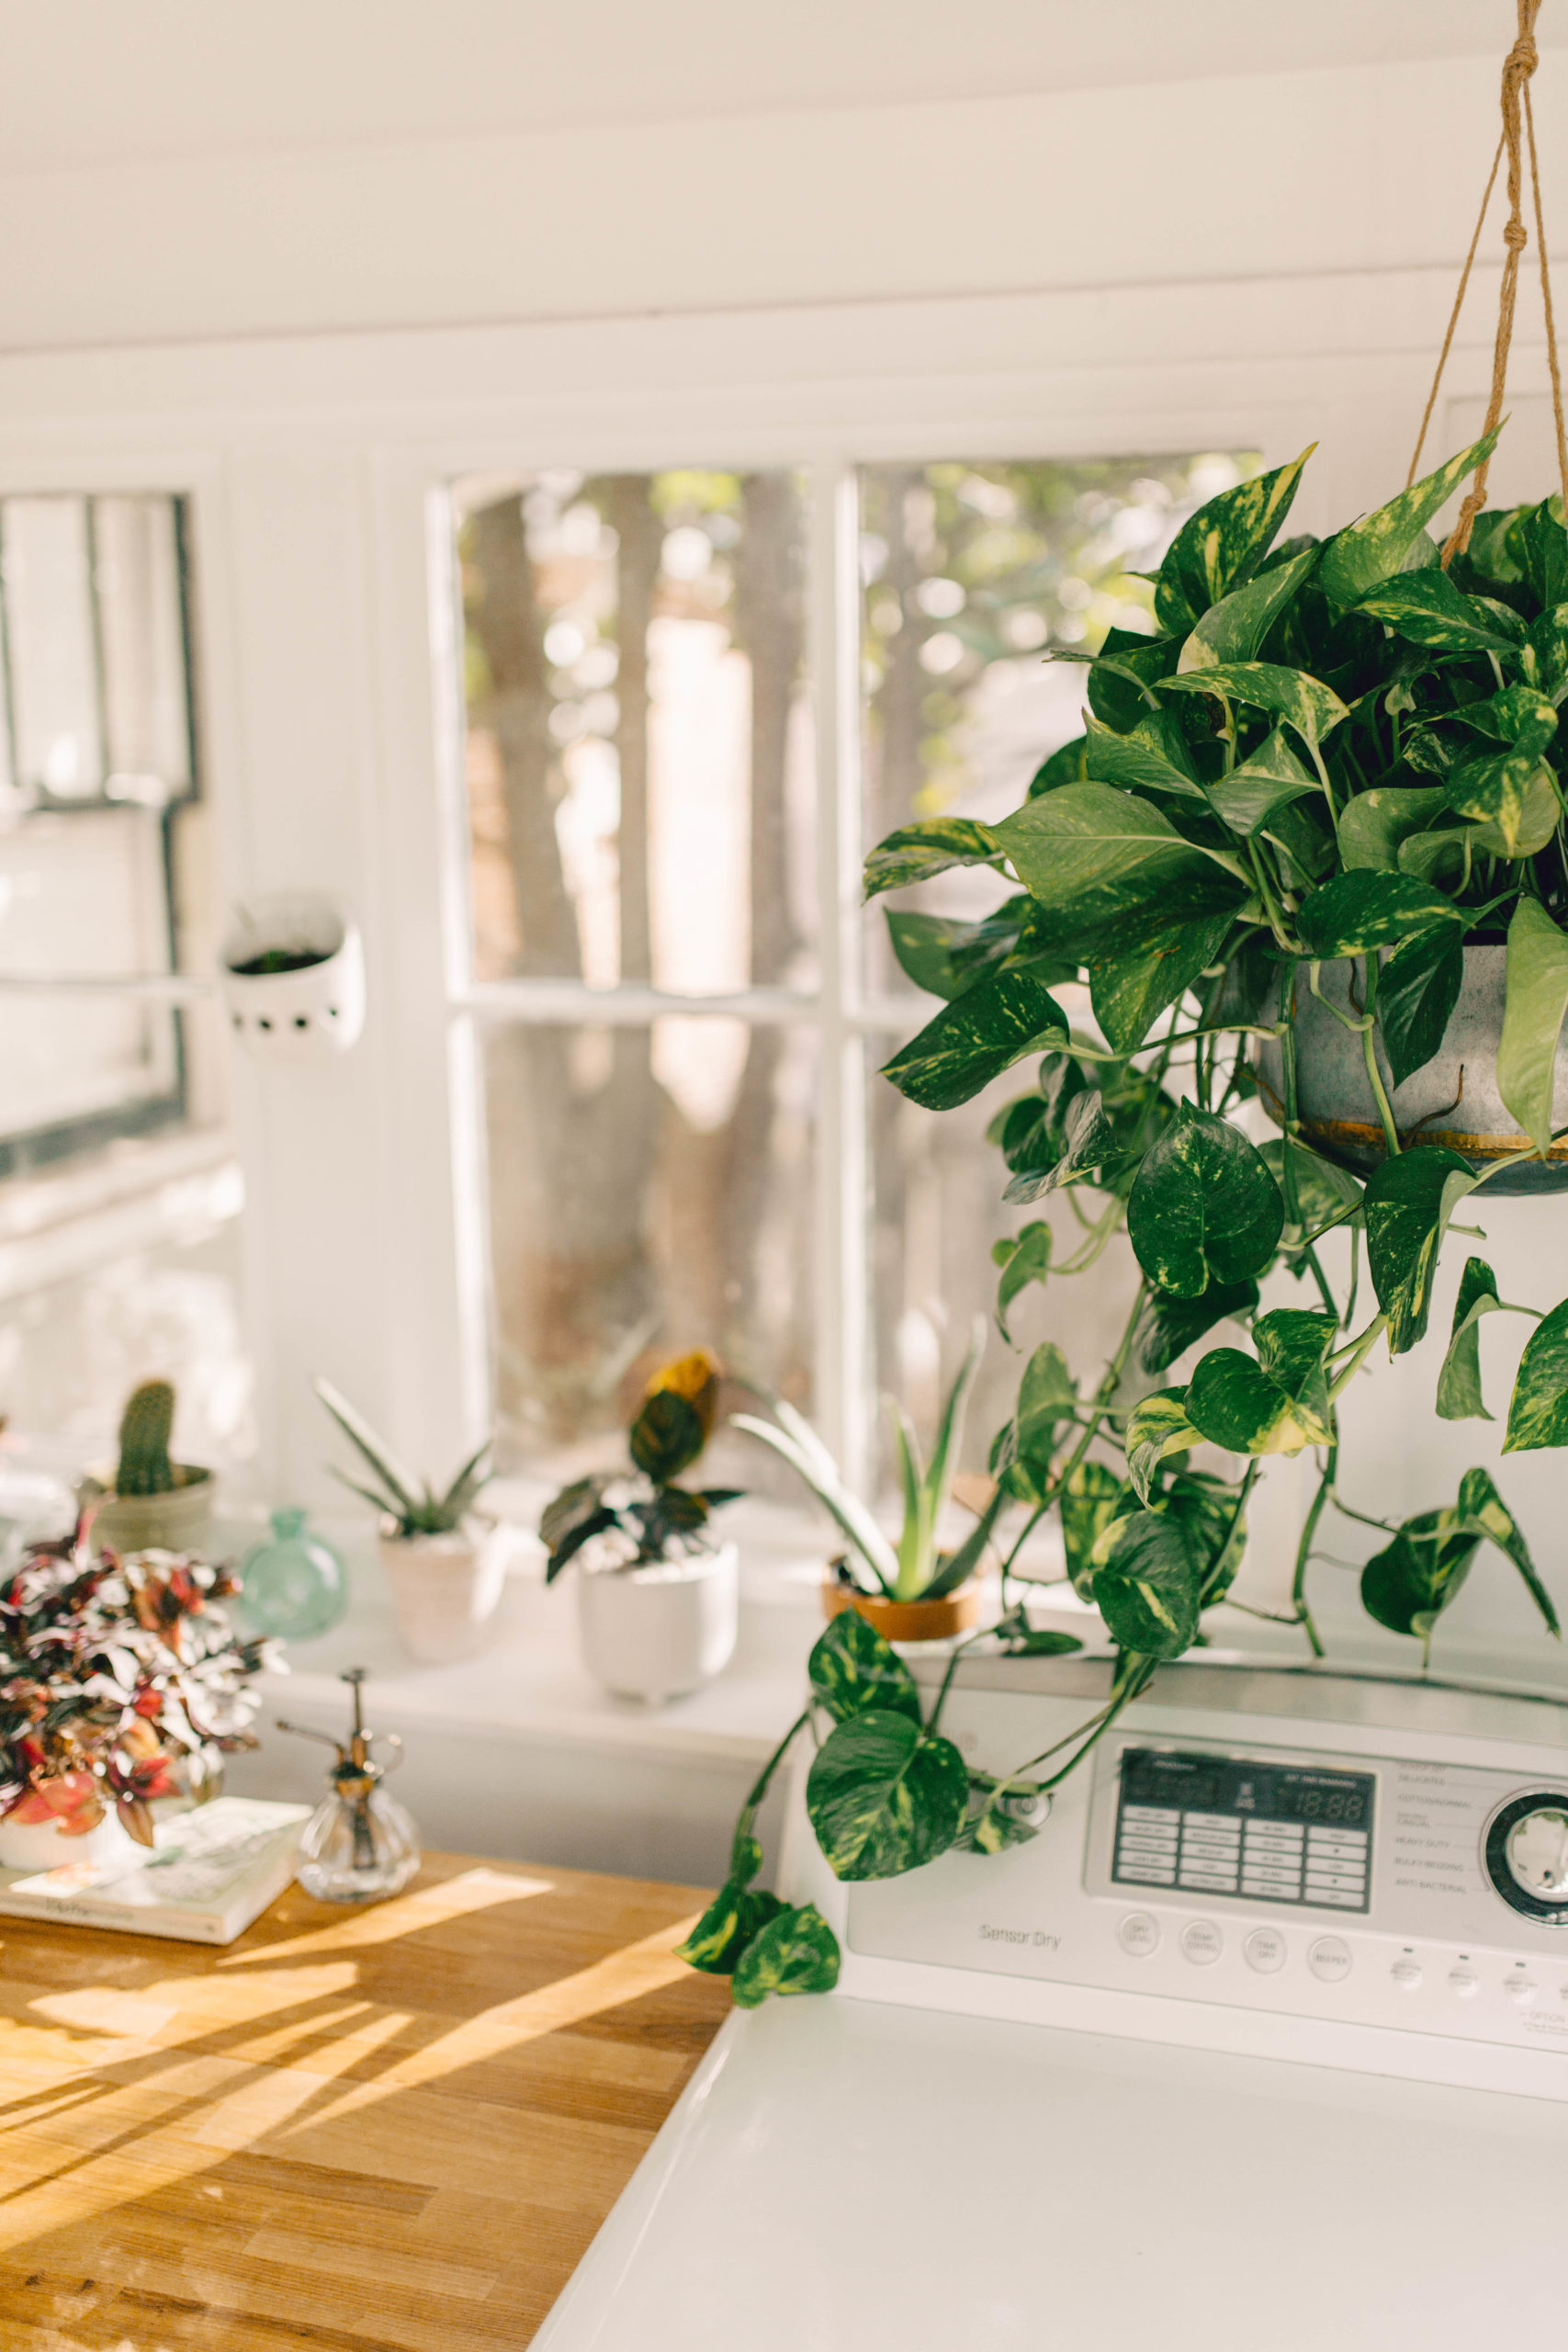
I had a lot of the plants already, but after several trips to Lawrence & Clark Cacti Co in Old Hickory, this room is really taking on my greenhouse dreams. “Big Bertha”, the giant trailing Golden Pothos above the dryer, was such a good choice! She fills the space between windows and between the ceiling and the dryer so well. One of my favorite plants (also from Lawrence & Clark!) is my Hindu Rope Hoya on the shelf above the coat hooks. As she grows, she’ll trail down the side of that shelf , which will be beautiful. That could be the best thing about decorating with live plants–your room and style will change as they grow and change.
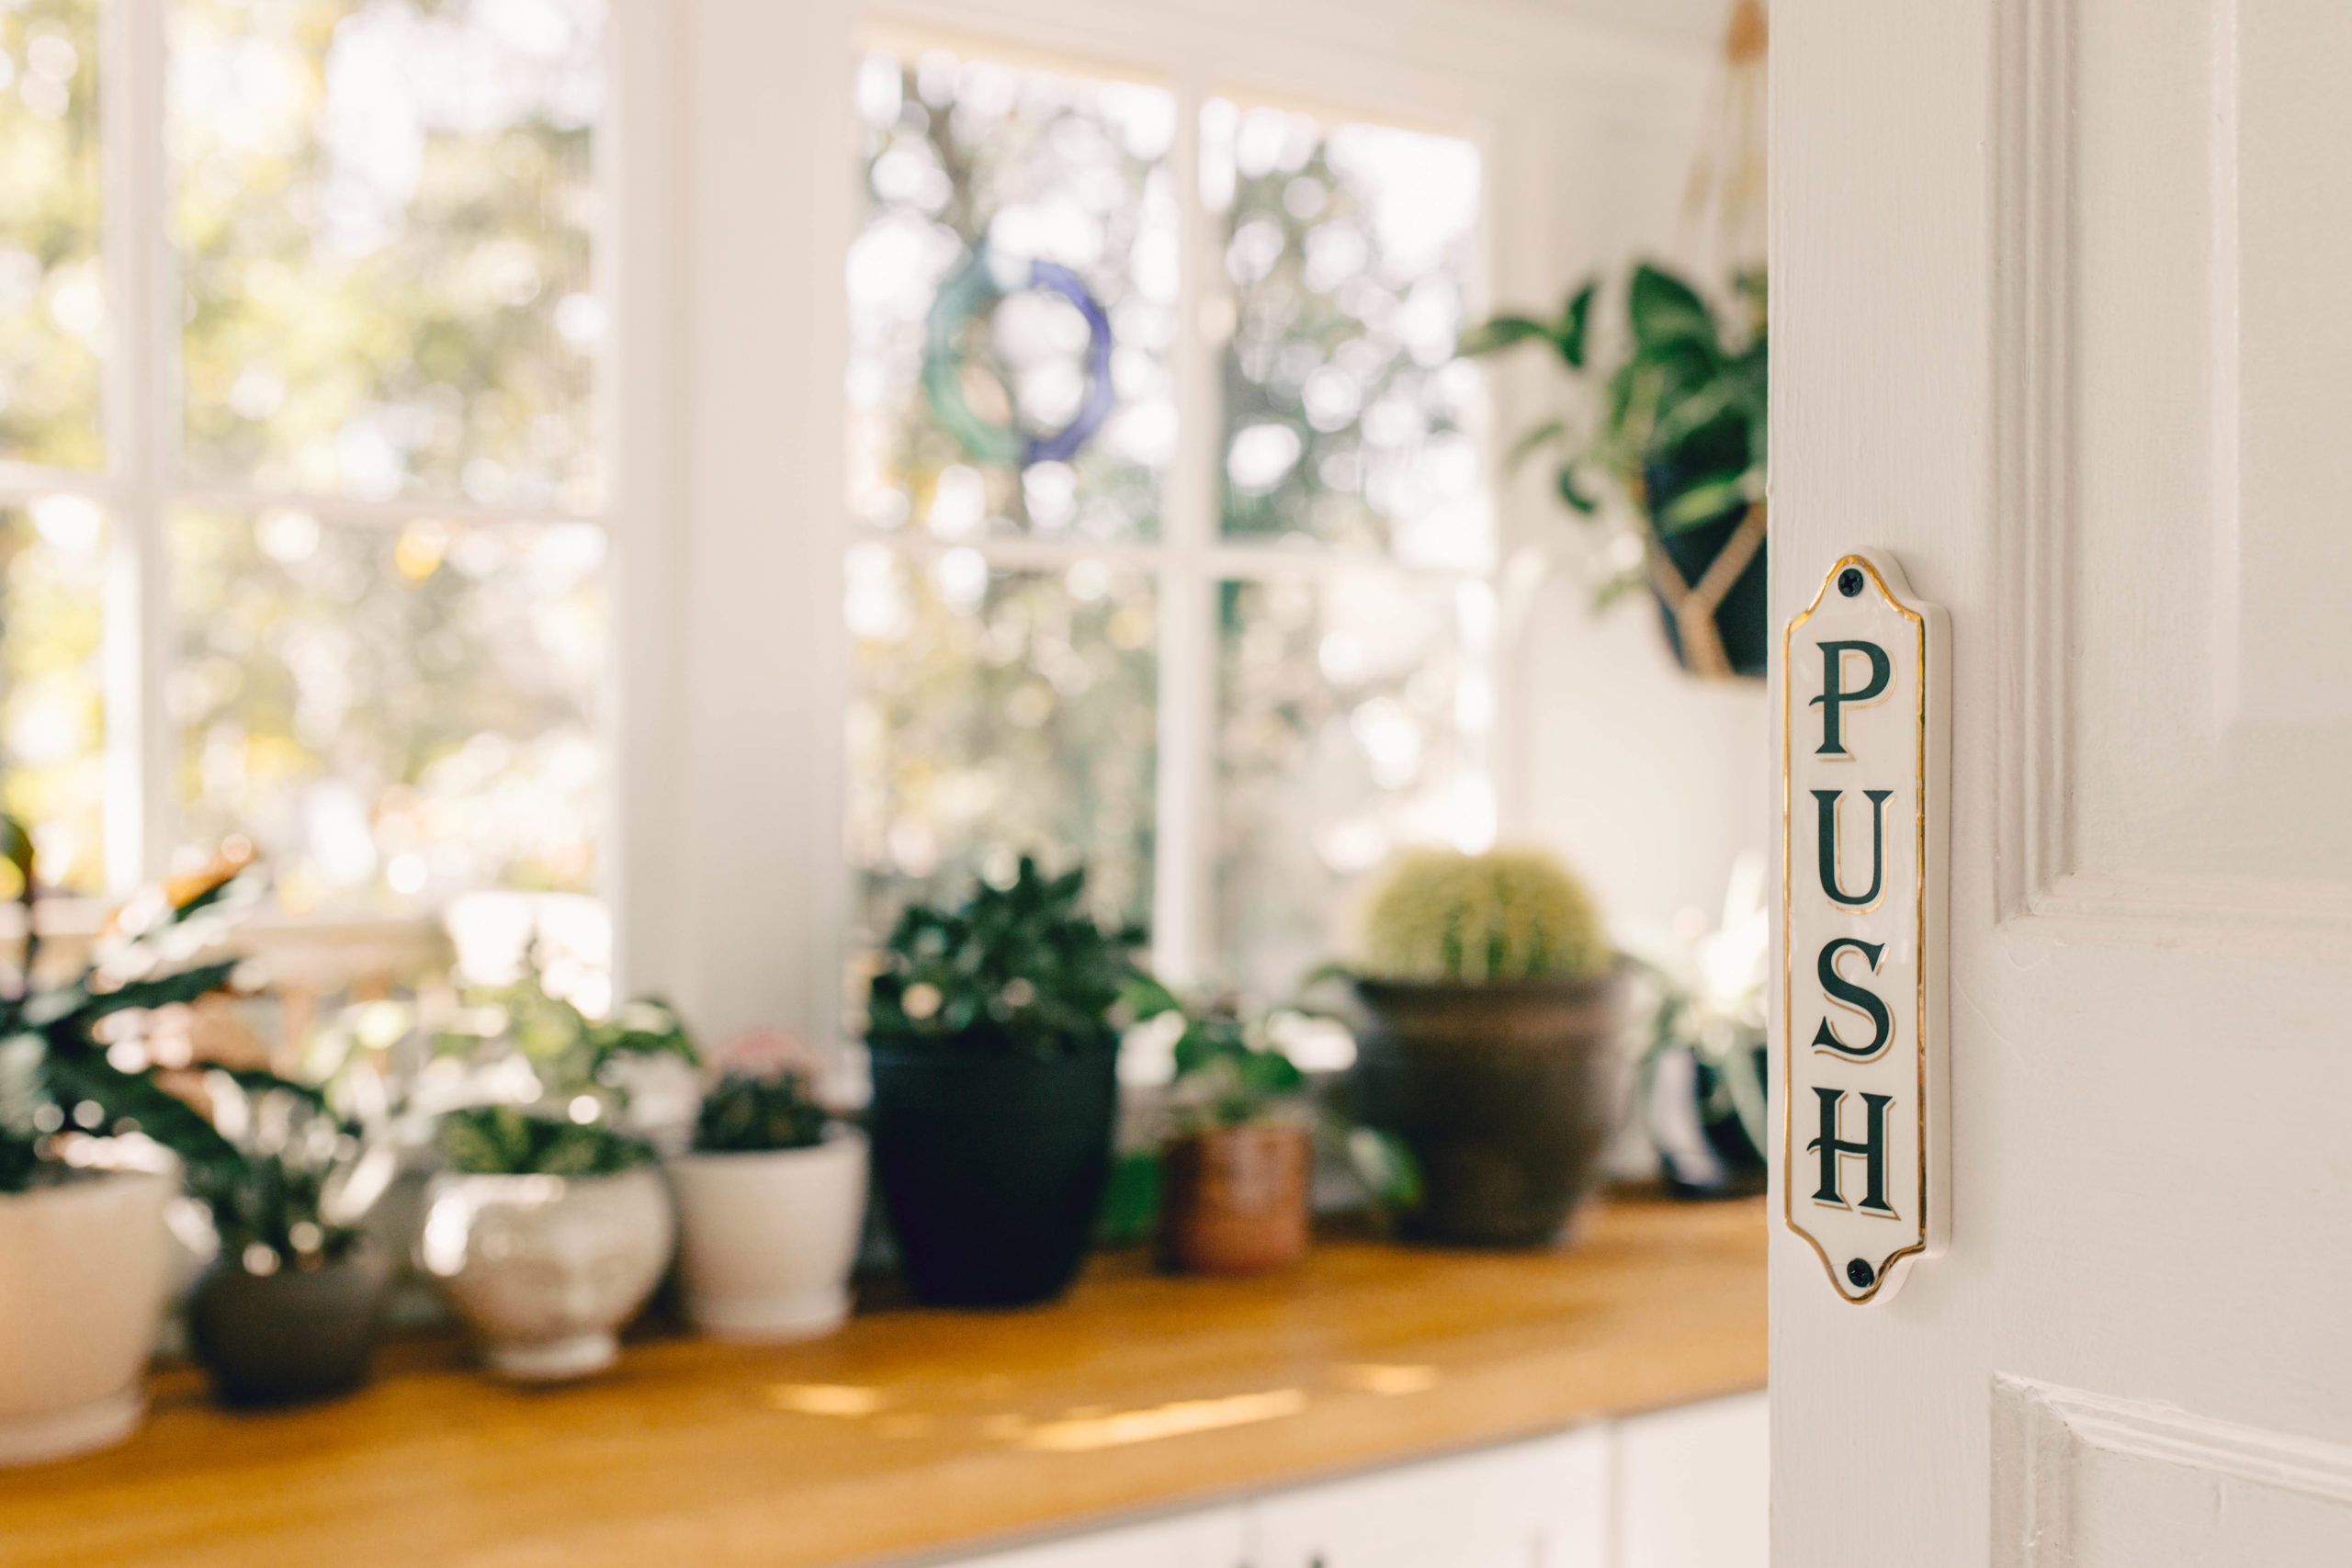
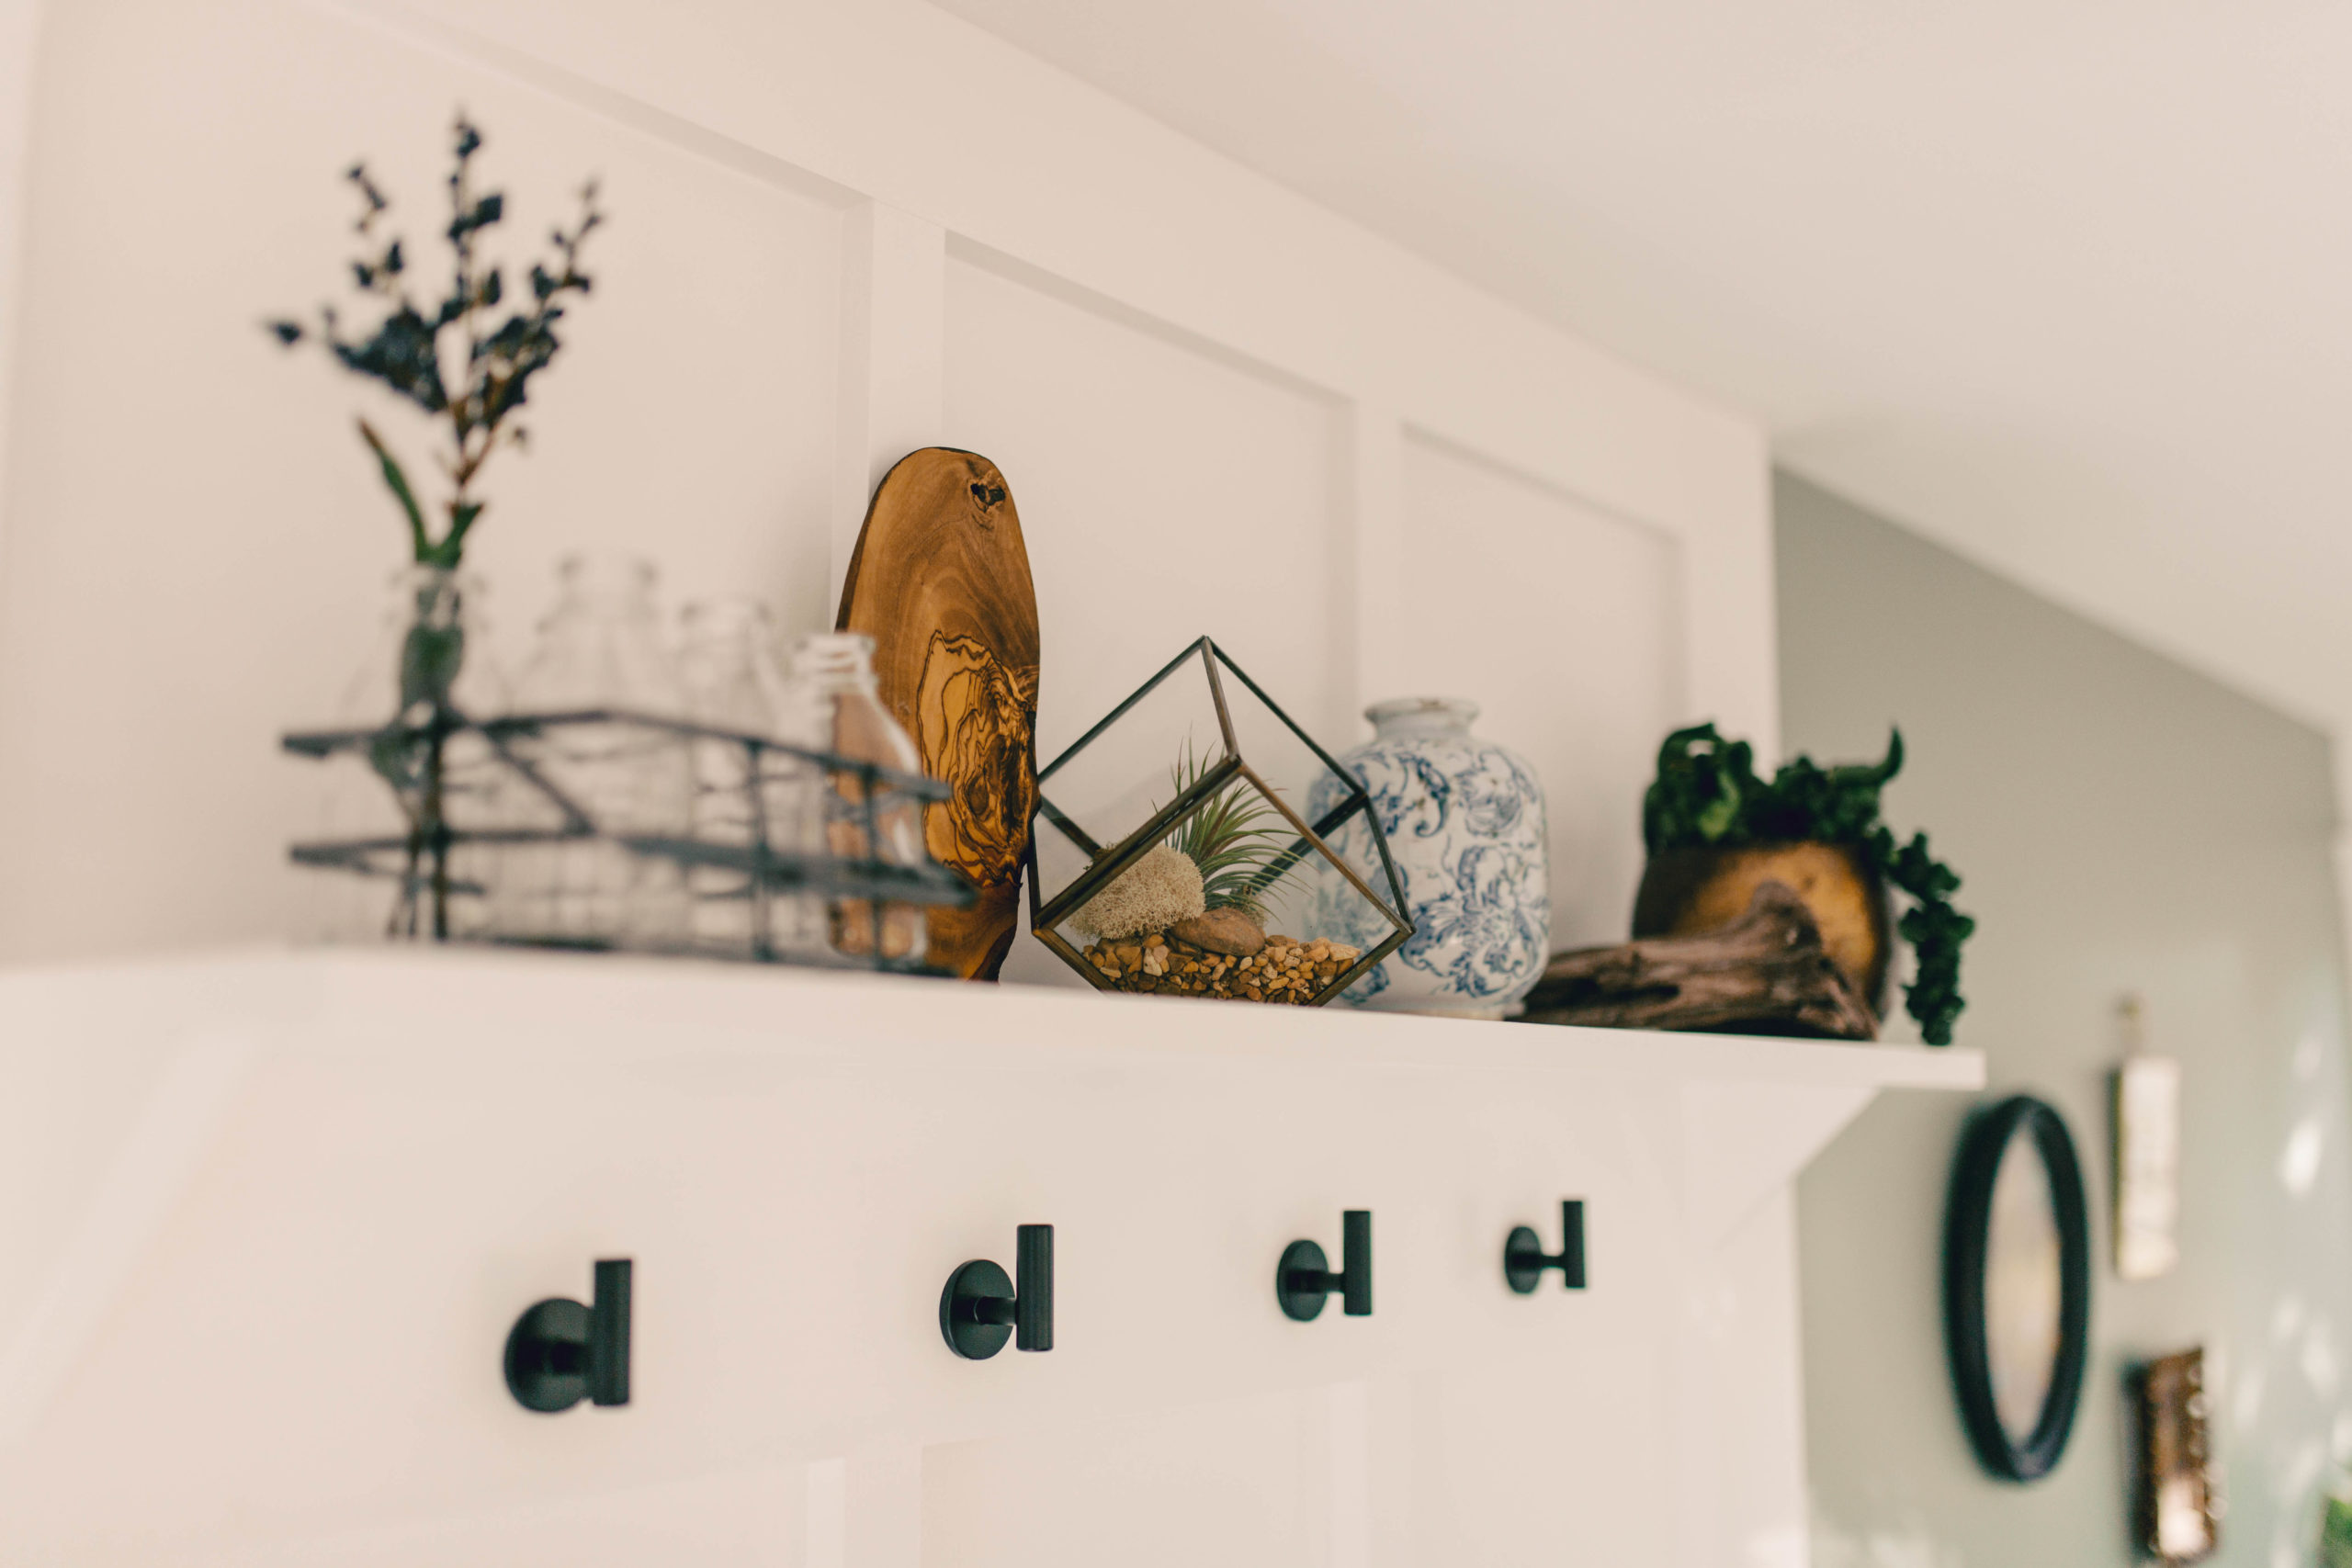
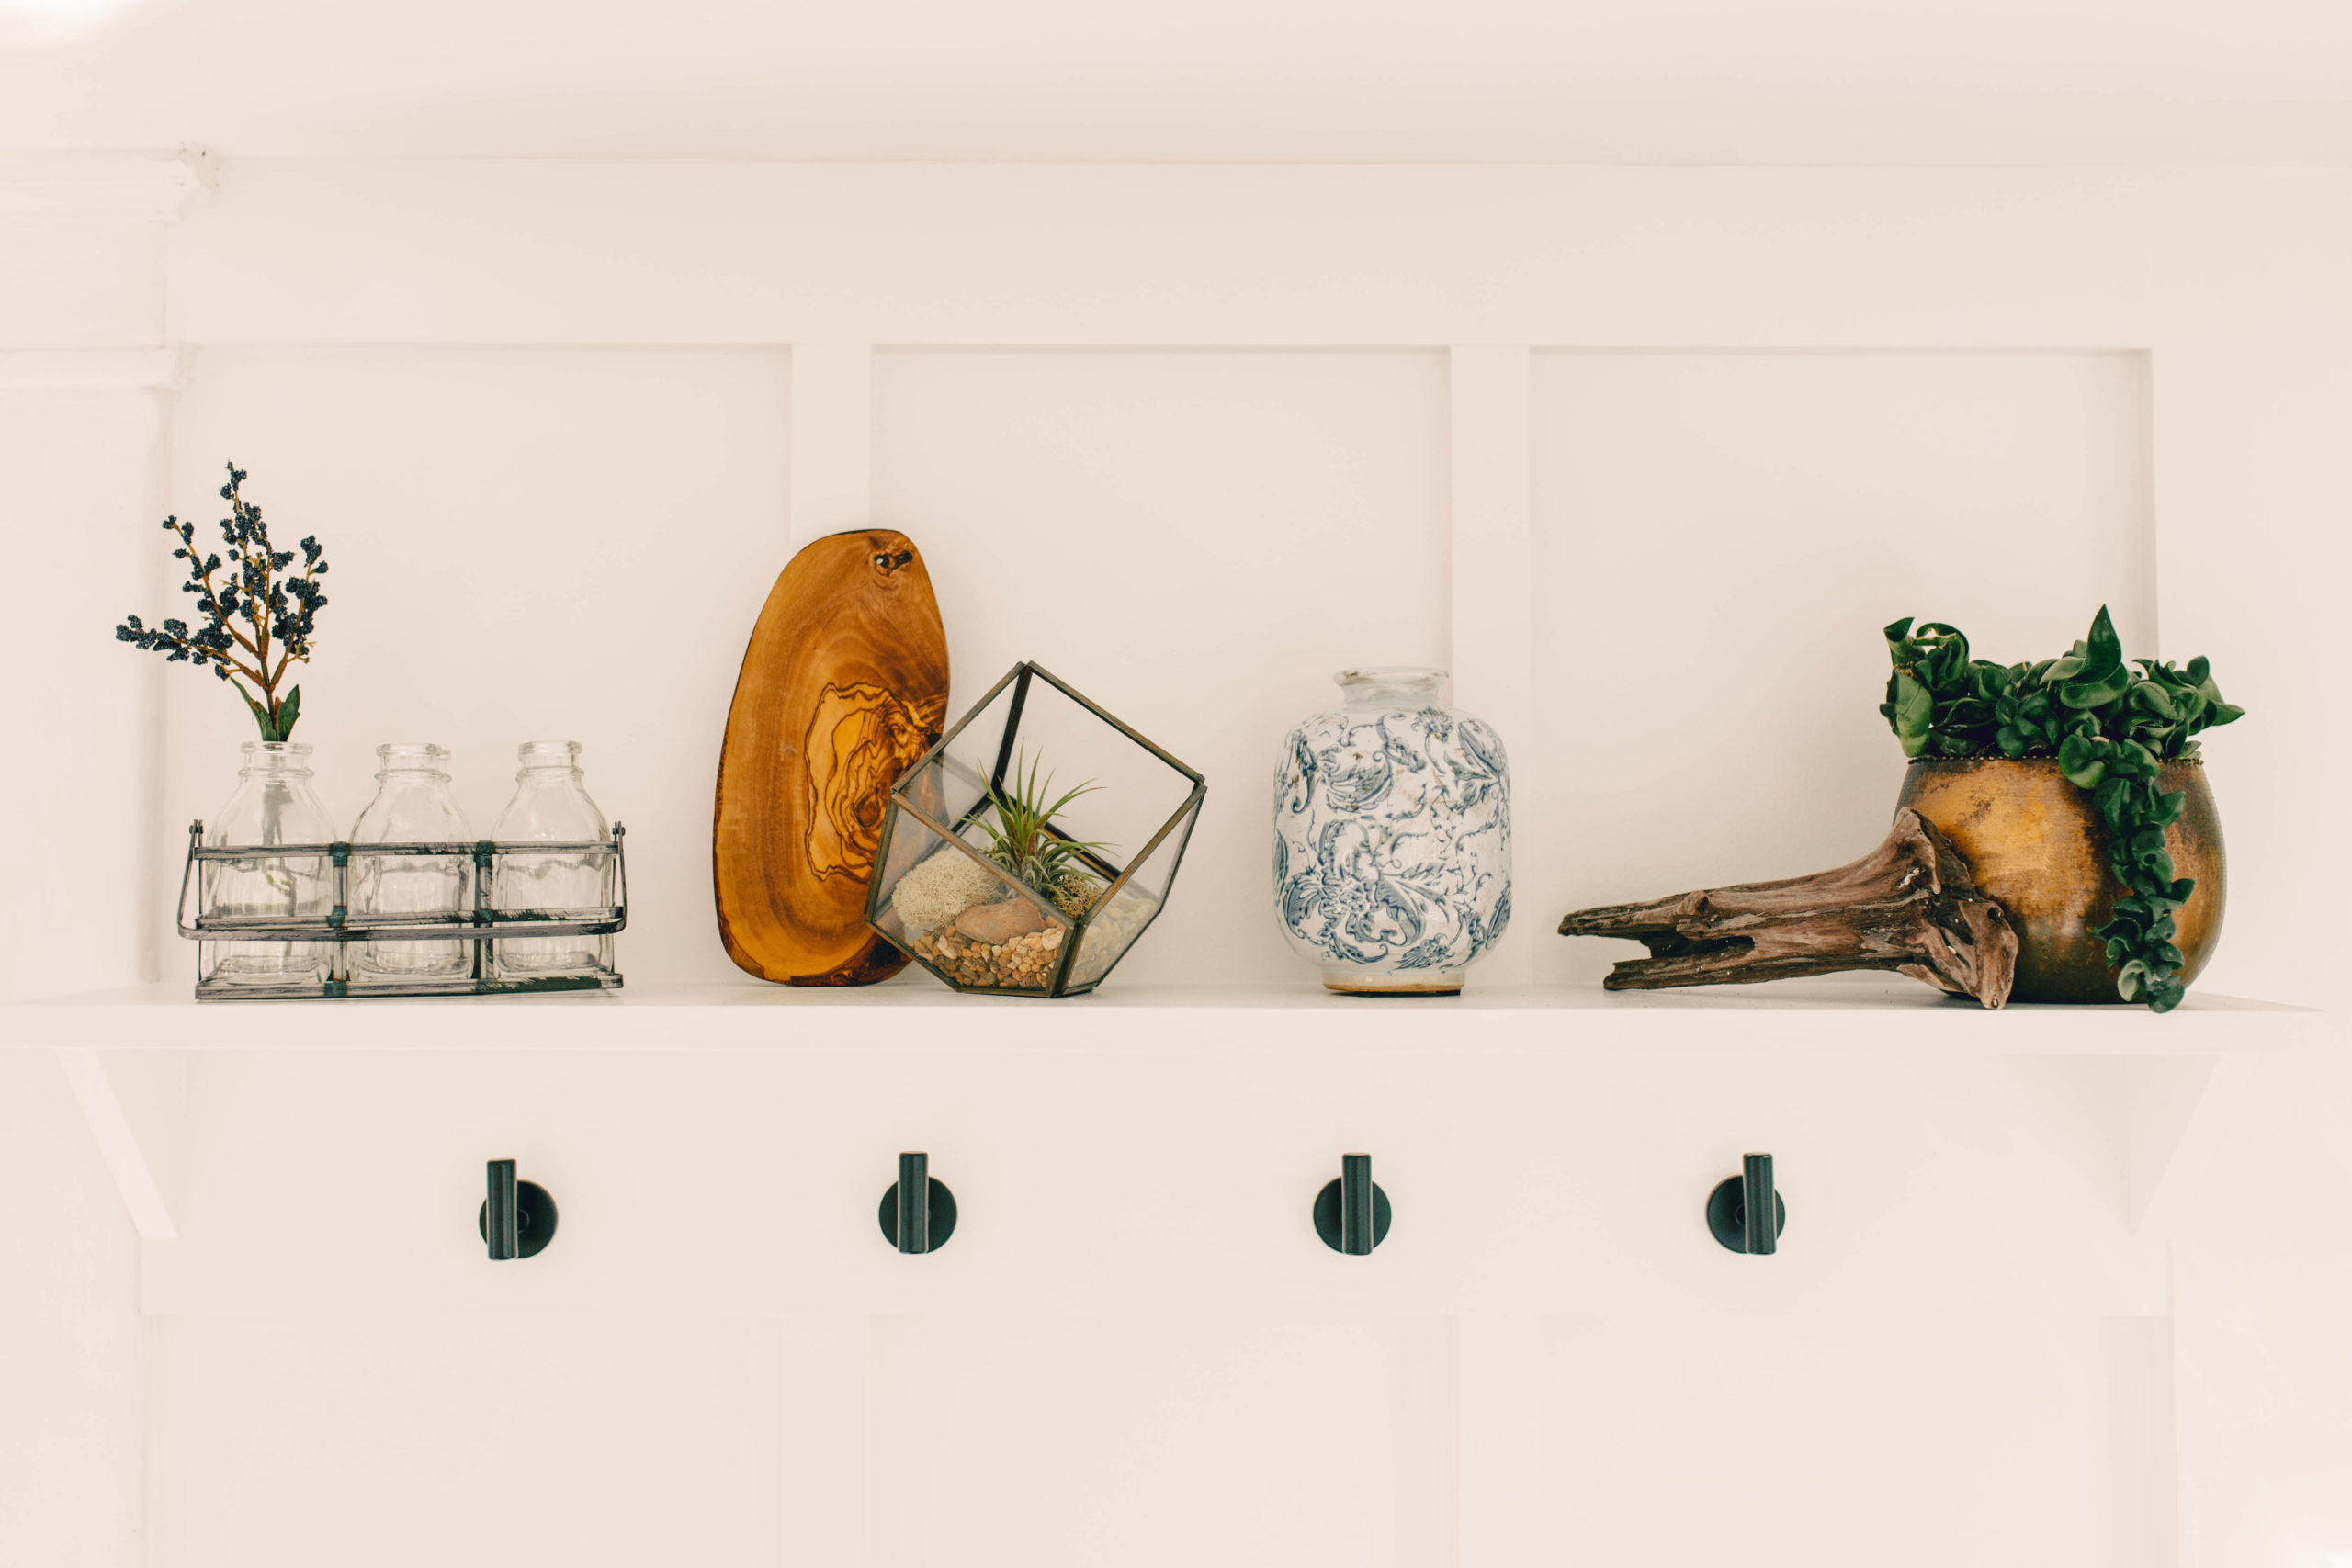
The shelf was so much fun to style. The propagation station on the left is actually a tiny milk crate with miniature milk bottles from TJ Maxx (similar here), and I’ll use it to propagate plant cuttings over time. The pillows, burled wood board, and baskets in the drop zone are all from TJ Maxx as well. The air plant in the terrarium is from (you guessed it!) L&C Cacti, as is the Hindu Rope Hoya as mentioned above. Last but not least, the blue antique looking vase was a clearance find at a craft store, where I also found the “push” and “pull” signs for the door to the kitchen.
Last but not least, our amazing rug is from Ruggable. Ruggable rugs are a two part system: a rug pad that sits a little smaller than the actual rug, and the rug top, which is machine washable and dryer safe. I was debating getting a vintage rug for this room, but I’m so glad I opted for something more durable. I’ve said it before, but I always want my house to be both beautiful and comfortable for people, and my being anxious about mud getting on a vintage rug in a MUD room would not make anyone comfortable.
I’m so glad we took on this project, and grateful to Jonny for being a good sport and helping my vision come to life. I hope you enjoy looking through these photos just a fraction as much as I enjoyed completing this room! Don’t forget to follow the link below to see the other designers and guest participants–there are some AMAZING room transformations!

All photos by Rachel Breakey Photography. All rights reserved.
Leave a Reply Cancel reply
For even more content, sign up for my newsletter. I share weekly recaps so you won’t miss anything, as well as personal notes and answers to your questions. Sign up here! I promise I’ll never sell your information or spam you with unsolicited emails.
Nice job!
it looks fabulous- love all of the colors and the plants!
Great vision! Beautiful transformation! I’d like to see some inside shots of the way the cabinet functions.
Way to add SO much style and function!!! Must be so enjoyable to use and walk through now!! Great job!!
What a great space. So bright and attractive and functional!! Love that! I’m also trying to find homes for my plants inside for winter so this great sunny spot would make me happy!
Such a lovely mud room! I love all of the plants!
[…] a guest blog participant in this Spring’s ORC. If you were here for the Fall ORC last year, you might remember that we redid our laundry/mud room. I loved how it came out, and I love a good project, so we decided to do it again this Spring. Due […]
[…] and sometimes more mysteries, like finding yellow painted siding behind our breaker box when we redid our mudroom last fall–I did get my yellow painted house after […]
[…] is our third ORC–click here to see our first, our Laundry Room Makeover, and our second, our Front Porch Makeover. We took this Spring off, and I’m so glad we did, […]