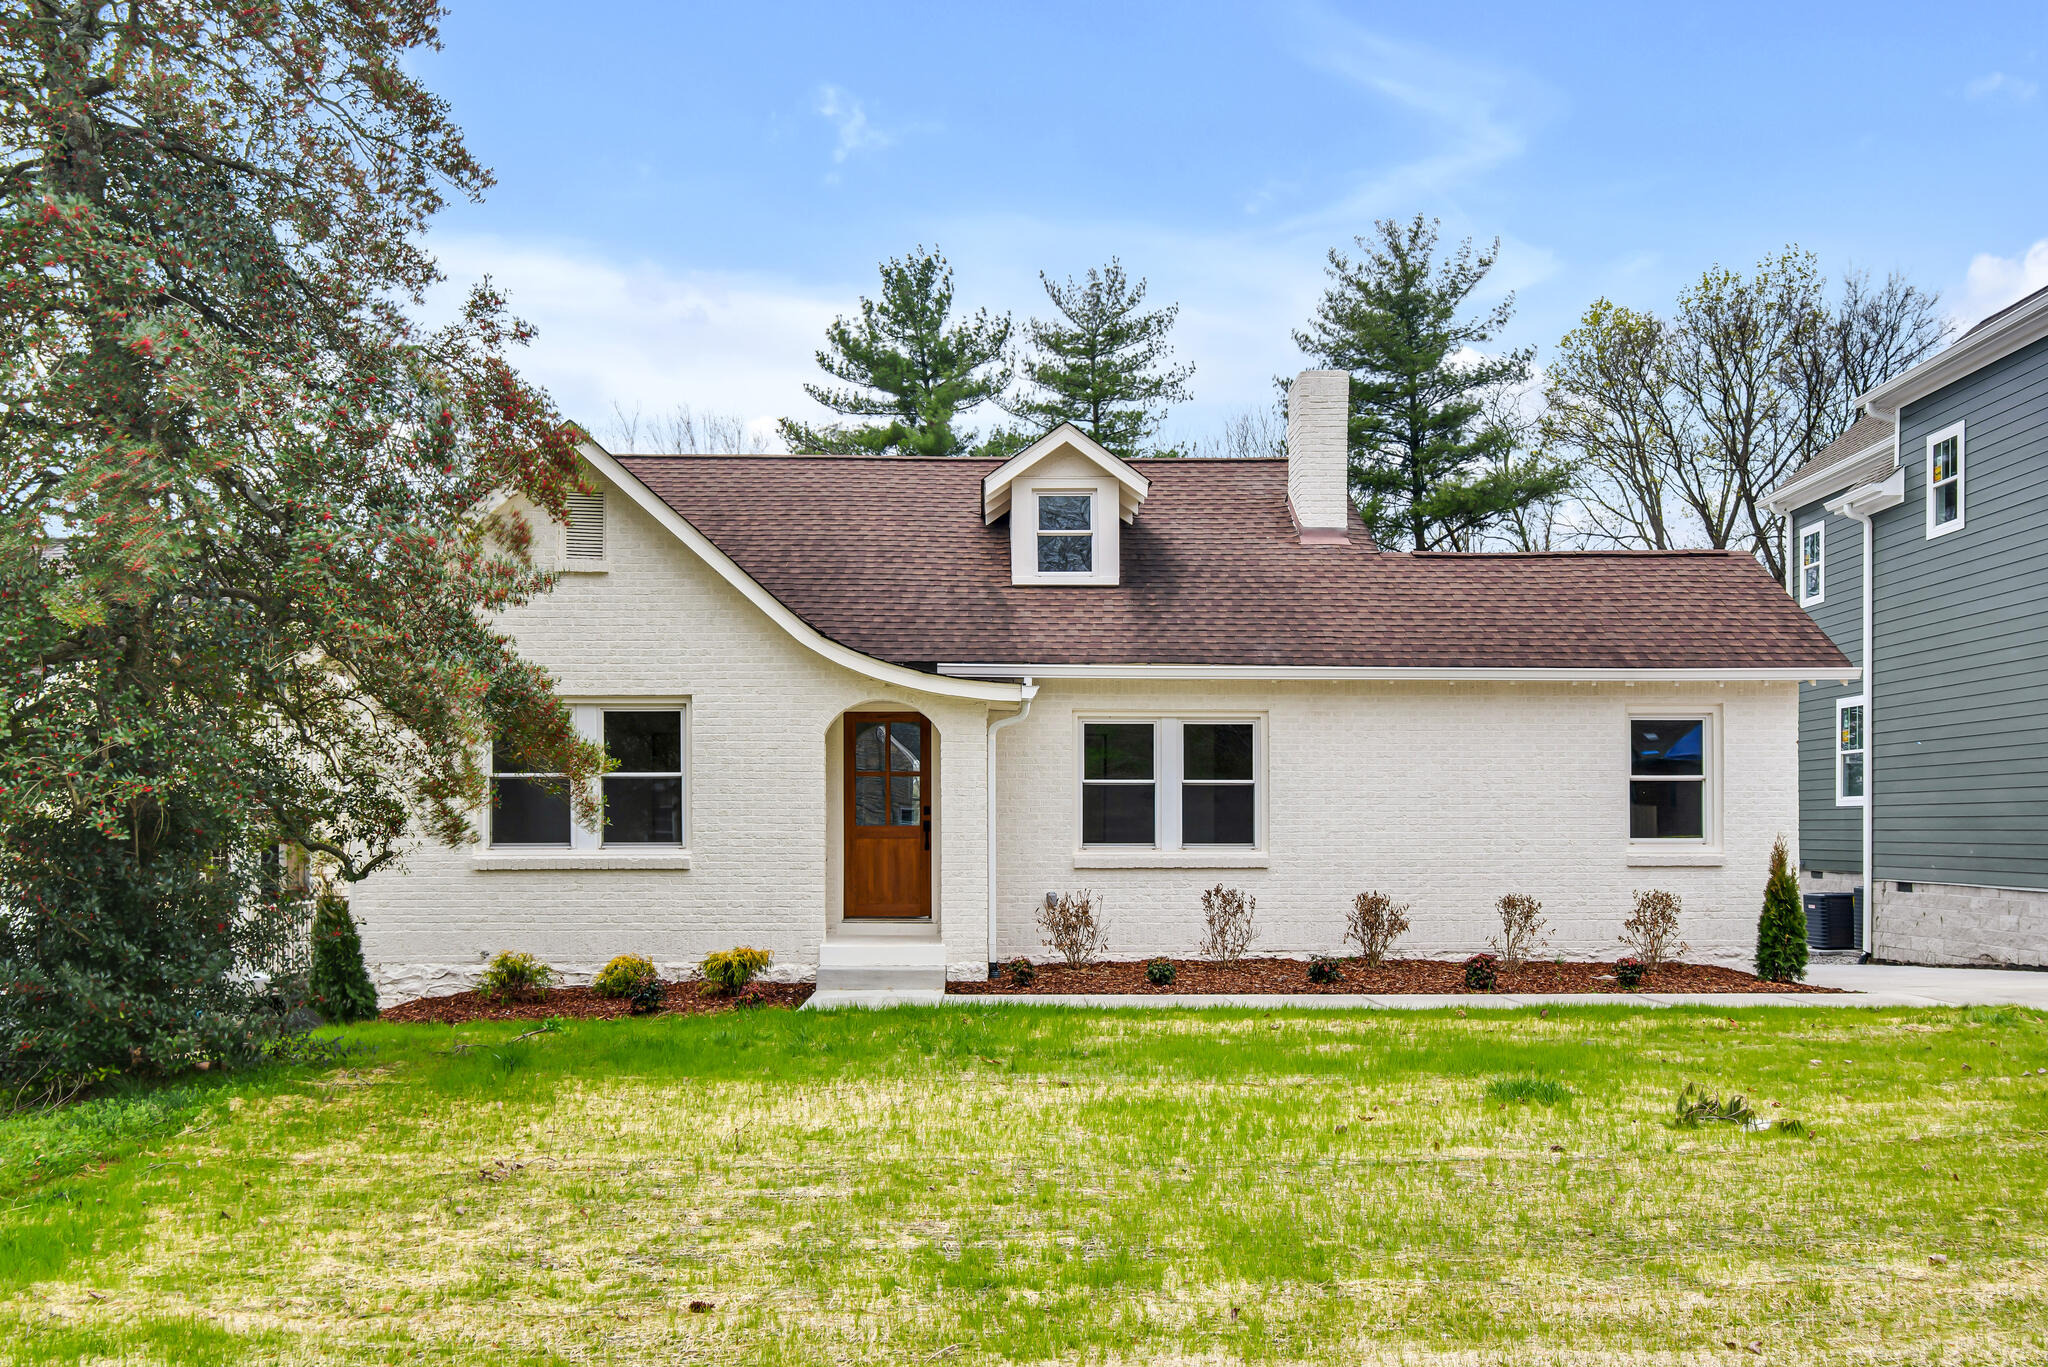
Bonnie – After
March 23, 2023
Well folks, it’s been two years since I last blogged about the Bonnie House project. Here’s what happened:
- Investors closed on Bonnie early 2021.
- The lot was a double lot, so the developer split the lot and began permitting for a new construction house next door.
- Demo began, and though we ran into quite a few hurdles, progress was happening.
- The house had no HVAC (yes, someone lived there in the Tennessee summers up until the year before we closed), and the basement was completely unfinished, so our work was cut out for us.
- Halfway through the renovation, we restructured contractors and subs, so things slowed down as we got the new project manager caught up.
- This project has been 95% complete for quite some time, but we have been waiting on a lot of red tape and final inspections. Additionally, the temporary power line for the new build next door stretched across the driveway and the pole was right in Bonnie’s front yard.
- The project was finished up last week and the power pole removed.
- The house was staged for listing, and photos were taken to get this house on the market.
- Yesterday, I listed it as coming soon, and today we go live and start showings!
It’s been a long process, and to be honest, our Ruby project house took up the majority of everyone’s time and energy because it was so much bigger (more on that coming soon). But today, I’m thrilled to call this project DONE and show you the “after” photos.
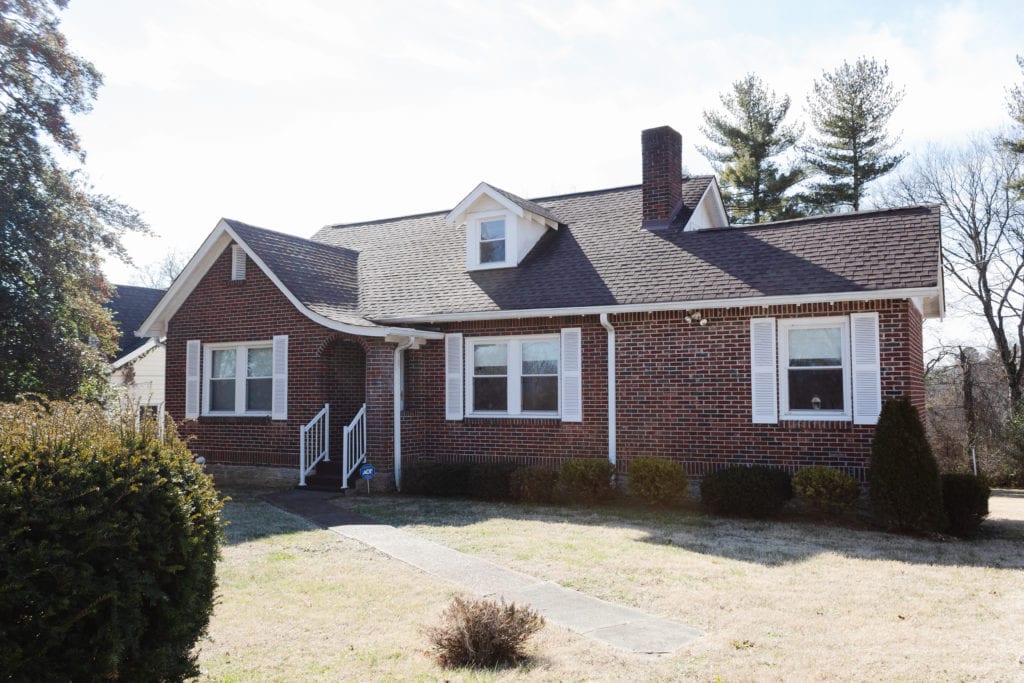
First, to get the full effect, you need to see the before photos (click here).
To see the listing, click here.
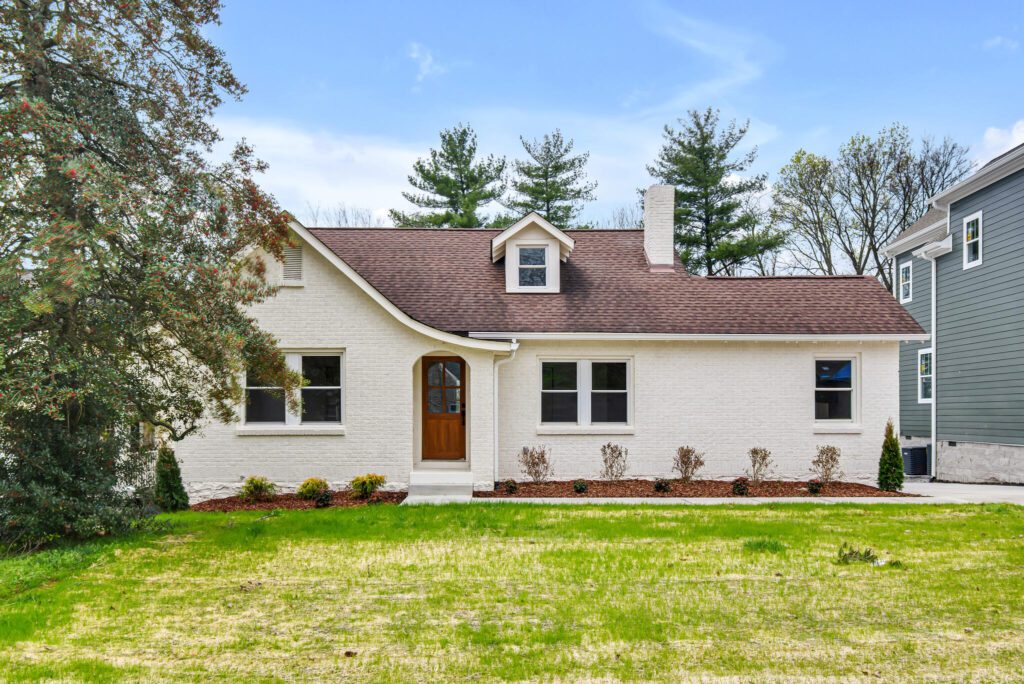
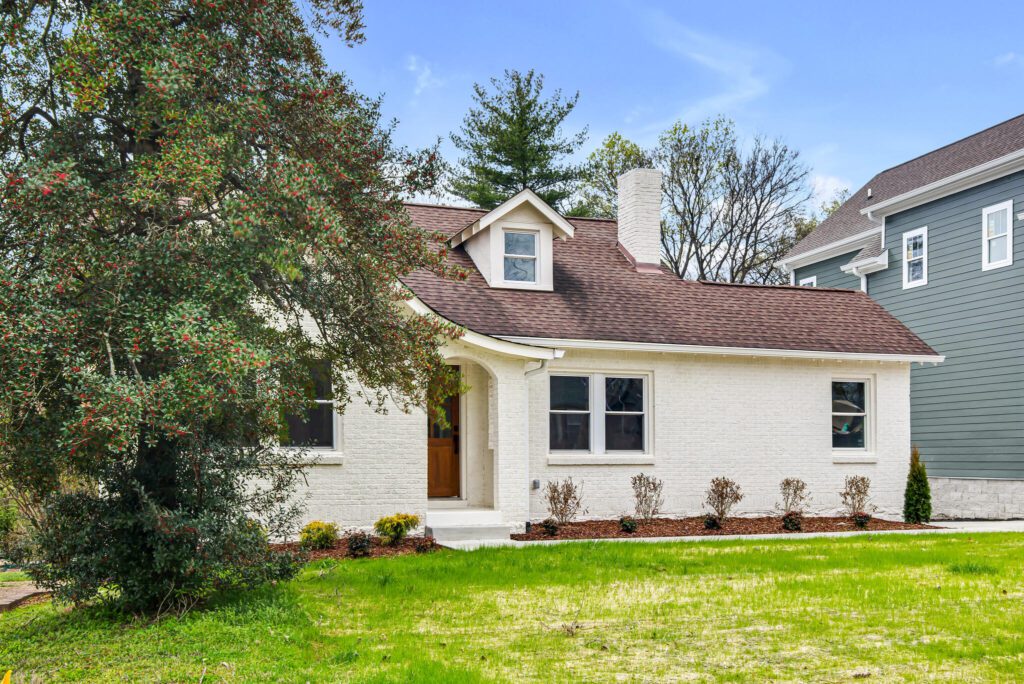
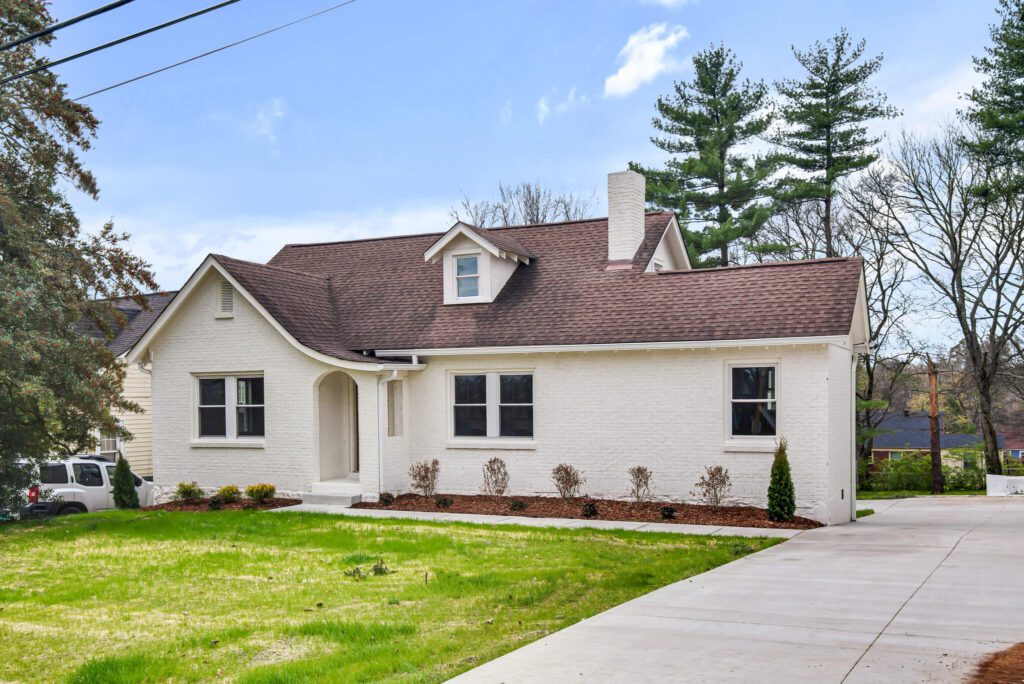
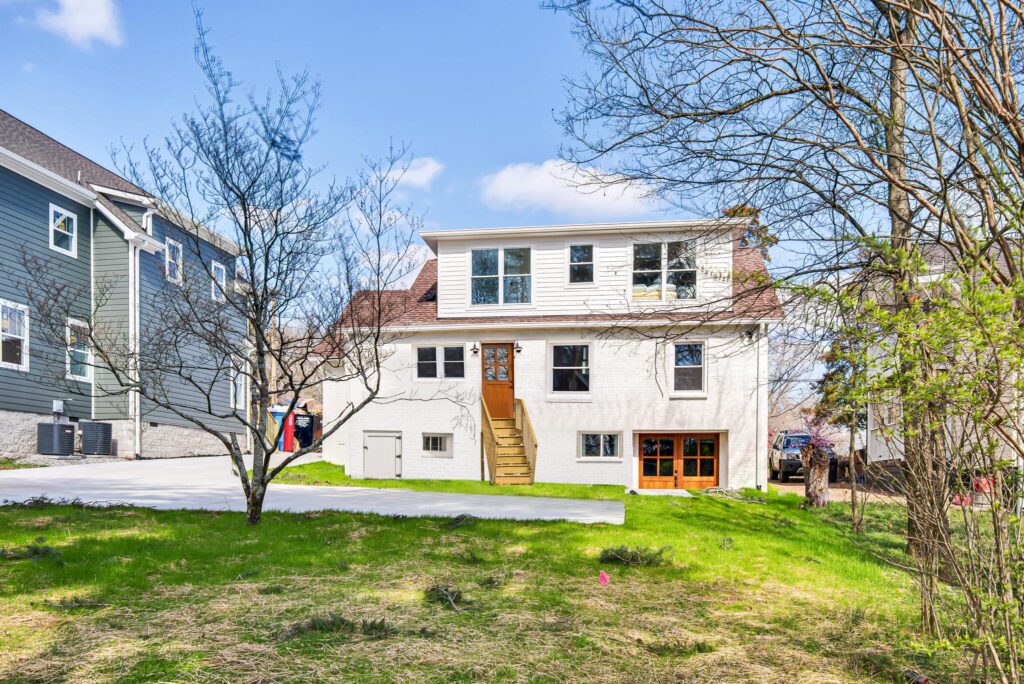
I wanted to keep the exterior red brick, because it was such a great, moody cool red. Unfortunately, when we removed the kitchen door and enclosed the exterior landing off the kitchen into a pantry, the brick patching we had to do didn’t blend well enough, and we had to paint the whole house. Ah, well. I’ll always love a creamy white brick, too. The exterior paint color is Creamy by Sherwin Williams (SW 7012).
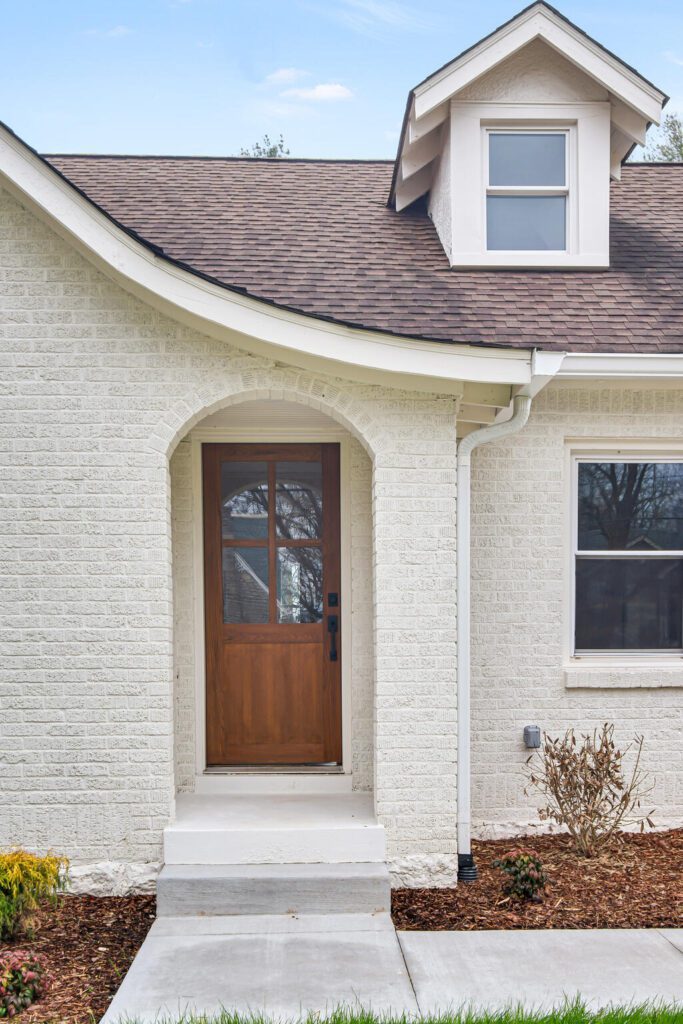
The radial roof over the front porch archway is the cutest 1930s detail, and the arches continue inside the house. We had to narrow the original arch to make room for the stairs going up and down, but I’m so glad we kept the arches–they add so much charm.
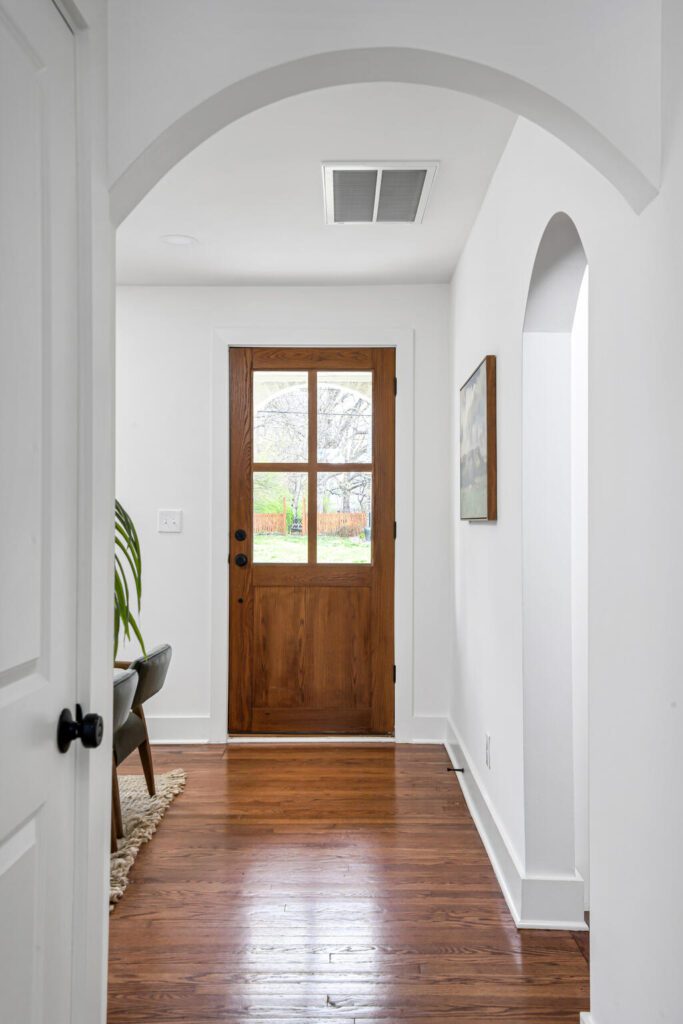
All of the exterior doors are custom white oak, made by Ridgeline Cabinets, who we love using on any project we can.
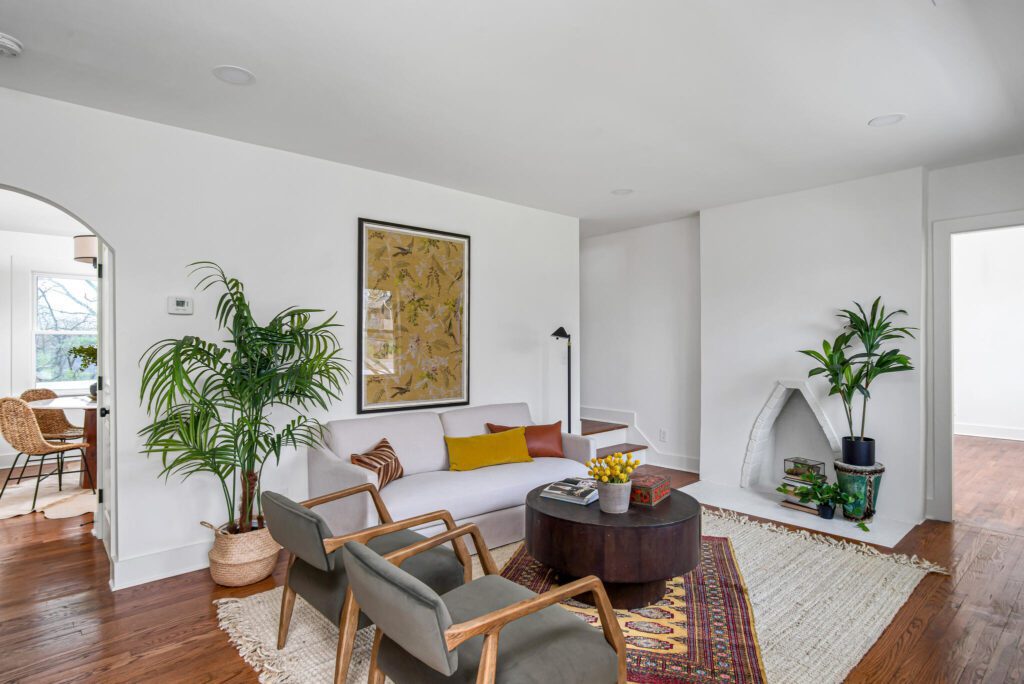
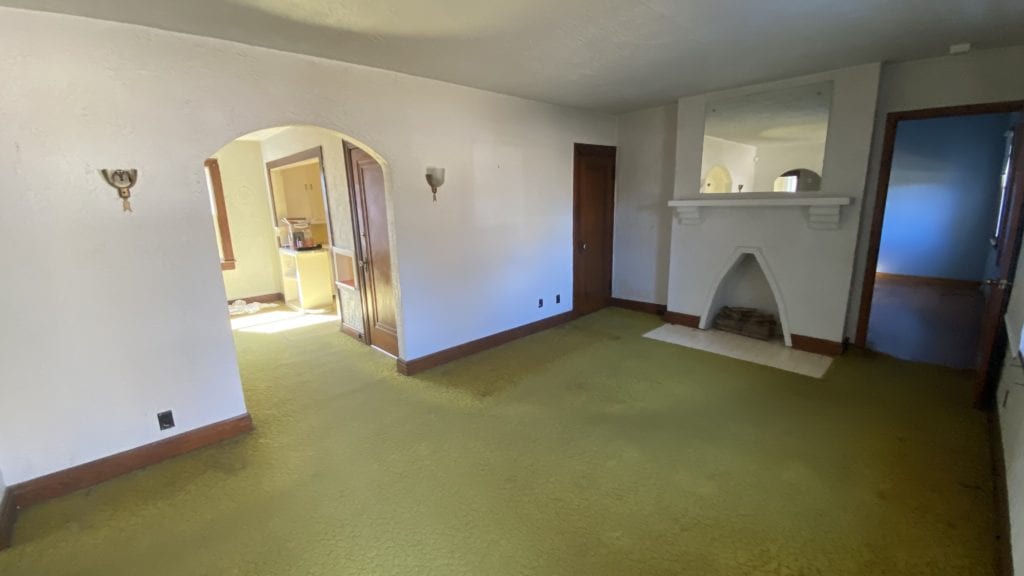
I had several people tell me they wished I had kept the chartreuse shag carpet in here, but I’m personally in love with these original hardwoods that were hiding underneath.
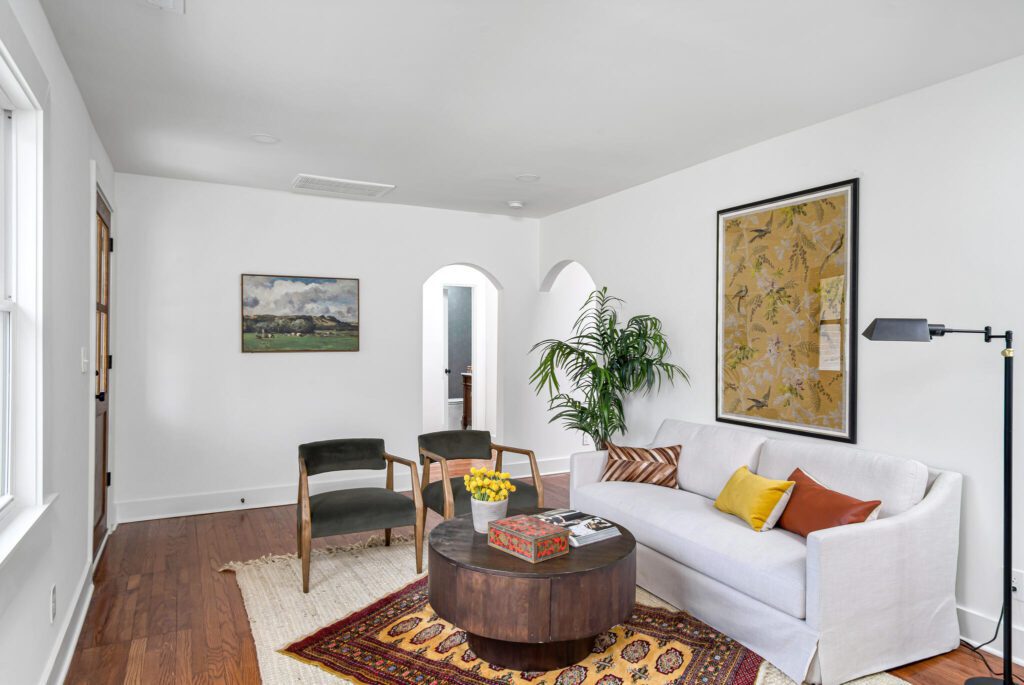
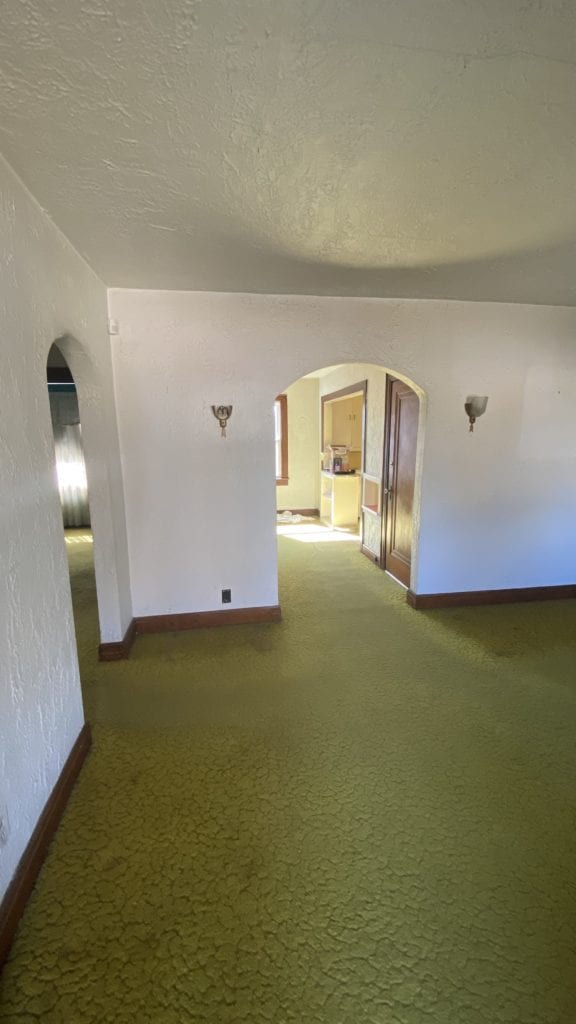
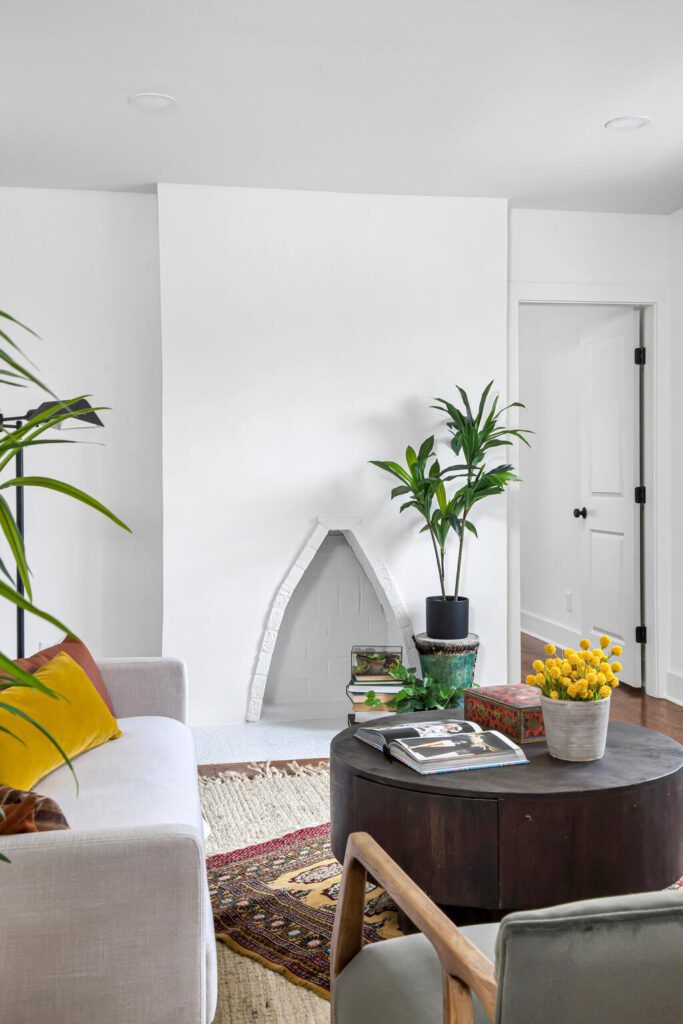
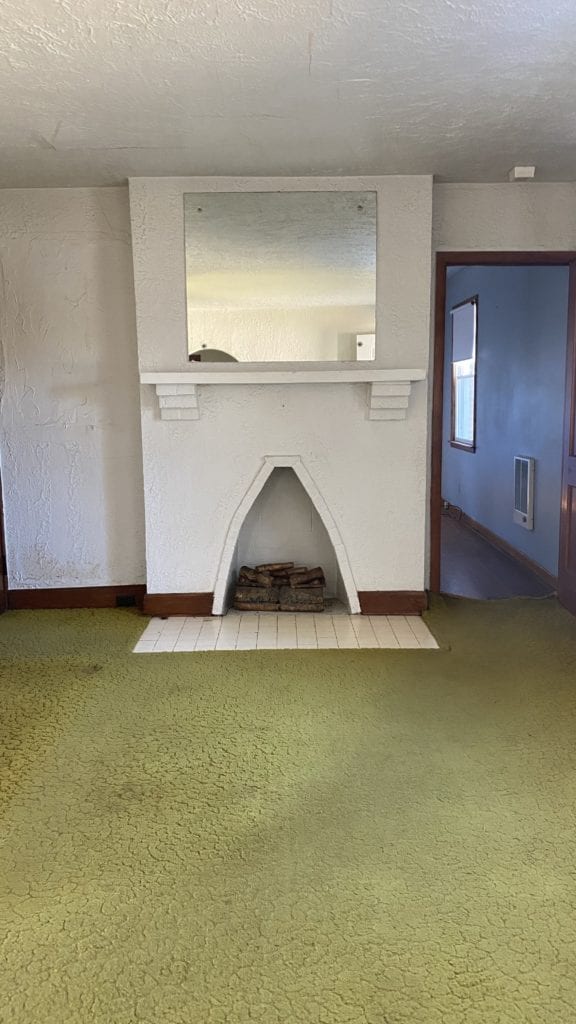
How about the cutest little fireplace? It’s non-working, but I’ve never seen a fireplace with this shape and I love it. We removed the mantel that was just a board on top of two brick corbels, replaced the tile, removed the ancient electric logs, and refinished the surface of the plaster to get rid of the ridges and decades of dust.
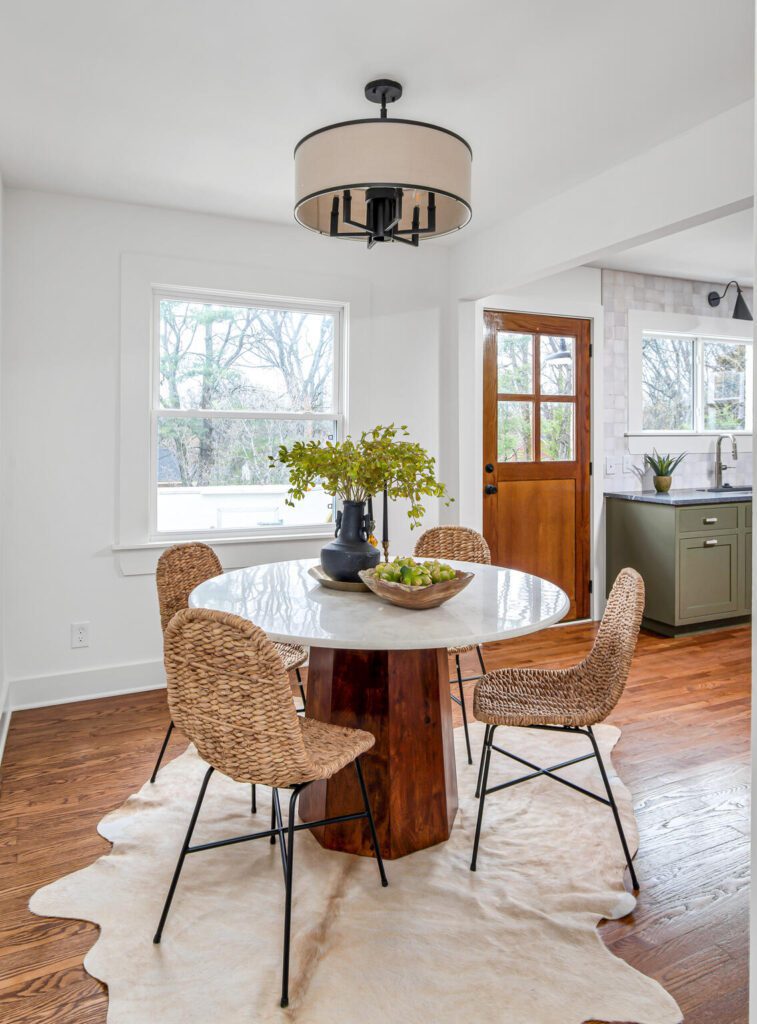
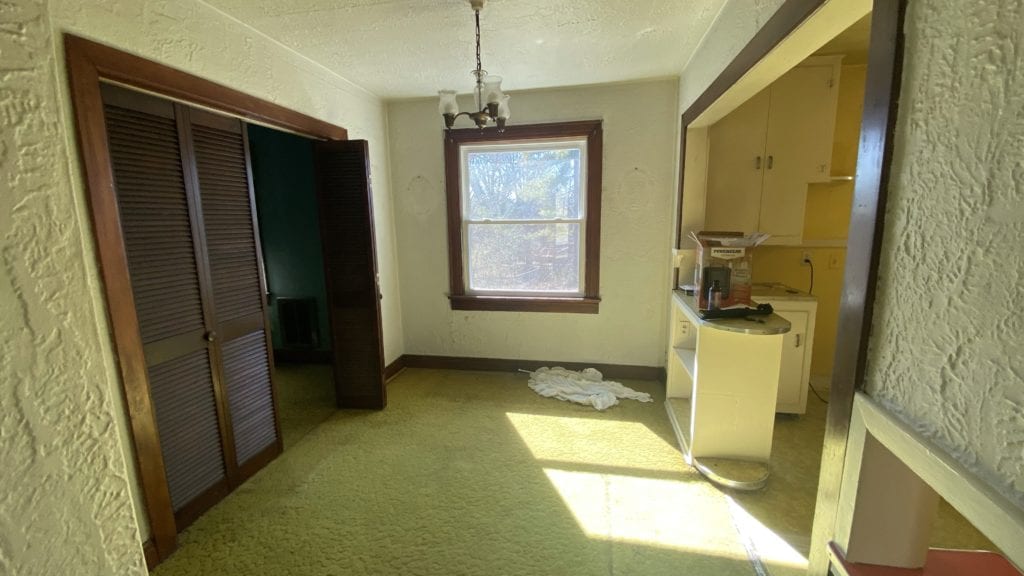
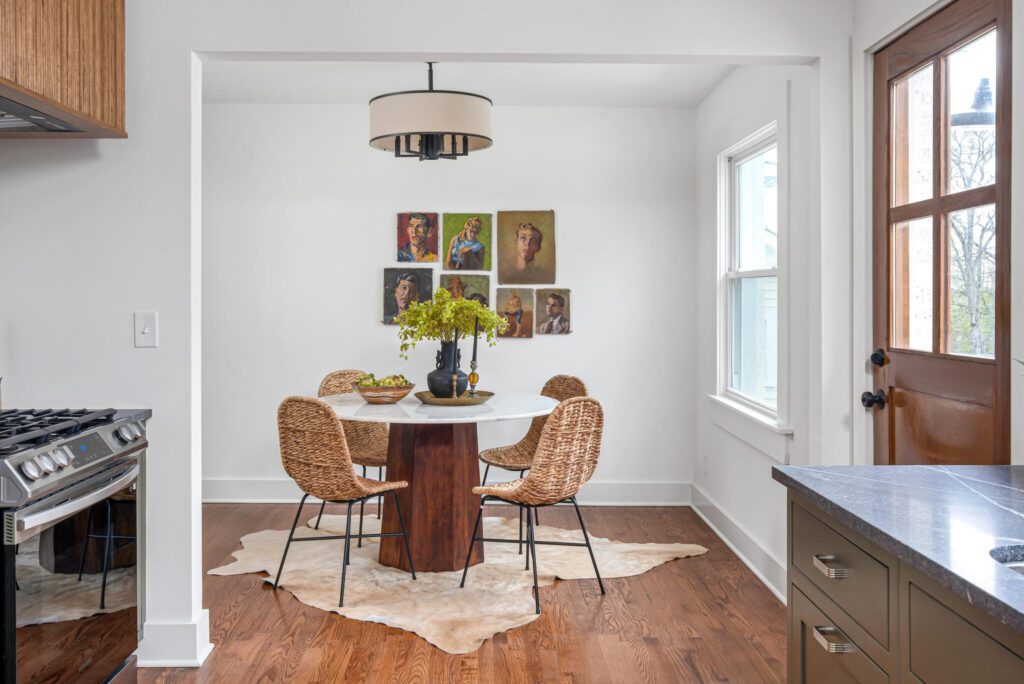
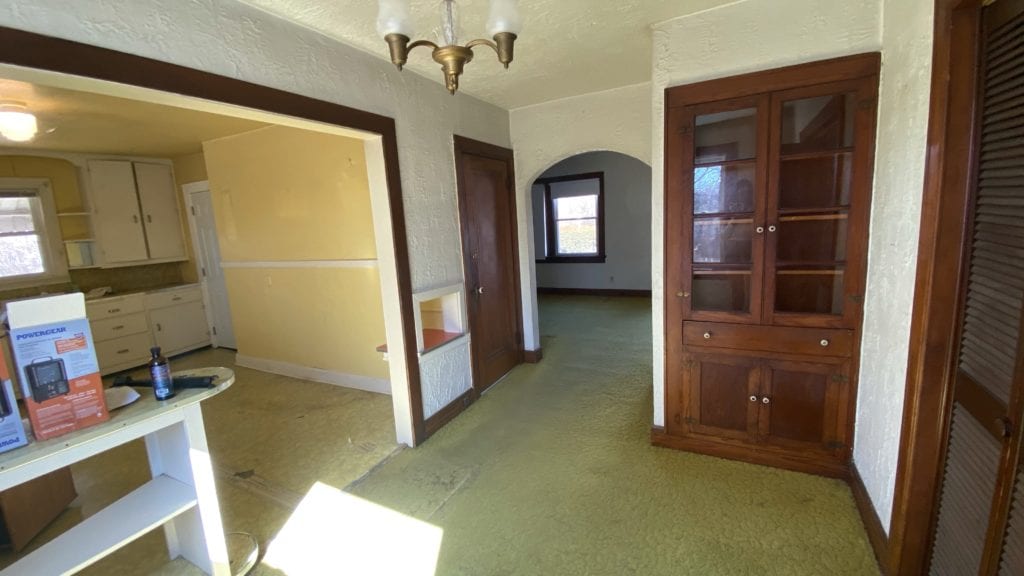
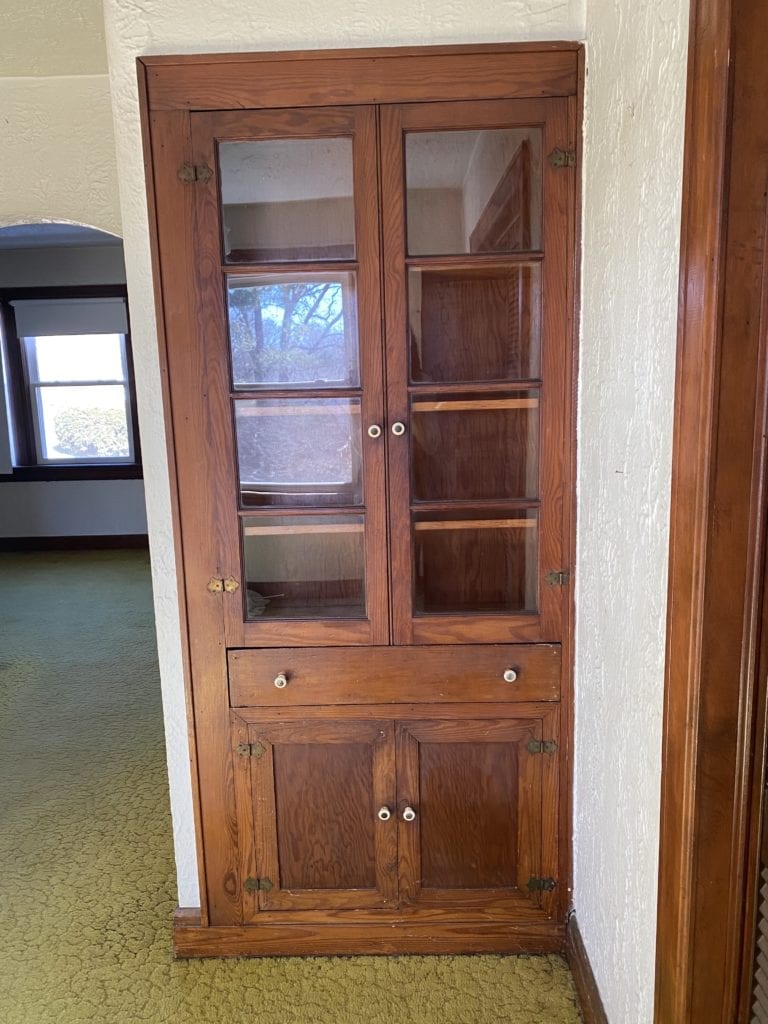
What was once a gloomy room with too many doors to be functional is now a bright and cheerful dining room. We had to remove the sweet built-in shelves, which was an unfortunate side effect of the necessary extending of the stairs so that they weren’t as steep as a ladder. This also extended the kitchen wall, which leads us into my favorite room of all…
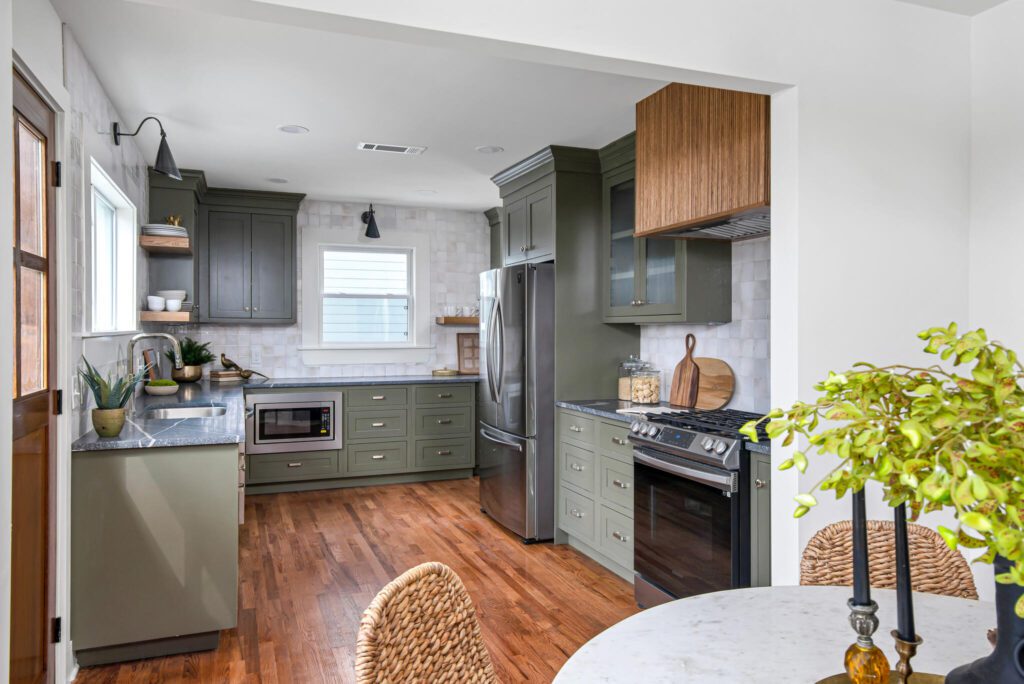
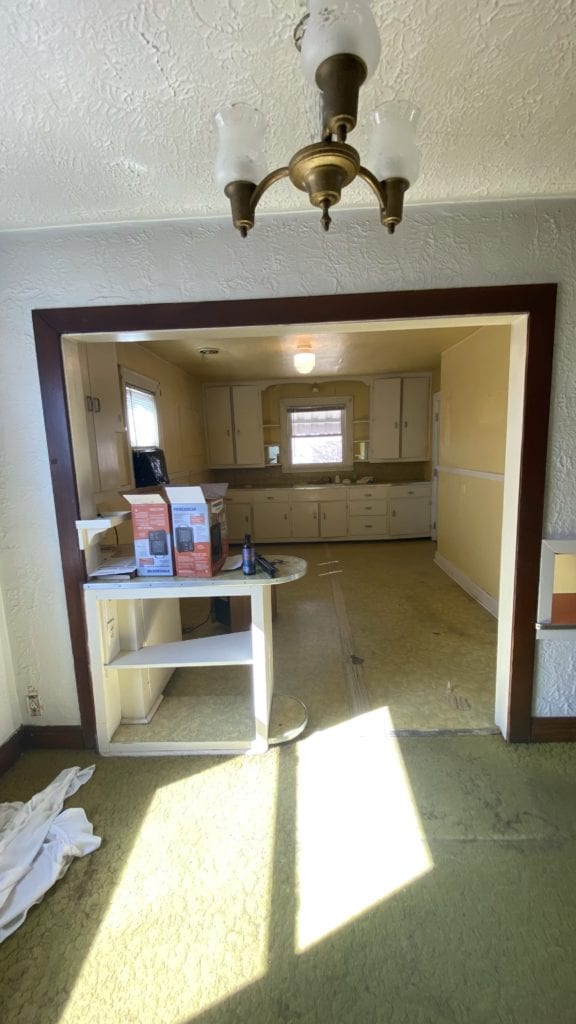
The bright and beautiful kitchen. Can you believe this is the same space?
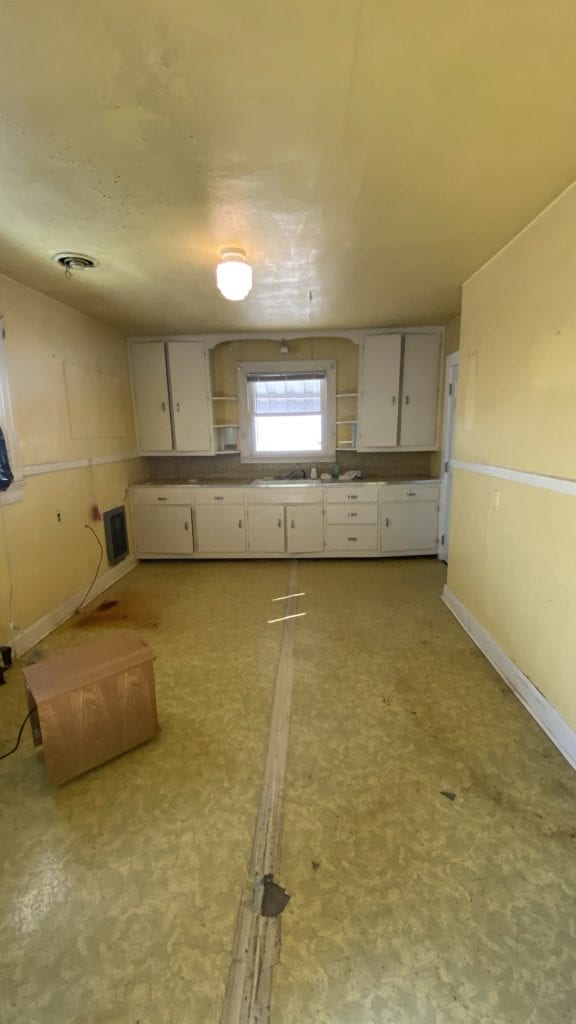
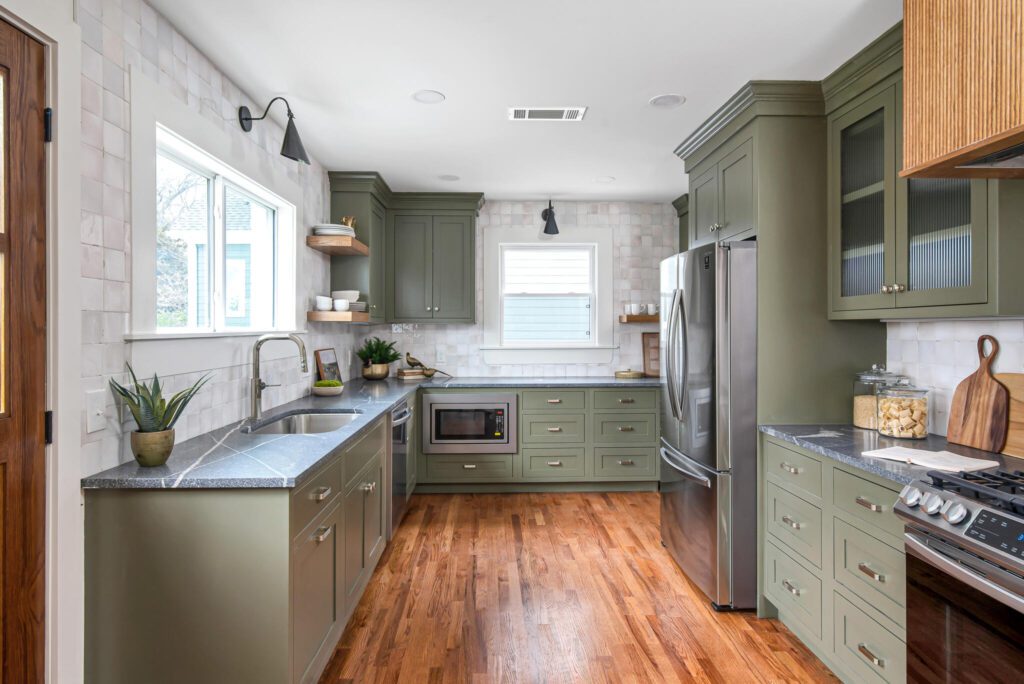
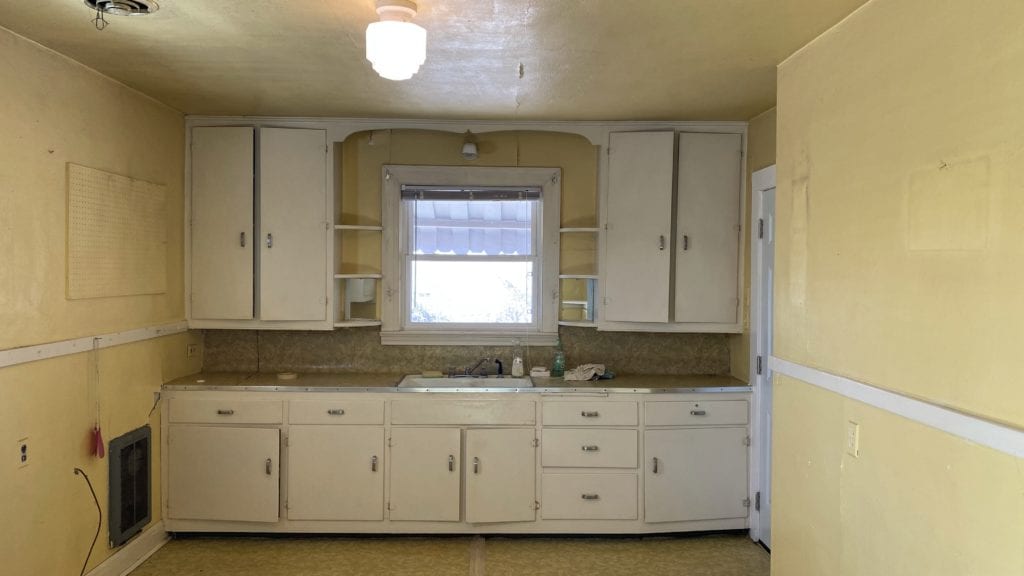
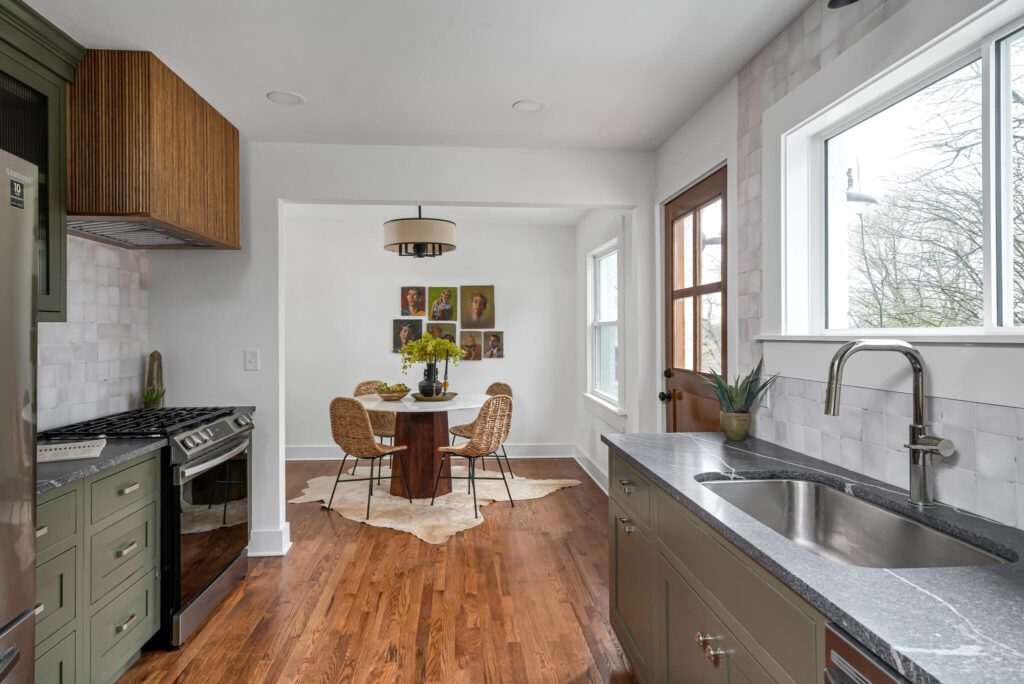
All of these cabinets were custom made by Ridgeline Cabinets, and the paint color is Sherwin Williams Sage Green Light (SW 2851).
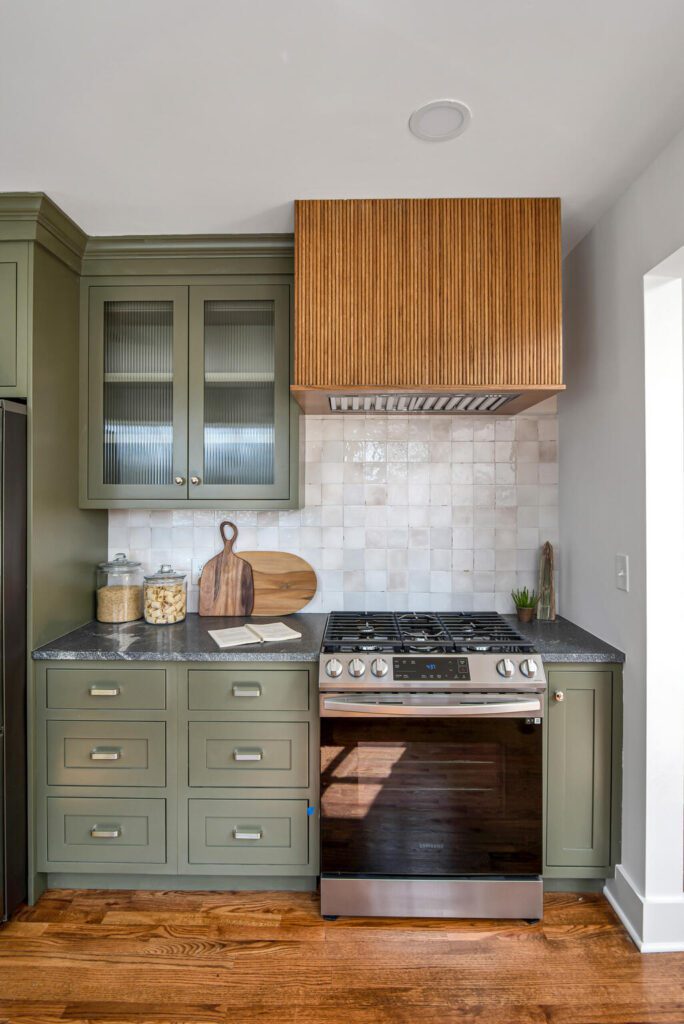
This will probably always be one of my favorite kitchens I’ve designed. The custom reeded range hood, the counters, the green cabinets with polished nickel hardware… I love it all.
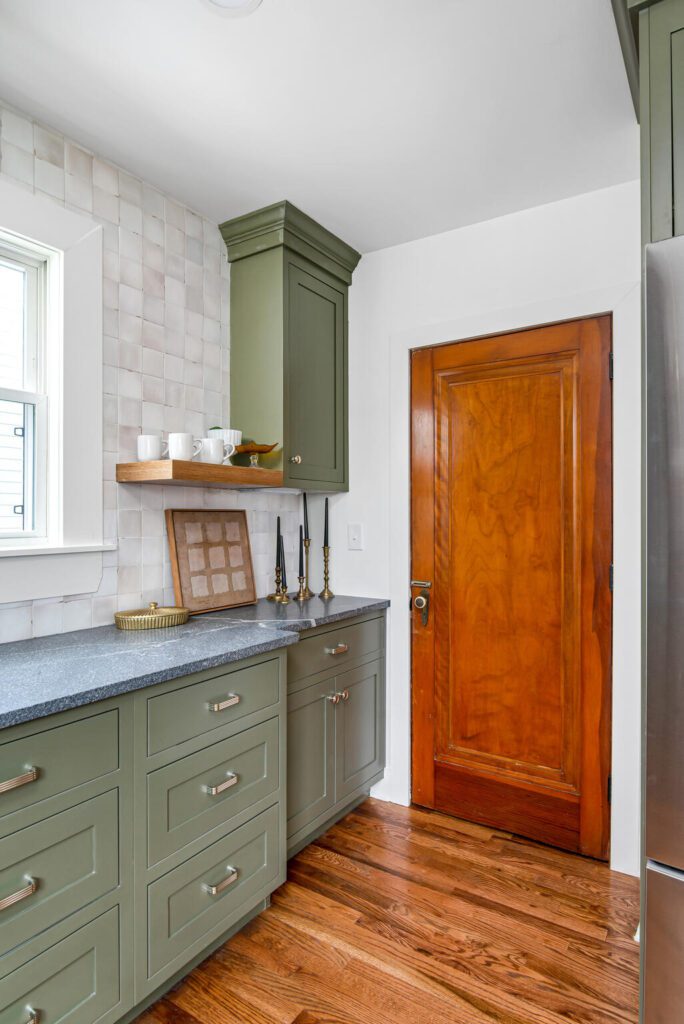
The counters look like soapstone, but they were less expensive and MUCH more durable. They’re Saratoga Silver granite, which I’d highly recommend. I may even use them in a future project again, because they look like soapstone in person, but without the maintenance.
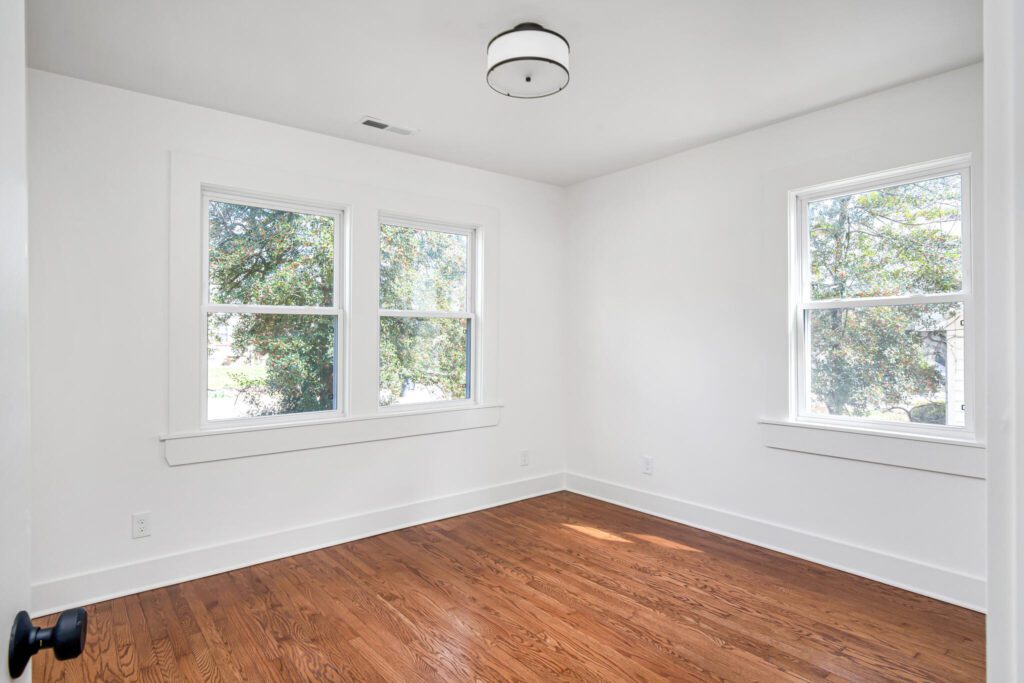
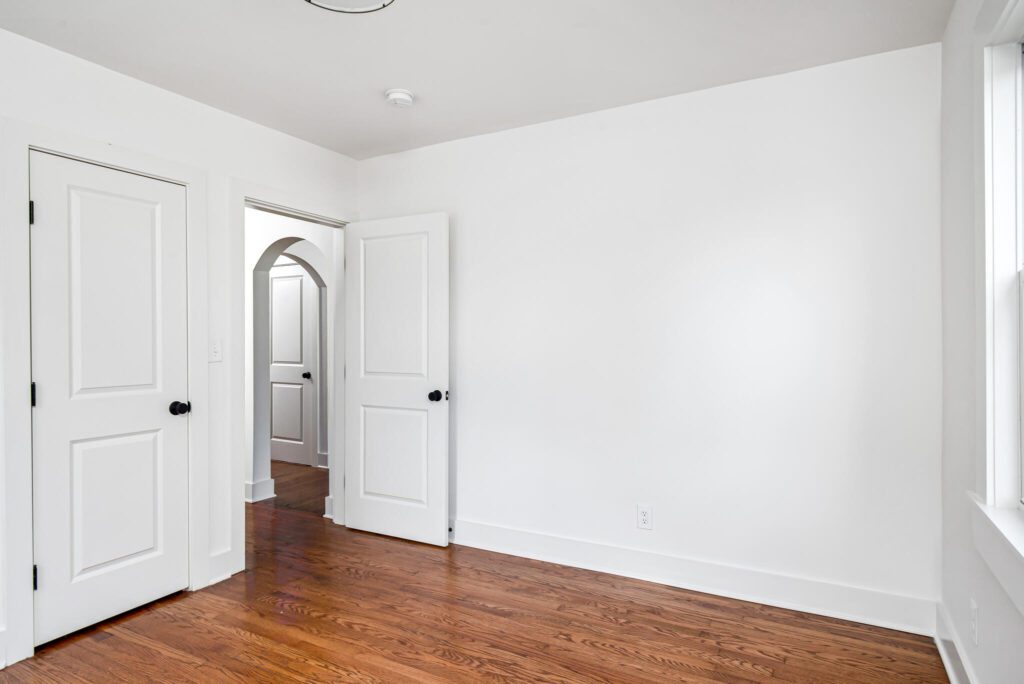
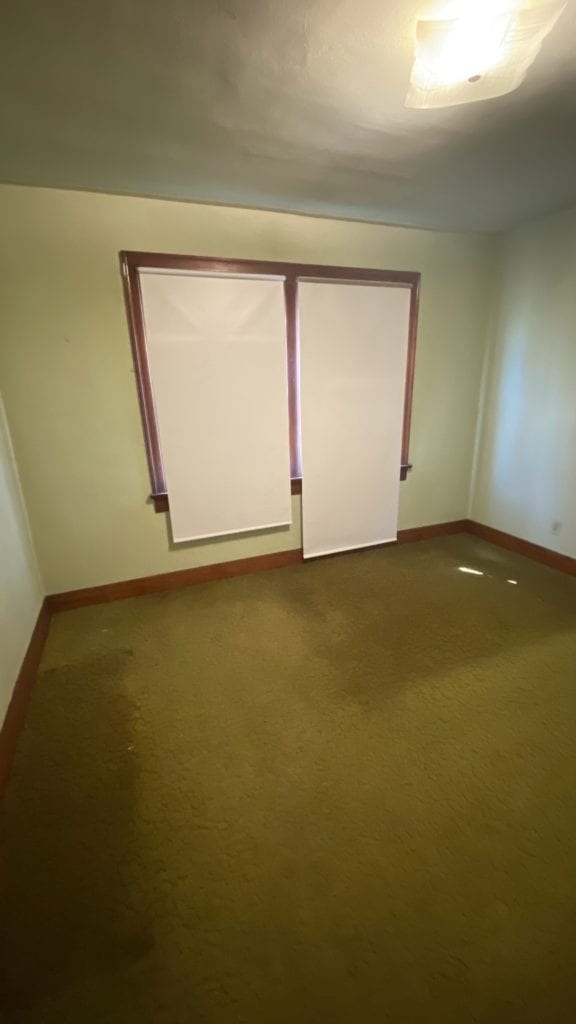
The three main floor bedrooms all got fresh walls, trim, and refinished floors, and they all have tons of light.
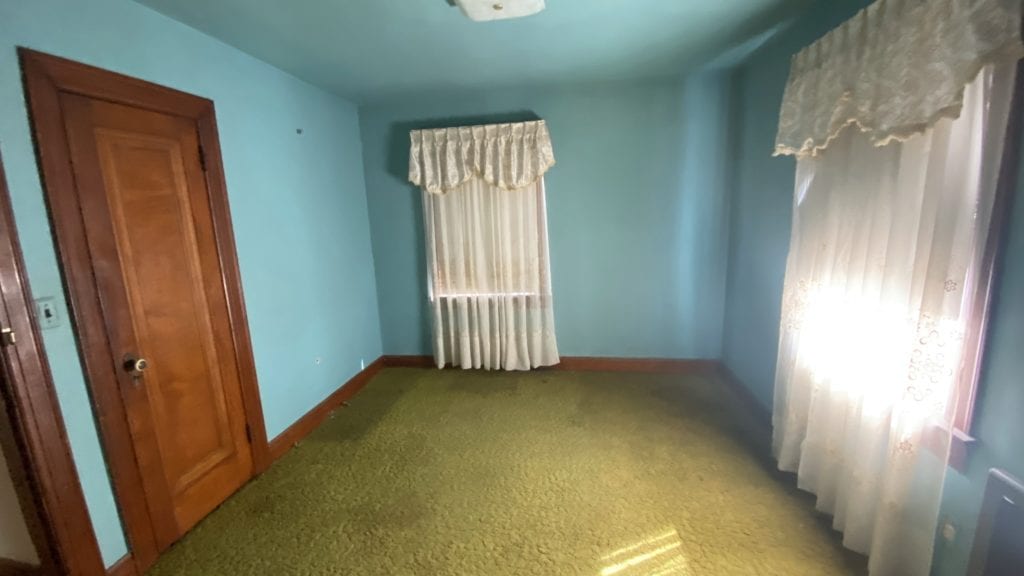
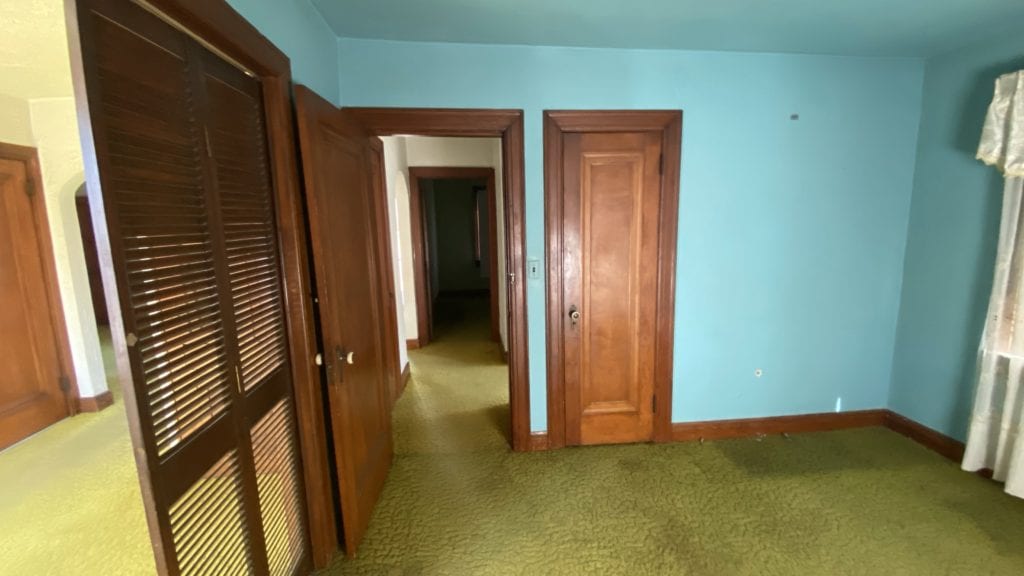
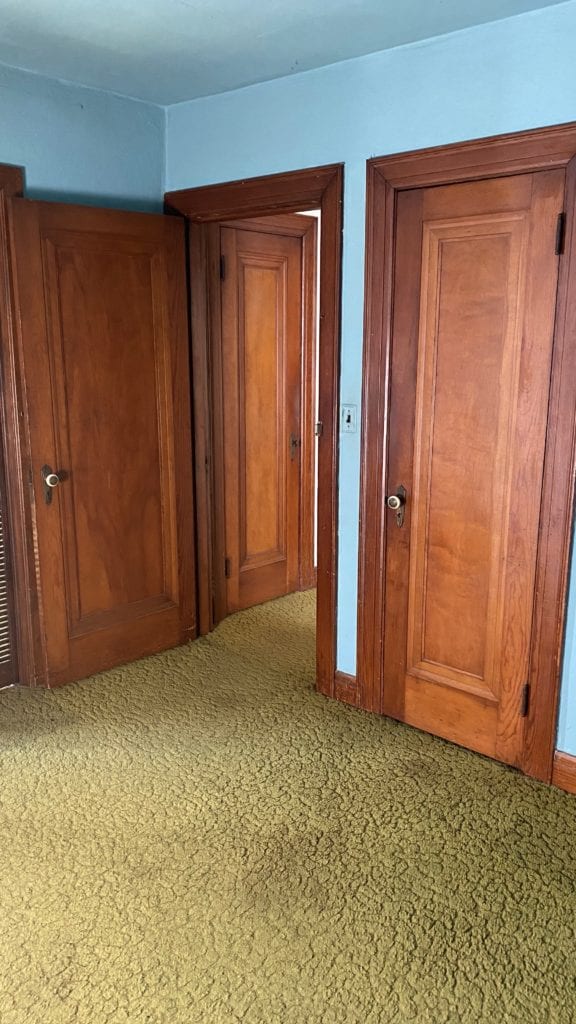
It really broke my heart to have to remove the original wood doors. Unfortunately, not all of them were salvageable, and rather than have a hodgepodge of doors throughout the house, I opted to repurpose one into the pantry door (above) and save the rest for future projects. You can keep an eye out for them on future Mission Development new construction and renovation projects!
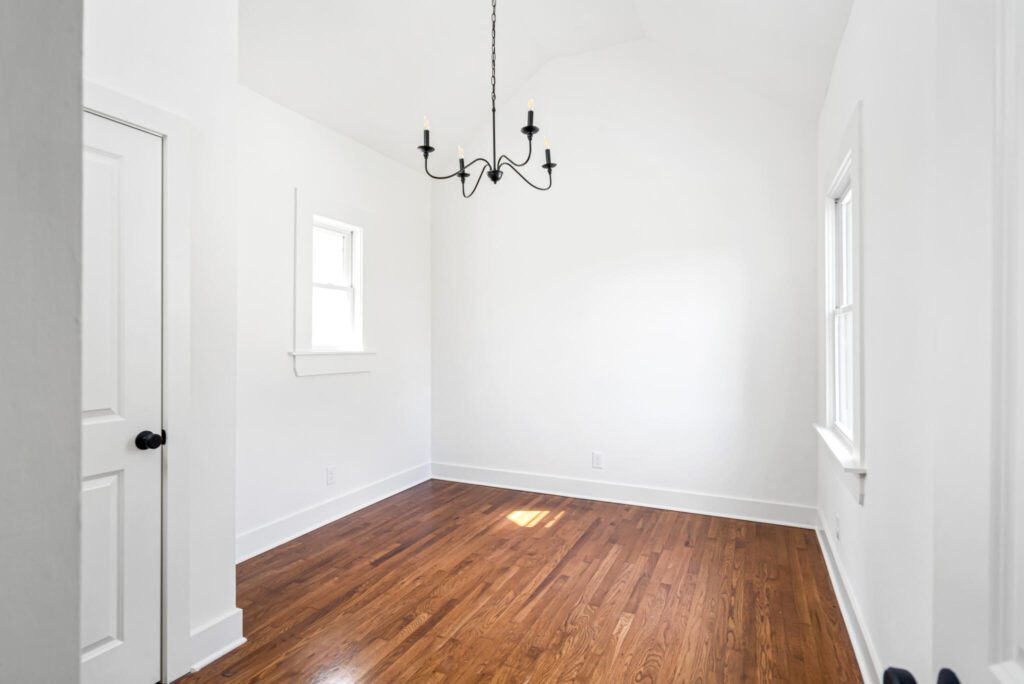
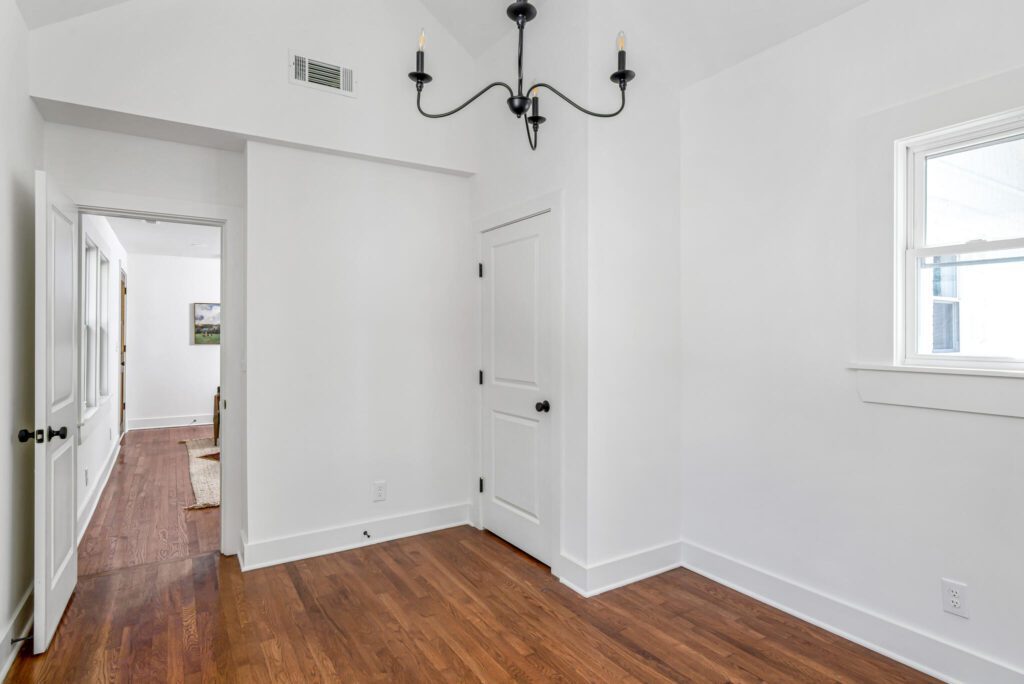
This room was actually an addition off the side of the house at some point, and in running HVAC we discovered that the attic above it wasn’t usable, so we opted to vault the ceiling. I think it would be the sweetest kids’ room. The vaulted ceiling makes it feel like a playhouse.
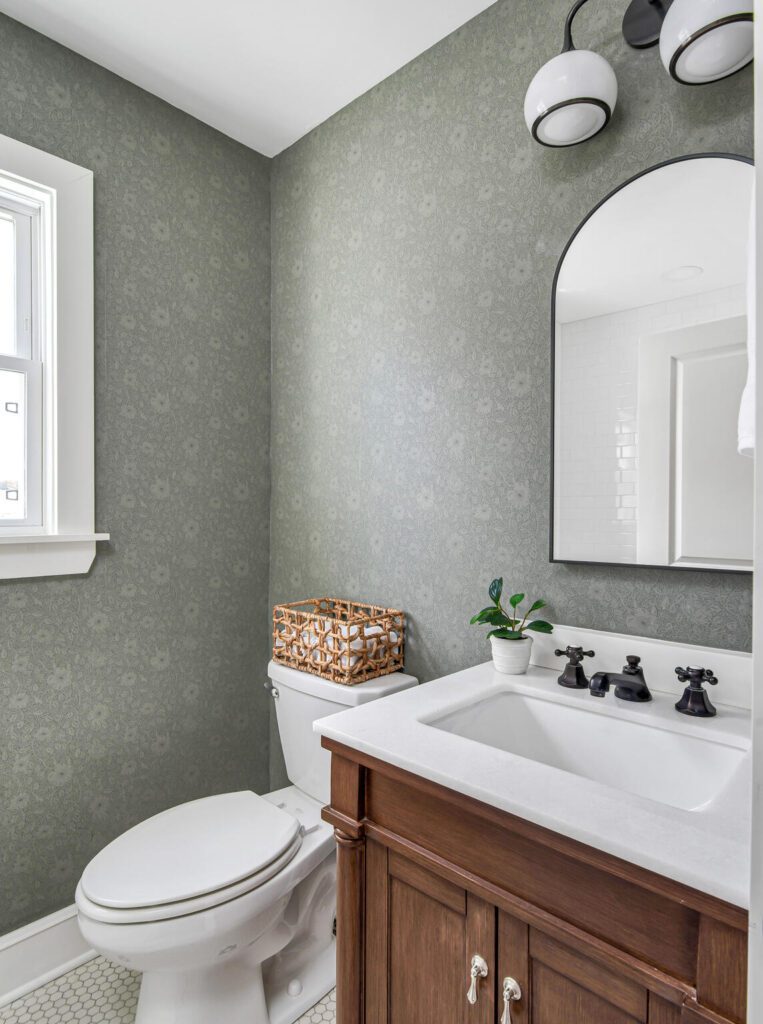
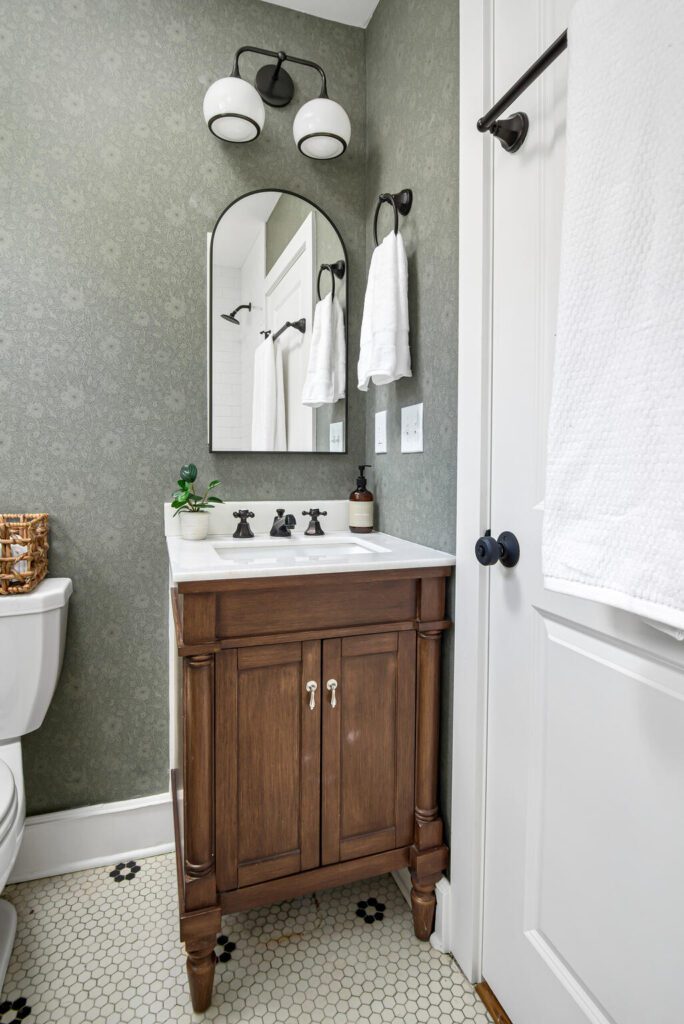
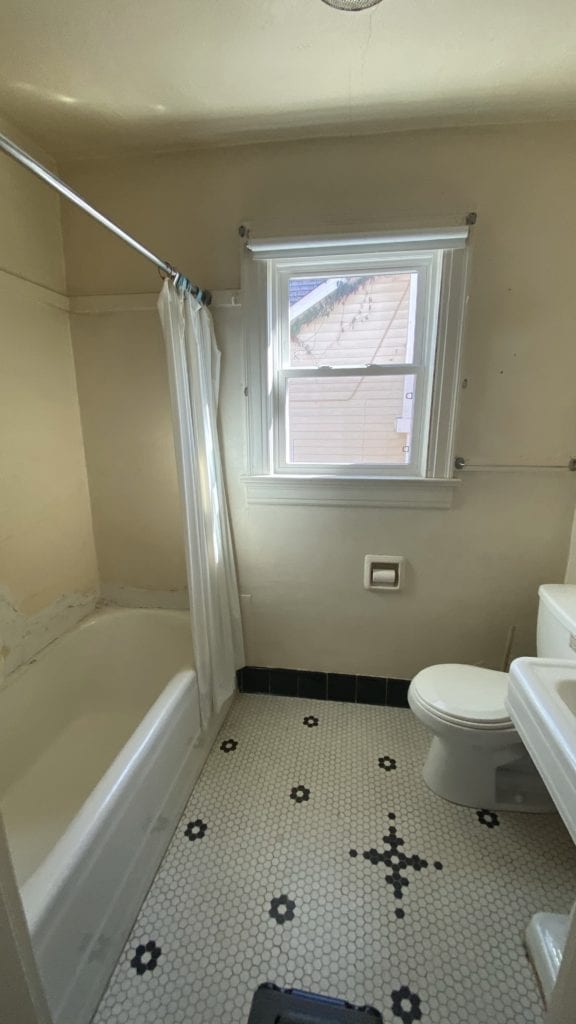
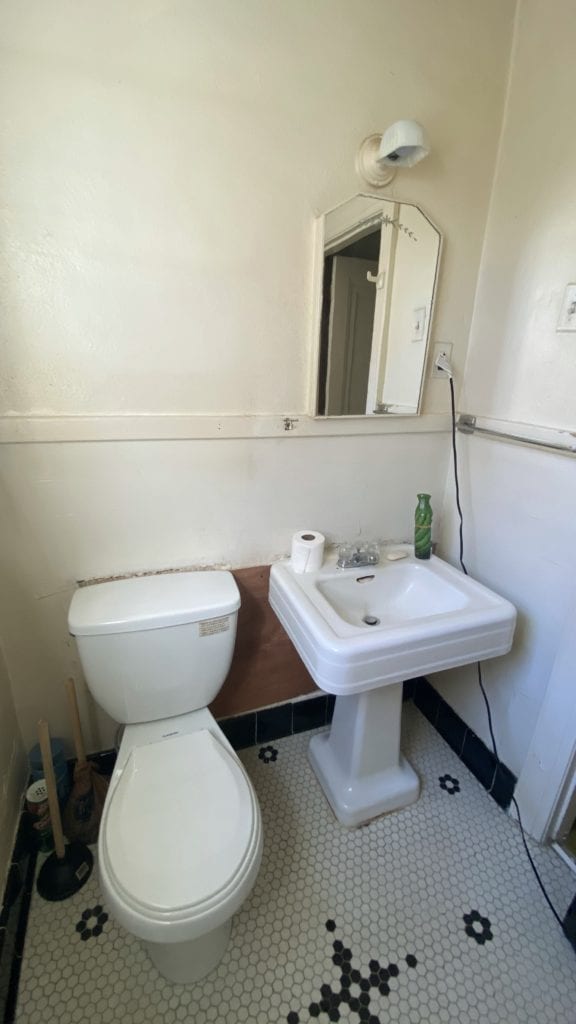
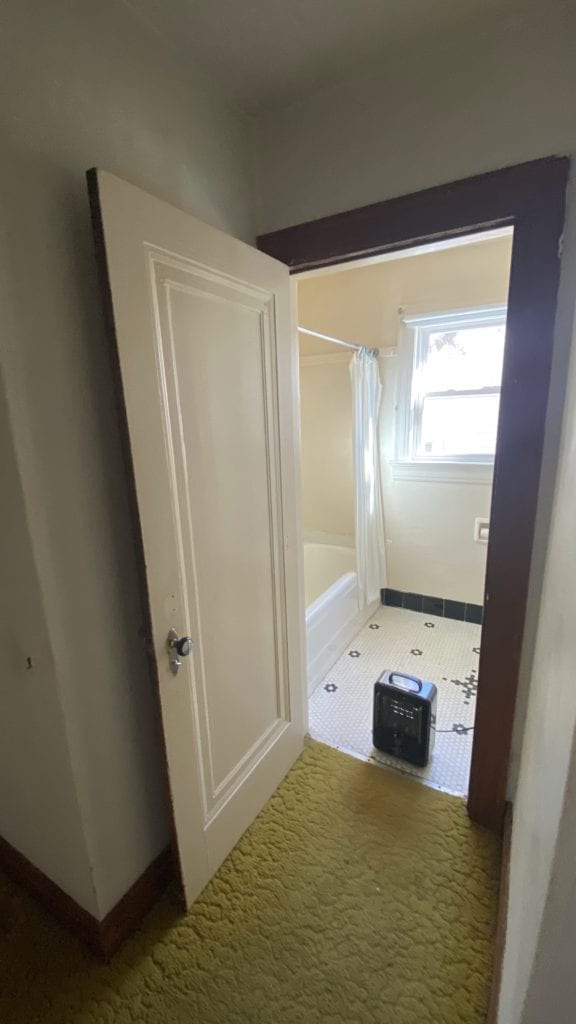
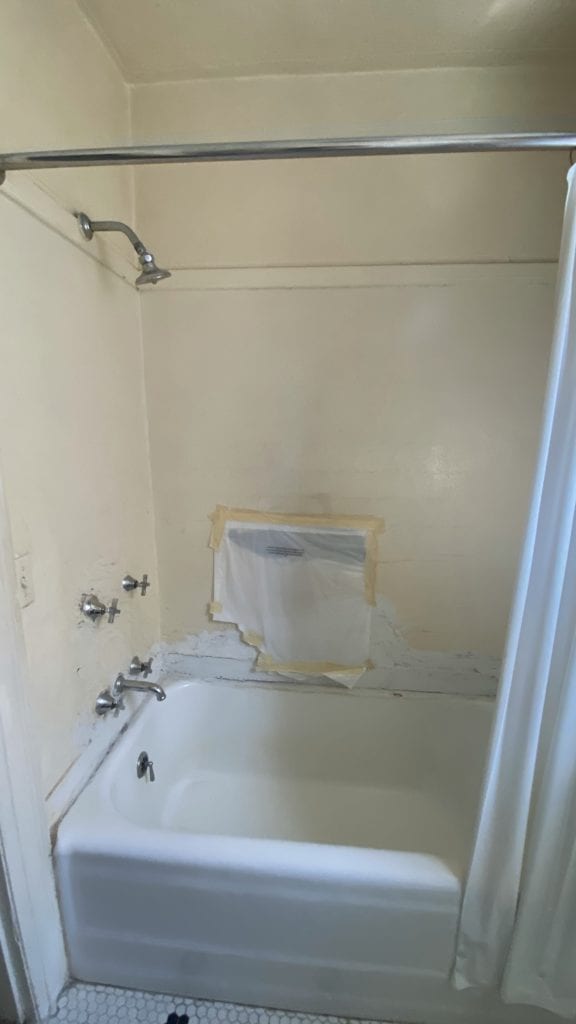
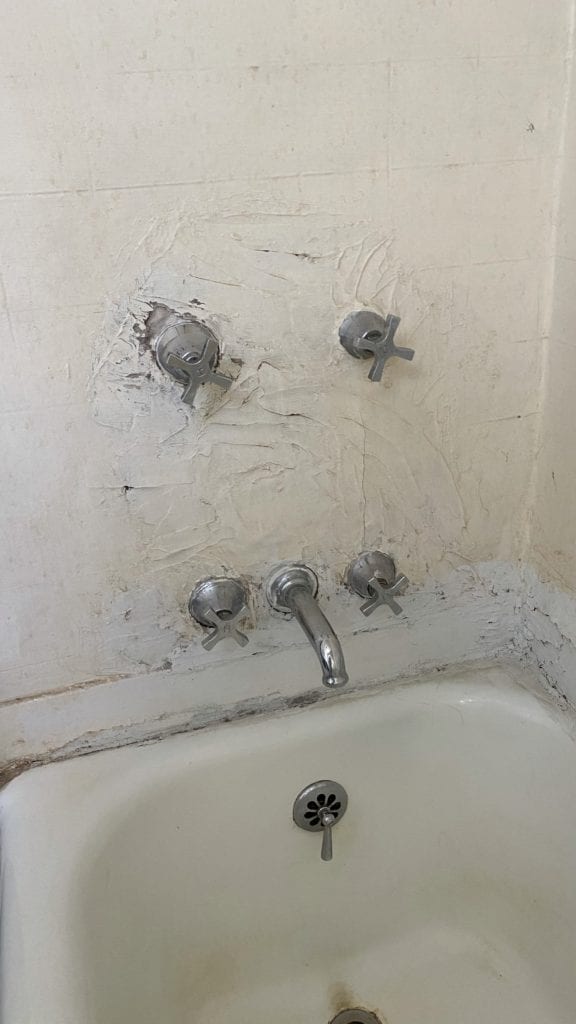
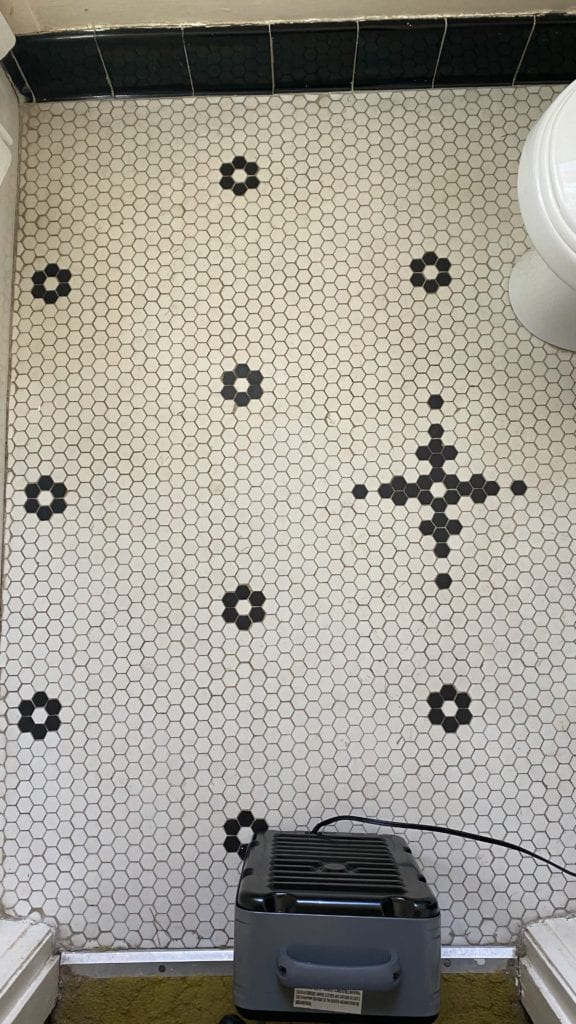
The main floor bath was charming to begin with, but in serious need of repair. Luckily, I was able to save the original tile floors, and I love their pattern. Here’s what the room looked like before:
Upstairs was once an attic with ceilings so low I had to stoop to get through most of it. There was also a warning etched into the steep steps: “BEWARE OF SQUIRREL”. Luckily, we never had to deal with any squirrels up there.
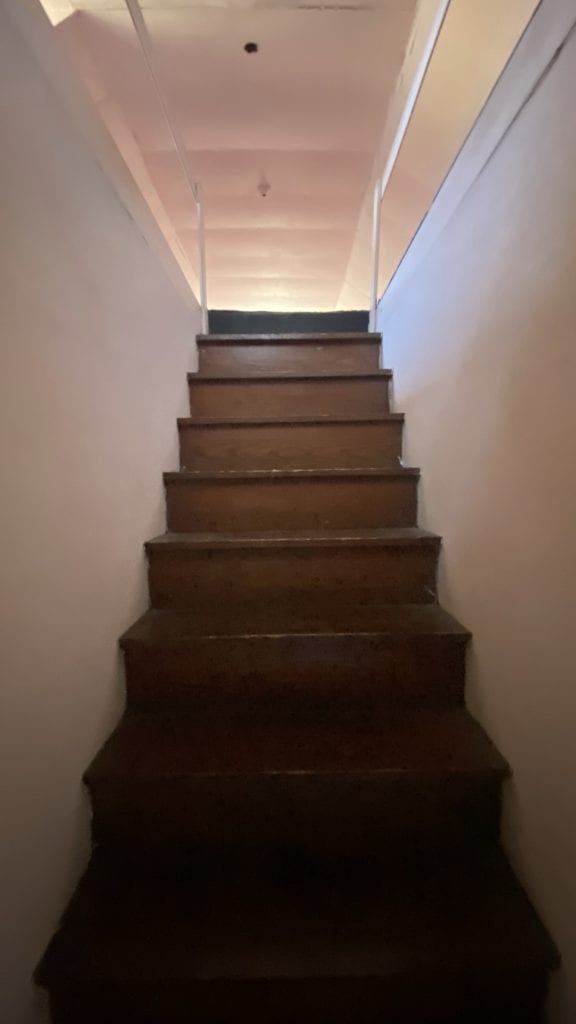
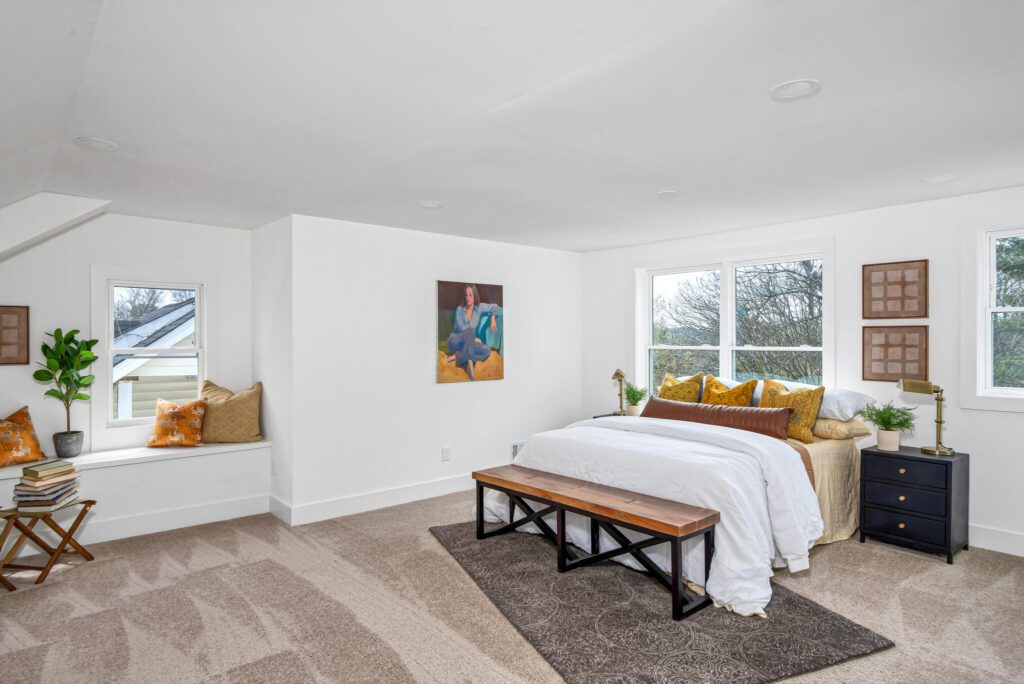
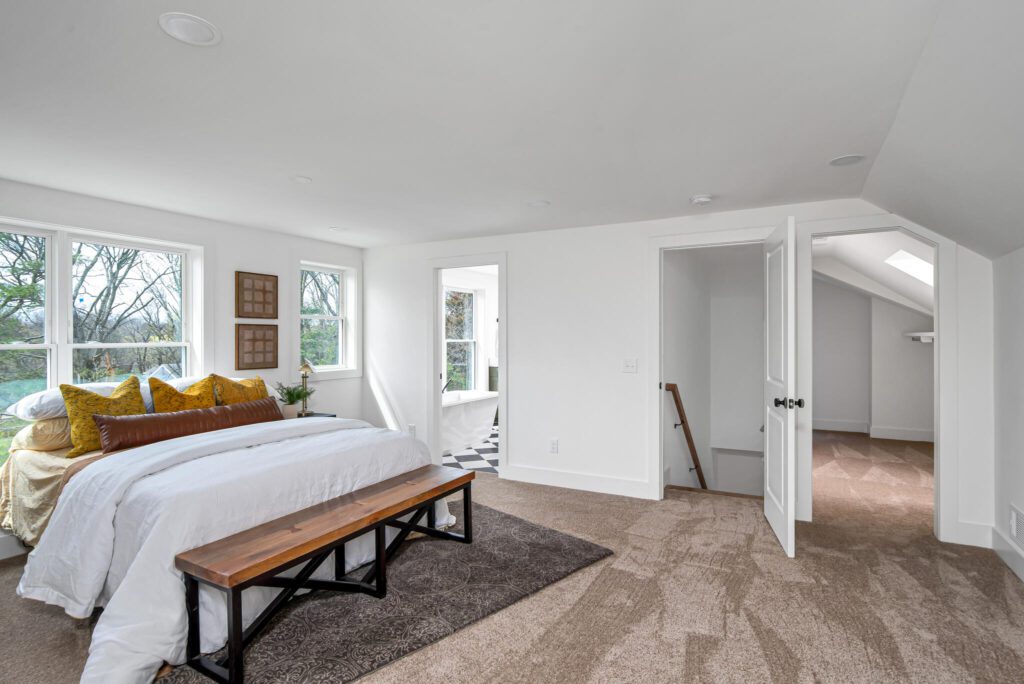
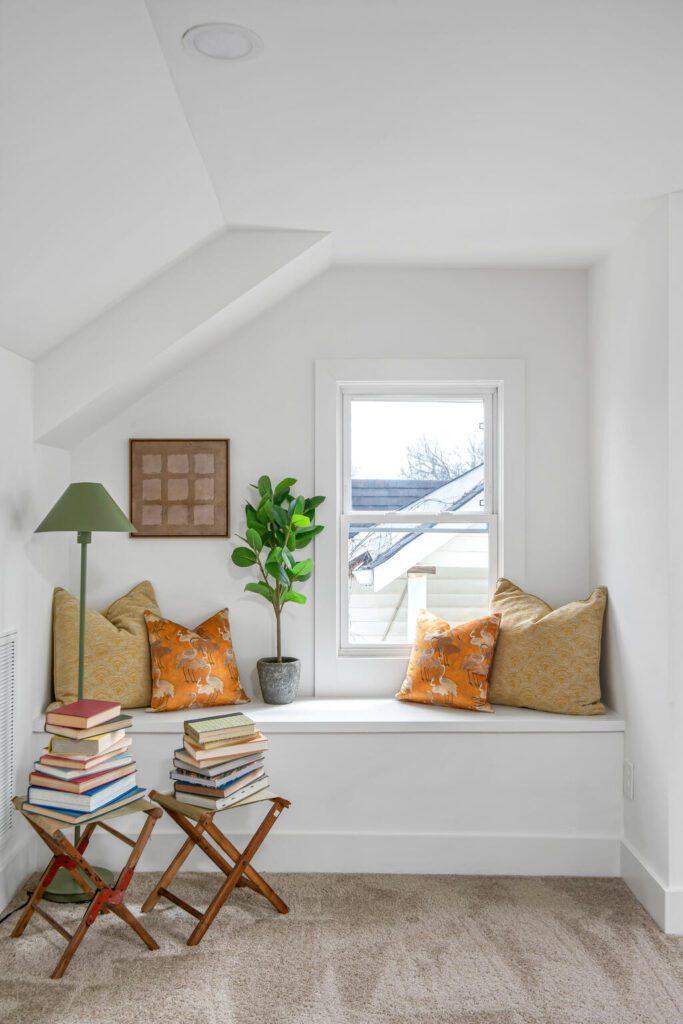
We turned the entire attic space into a primary suite by adding a bump-out along the back wall to raise the ceilings to an appropriate height. The window seat was the product of having to run HVAC through the previously un-heated and un-cooled space, and I love how it turned out. To say it’s an improvement would be a massive understatement.
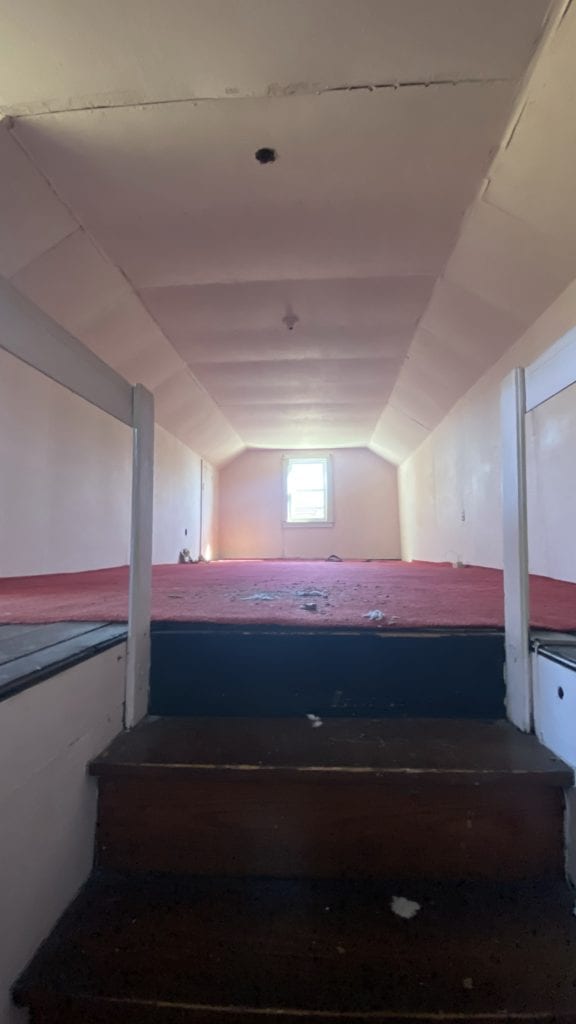
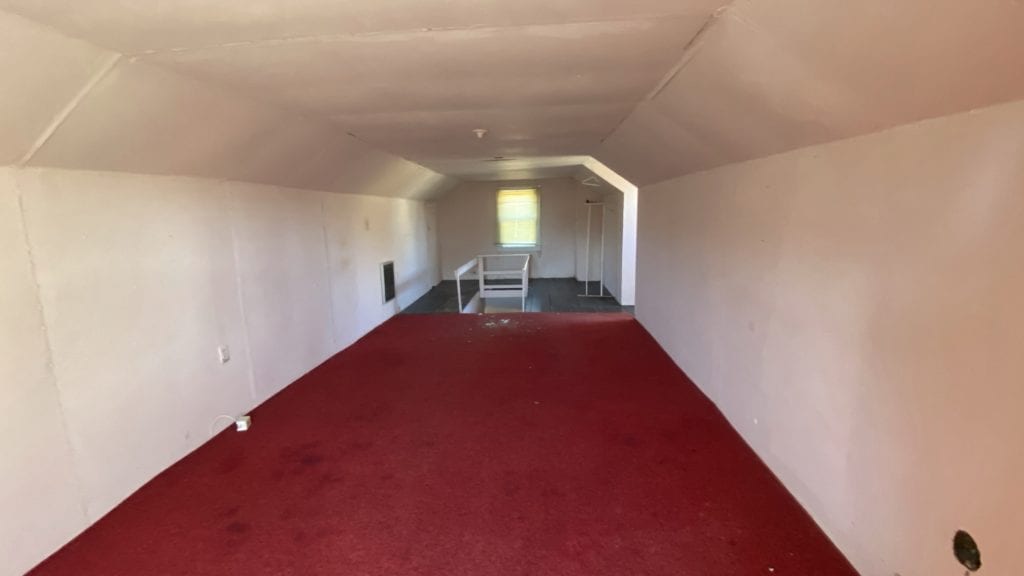
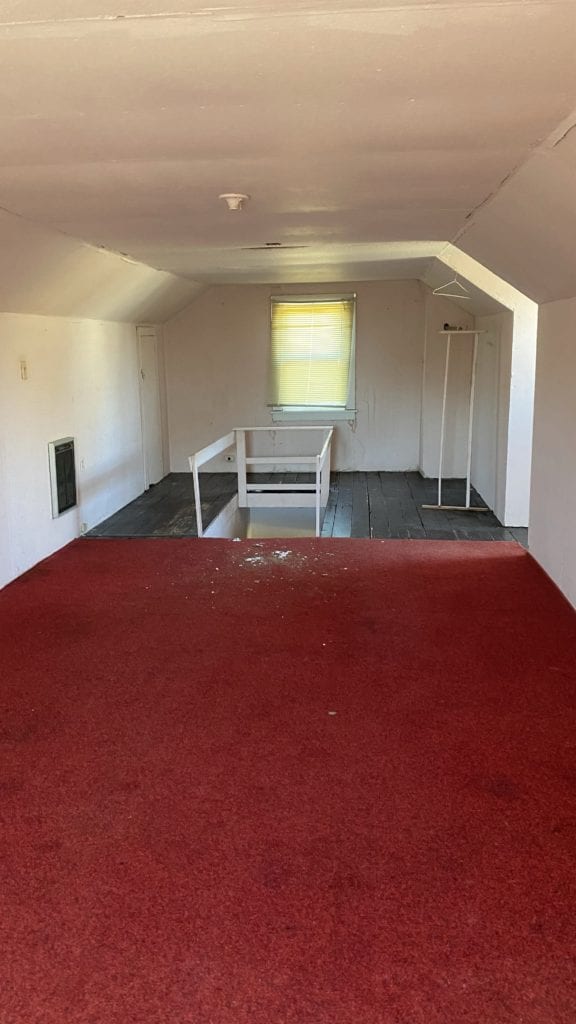
Yes, those are the same spaces. Should we have left the loose red carpet?
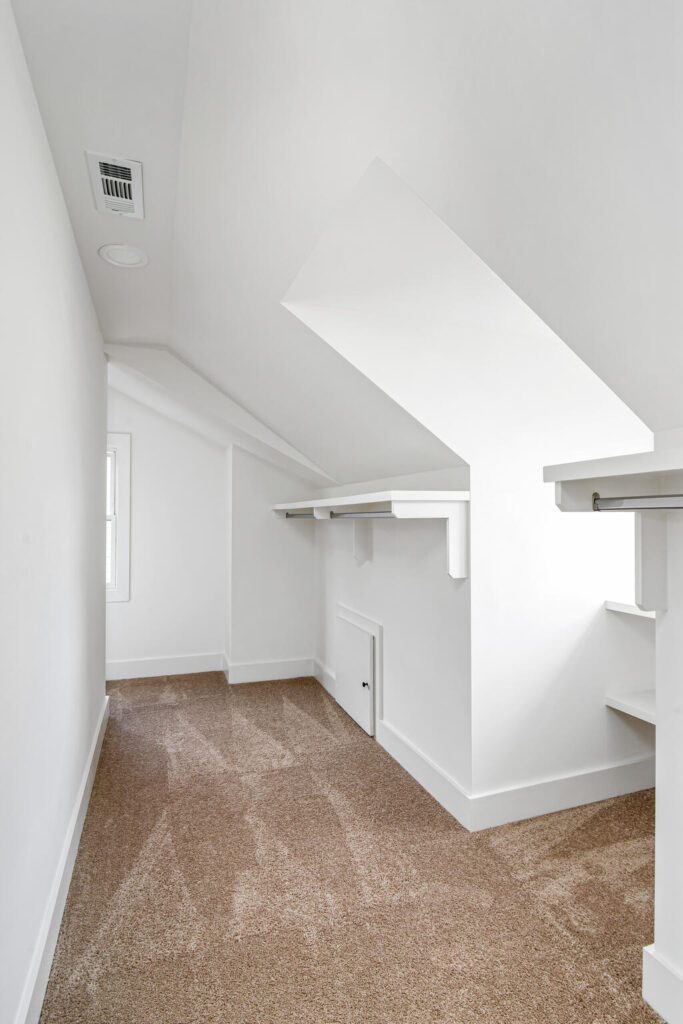
The primary closet has tons of light, and wraps around the back of the stairs with more built-ins.
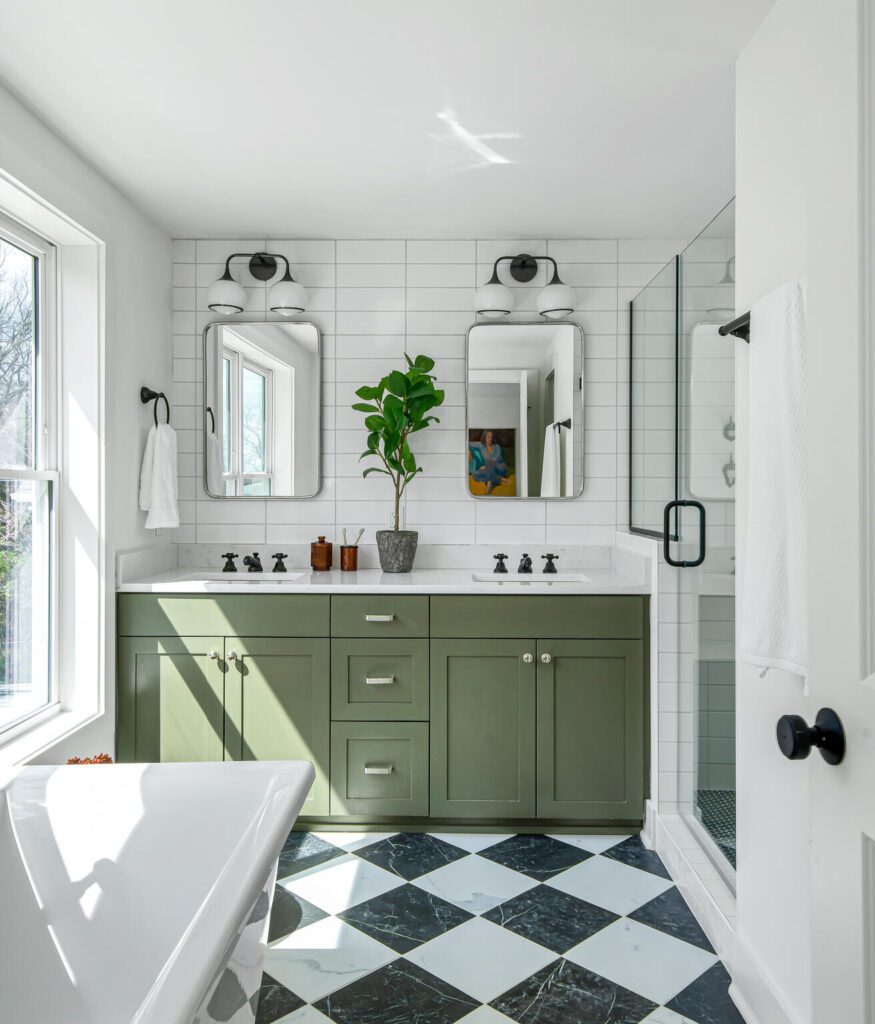
My second favorite space in the house is the primary bathroom. The floors are drool-worthy, and would you believe they were 12″x24″ ceramic tiles I had the tile installer cut in half? The mix of dark oil rubbed bronze and polished nickel hardware adds dimension, and makes me want polished nickel in more spaces in my own home.
Tip: mixing metals in a bathroom or kitchen is a good way to make a space look more timeless, less trendy, and less like a builder picked it all out at Home Depot. If you get sick of a color, it’s also less expensive to change out only some of the hardware without having to replace it all. My rule of thumb to making mixed metals look cohesive is to repeat each metal in at least two places in the room. Here we have oil rubbed bronze on the faucets, light fixtures, door hardware, and shower door hardware, and we have polished nickel on the cabinet hardware and mirrors.
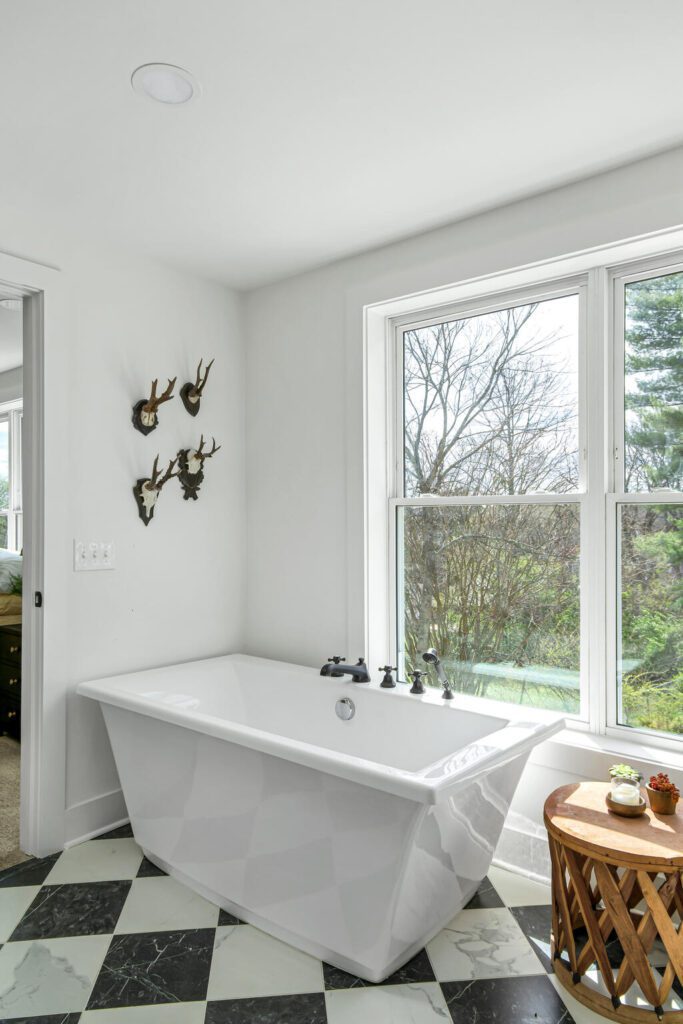
I don’t have any before photos of this bathroom… because it didn’t exist before. So we only have afters. I love this tub, and though I hadn’t used a rectangular tub before, I like how it fits into the corner in this space, and doesn’t feel like it’s wasting any valuable floor area.
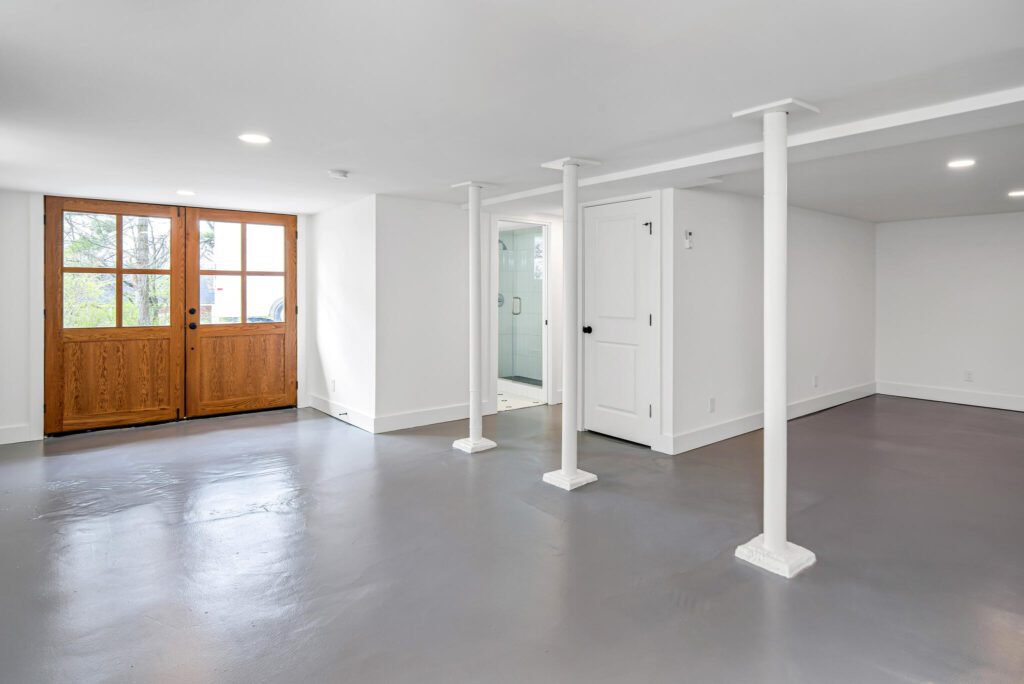
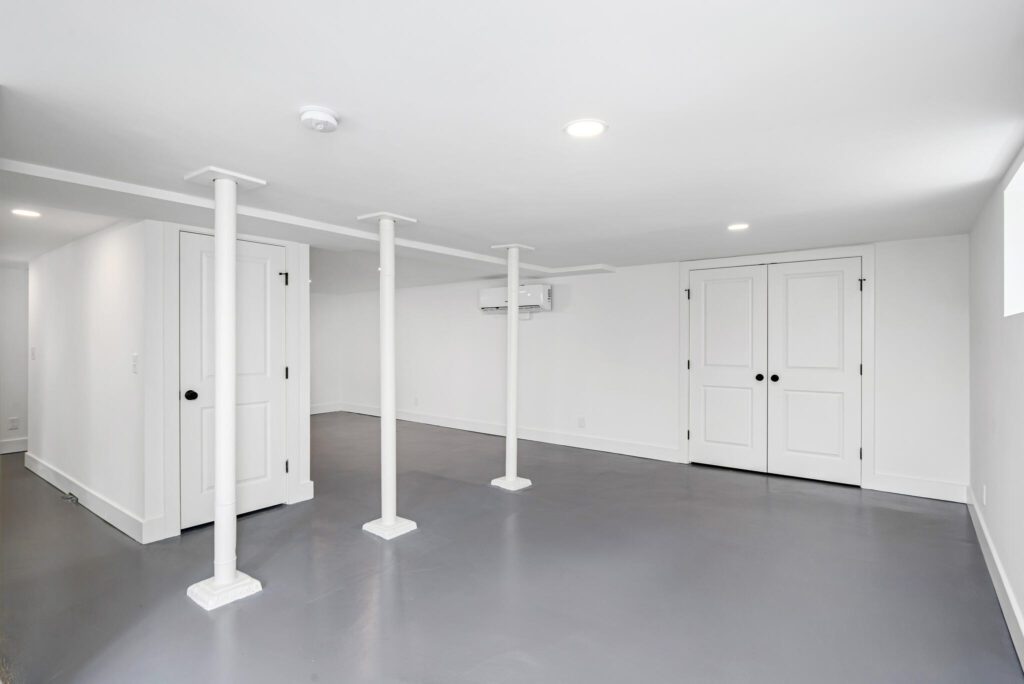
On to the basement! This bonus area is one of the brightest and sunniest basements I’ve ever seen, and I’m so glad we finished it. It was creepy before, to say the least.
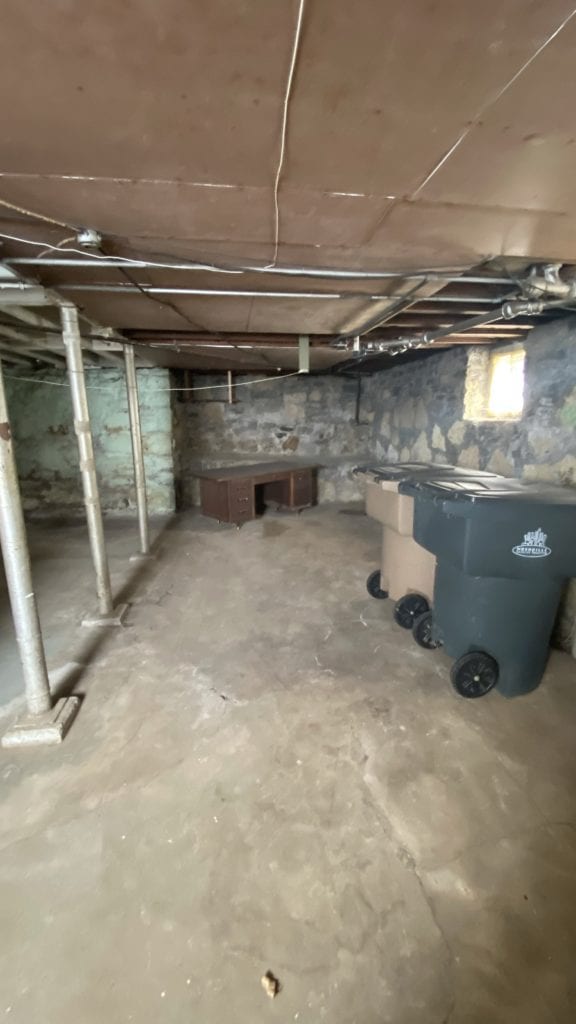
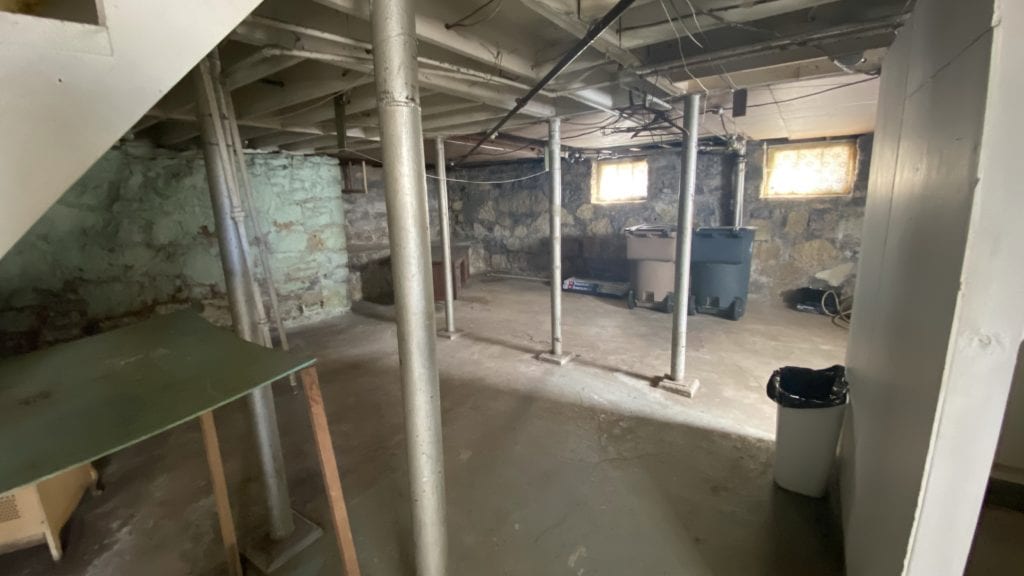
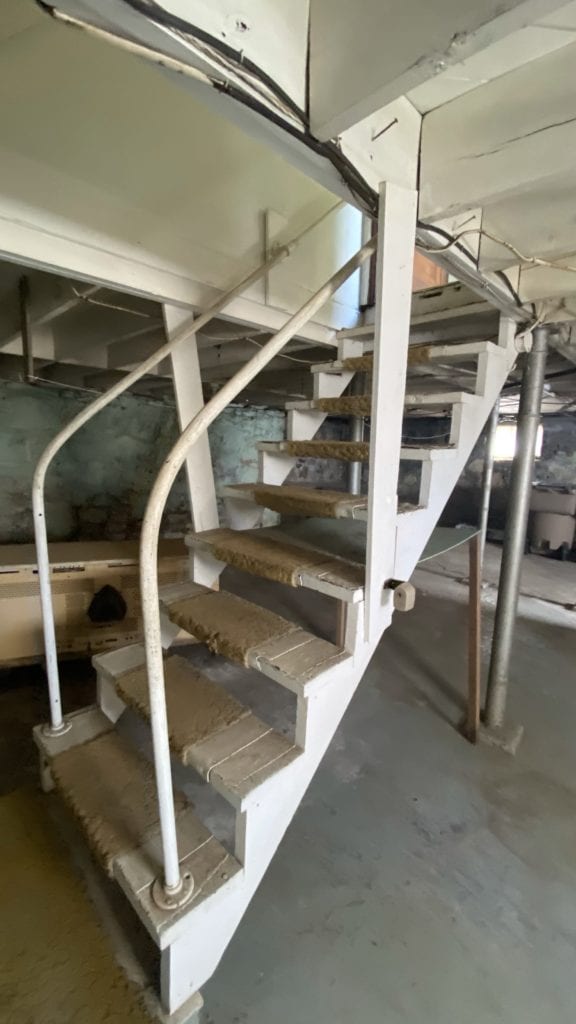
We added waterproofing, insulation, and drywall to the walls (I wanted to keep the rock walls, but alas, they’re far from waterproof), and added a fresh layer of concrete and epoxy to the floors. We also extended and enclosed the stairs, and added a closet underneath them.
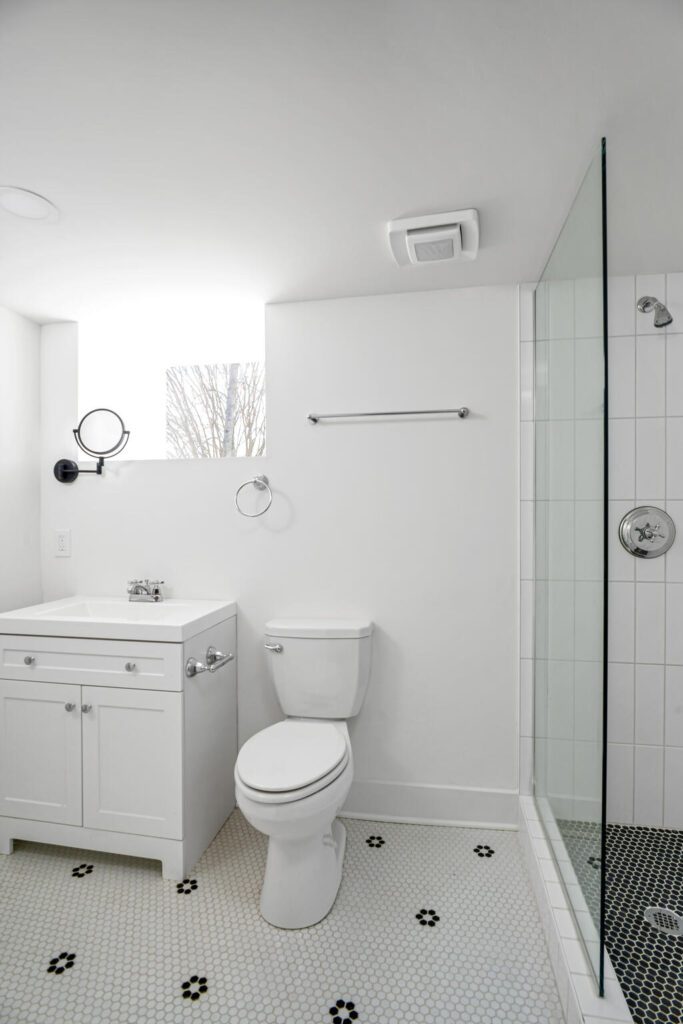
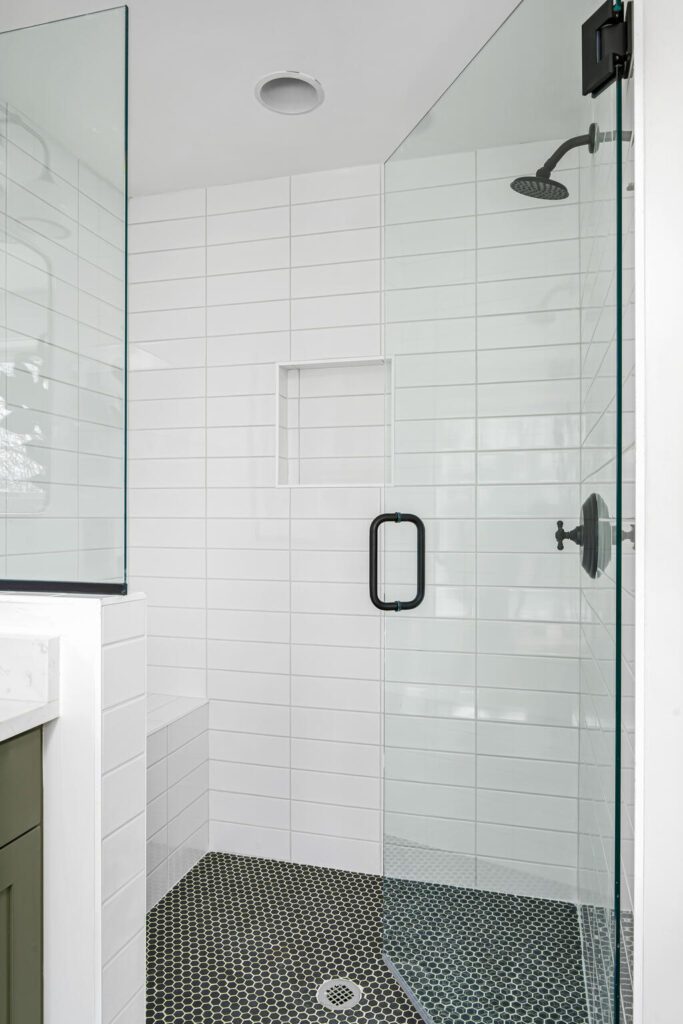
We added a full bath to the basement in place of the single toilet and shower that had no real walls and no insulation.
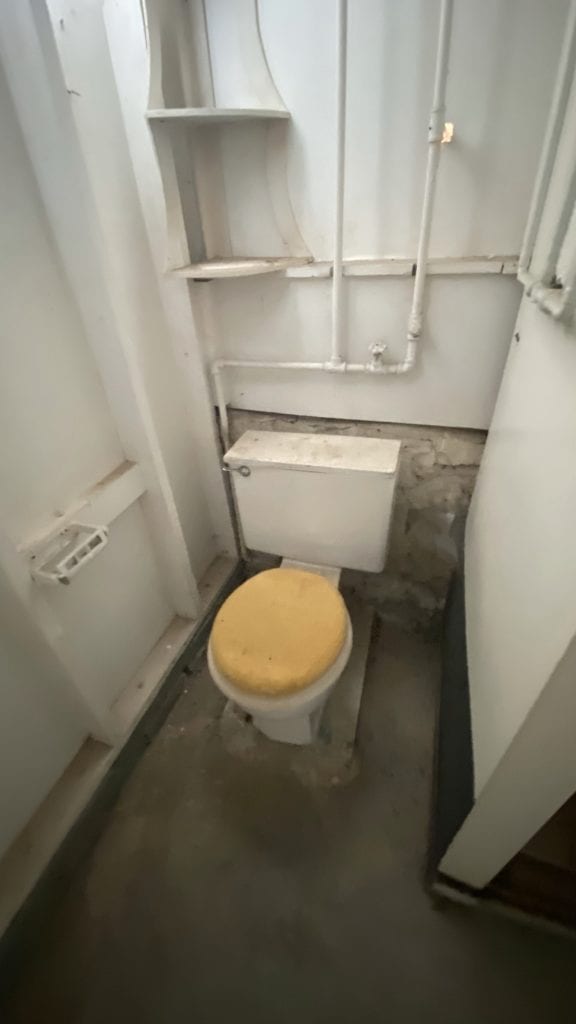
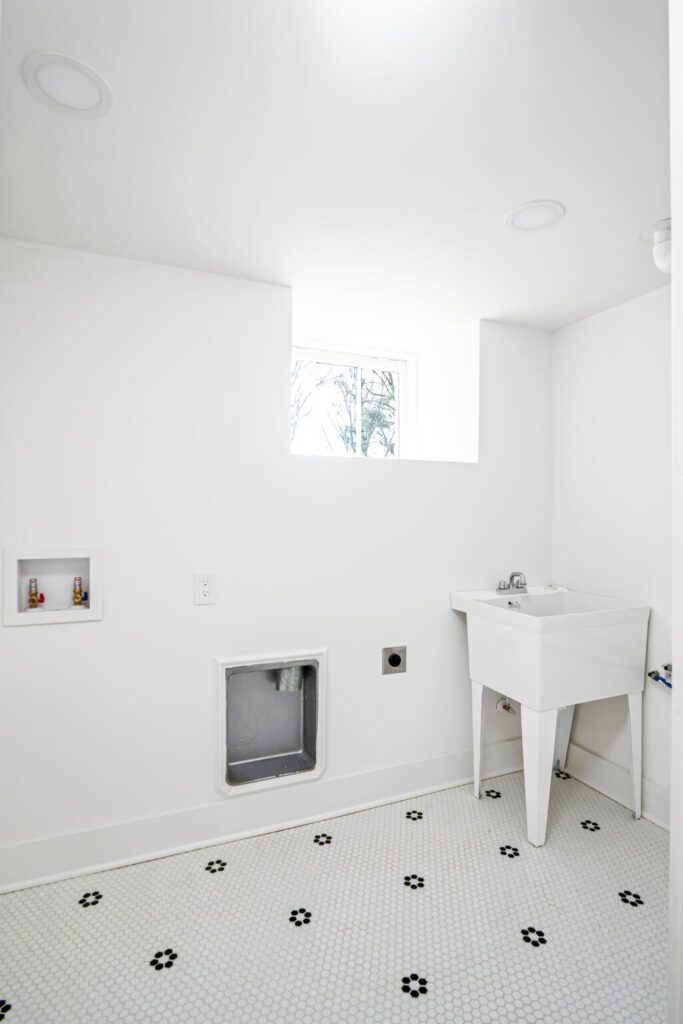
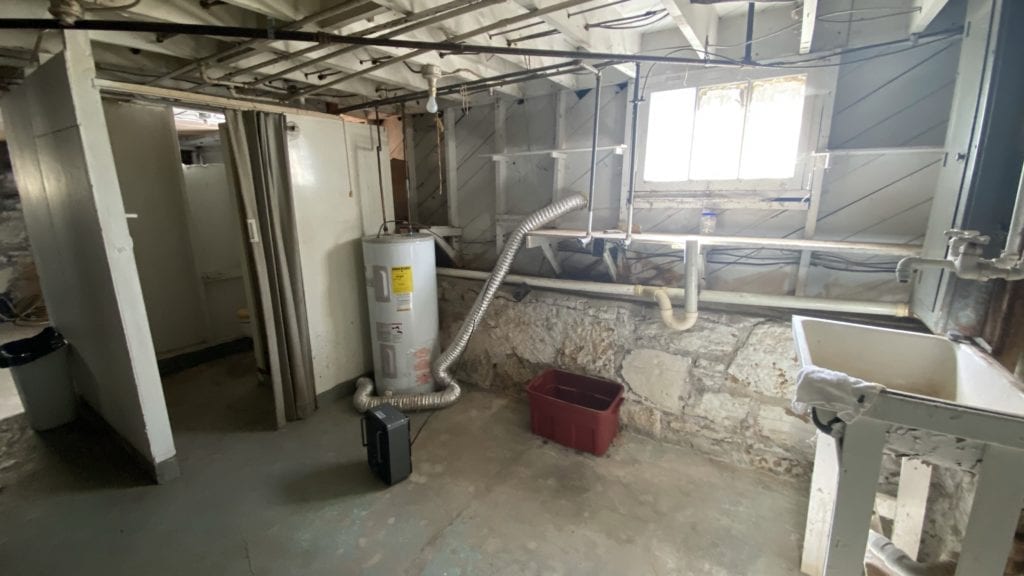
We also added a separate laundry room to replace the true-crime worthy laundry area.
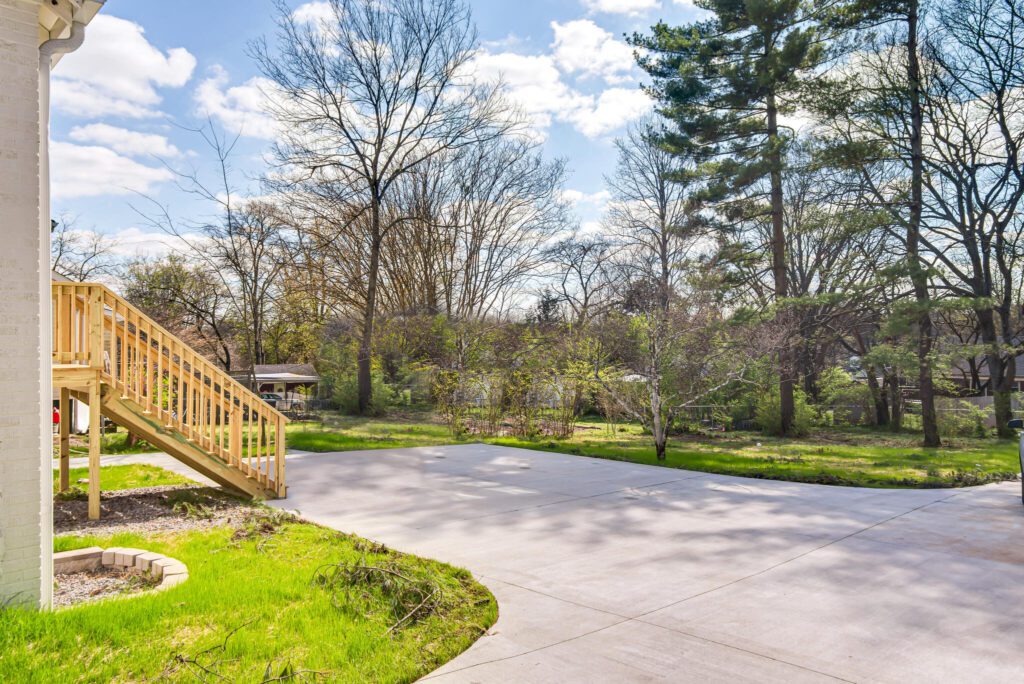
The basement walks out into a big back yard, with room to build a garage or a deck for entertaining.
As I’ve been writing this, excited to share it with you all and get this thing sold, we’ve already had eleven showings within the first 36 hours on the market, and are under contract. This guy went FAST, which makes both my designer side and realtor side so happy.
I loved designing Bonnie’s makeover, and hope you loved the photos, too!
♥
Grace
Leave a Reply Cancel reply
For even more content, sign up for my newsletter. I share weekly recaps so you won’t miss anything, as well as personal notes and answers to your questions. Sign up here! I promise I’ll never sell your information or spam you with unsolicited emails.
Wow, Grace! So cute. I love that brick transformation. How is it holding up? And the green kitchen cabinets, amazing. I just had my carpet cleaners over and I think it’s time for a makeover. Too bad it’s winter already!