How to Build a Daybed Swing – Southern Front Porch Makeover – Spring 2020 One Room Challenge – Week 7
June 17, 2020
Don’t worry–you didn’t miss a post. After the murder of George Floyd, the entire One Room Challenge community took a week off of posting in order to create space and amplify Black voices. I hope that you’ve learned a lot and continue to learn, as I have and am, and that you continue to amplify BIPOC voices and fight for the long overdue equality in our country.
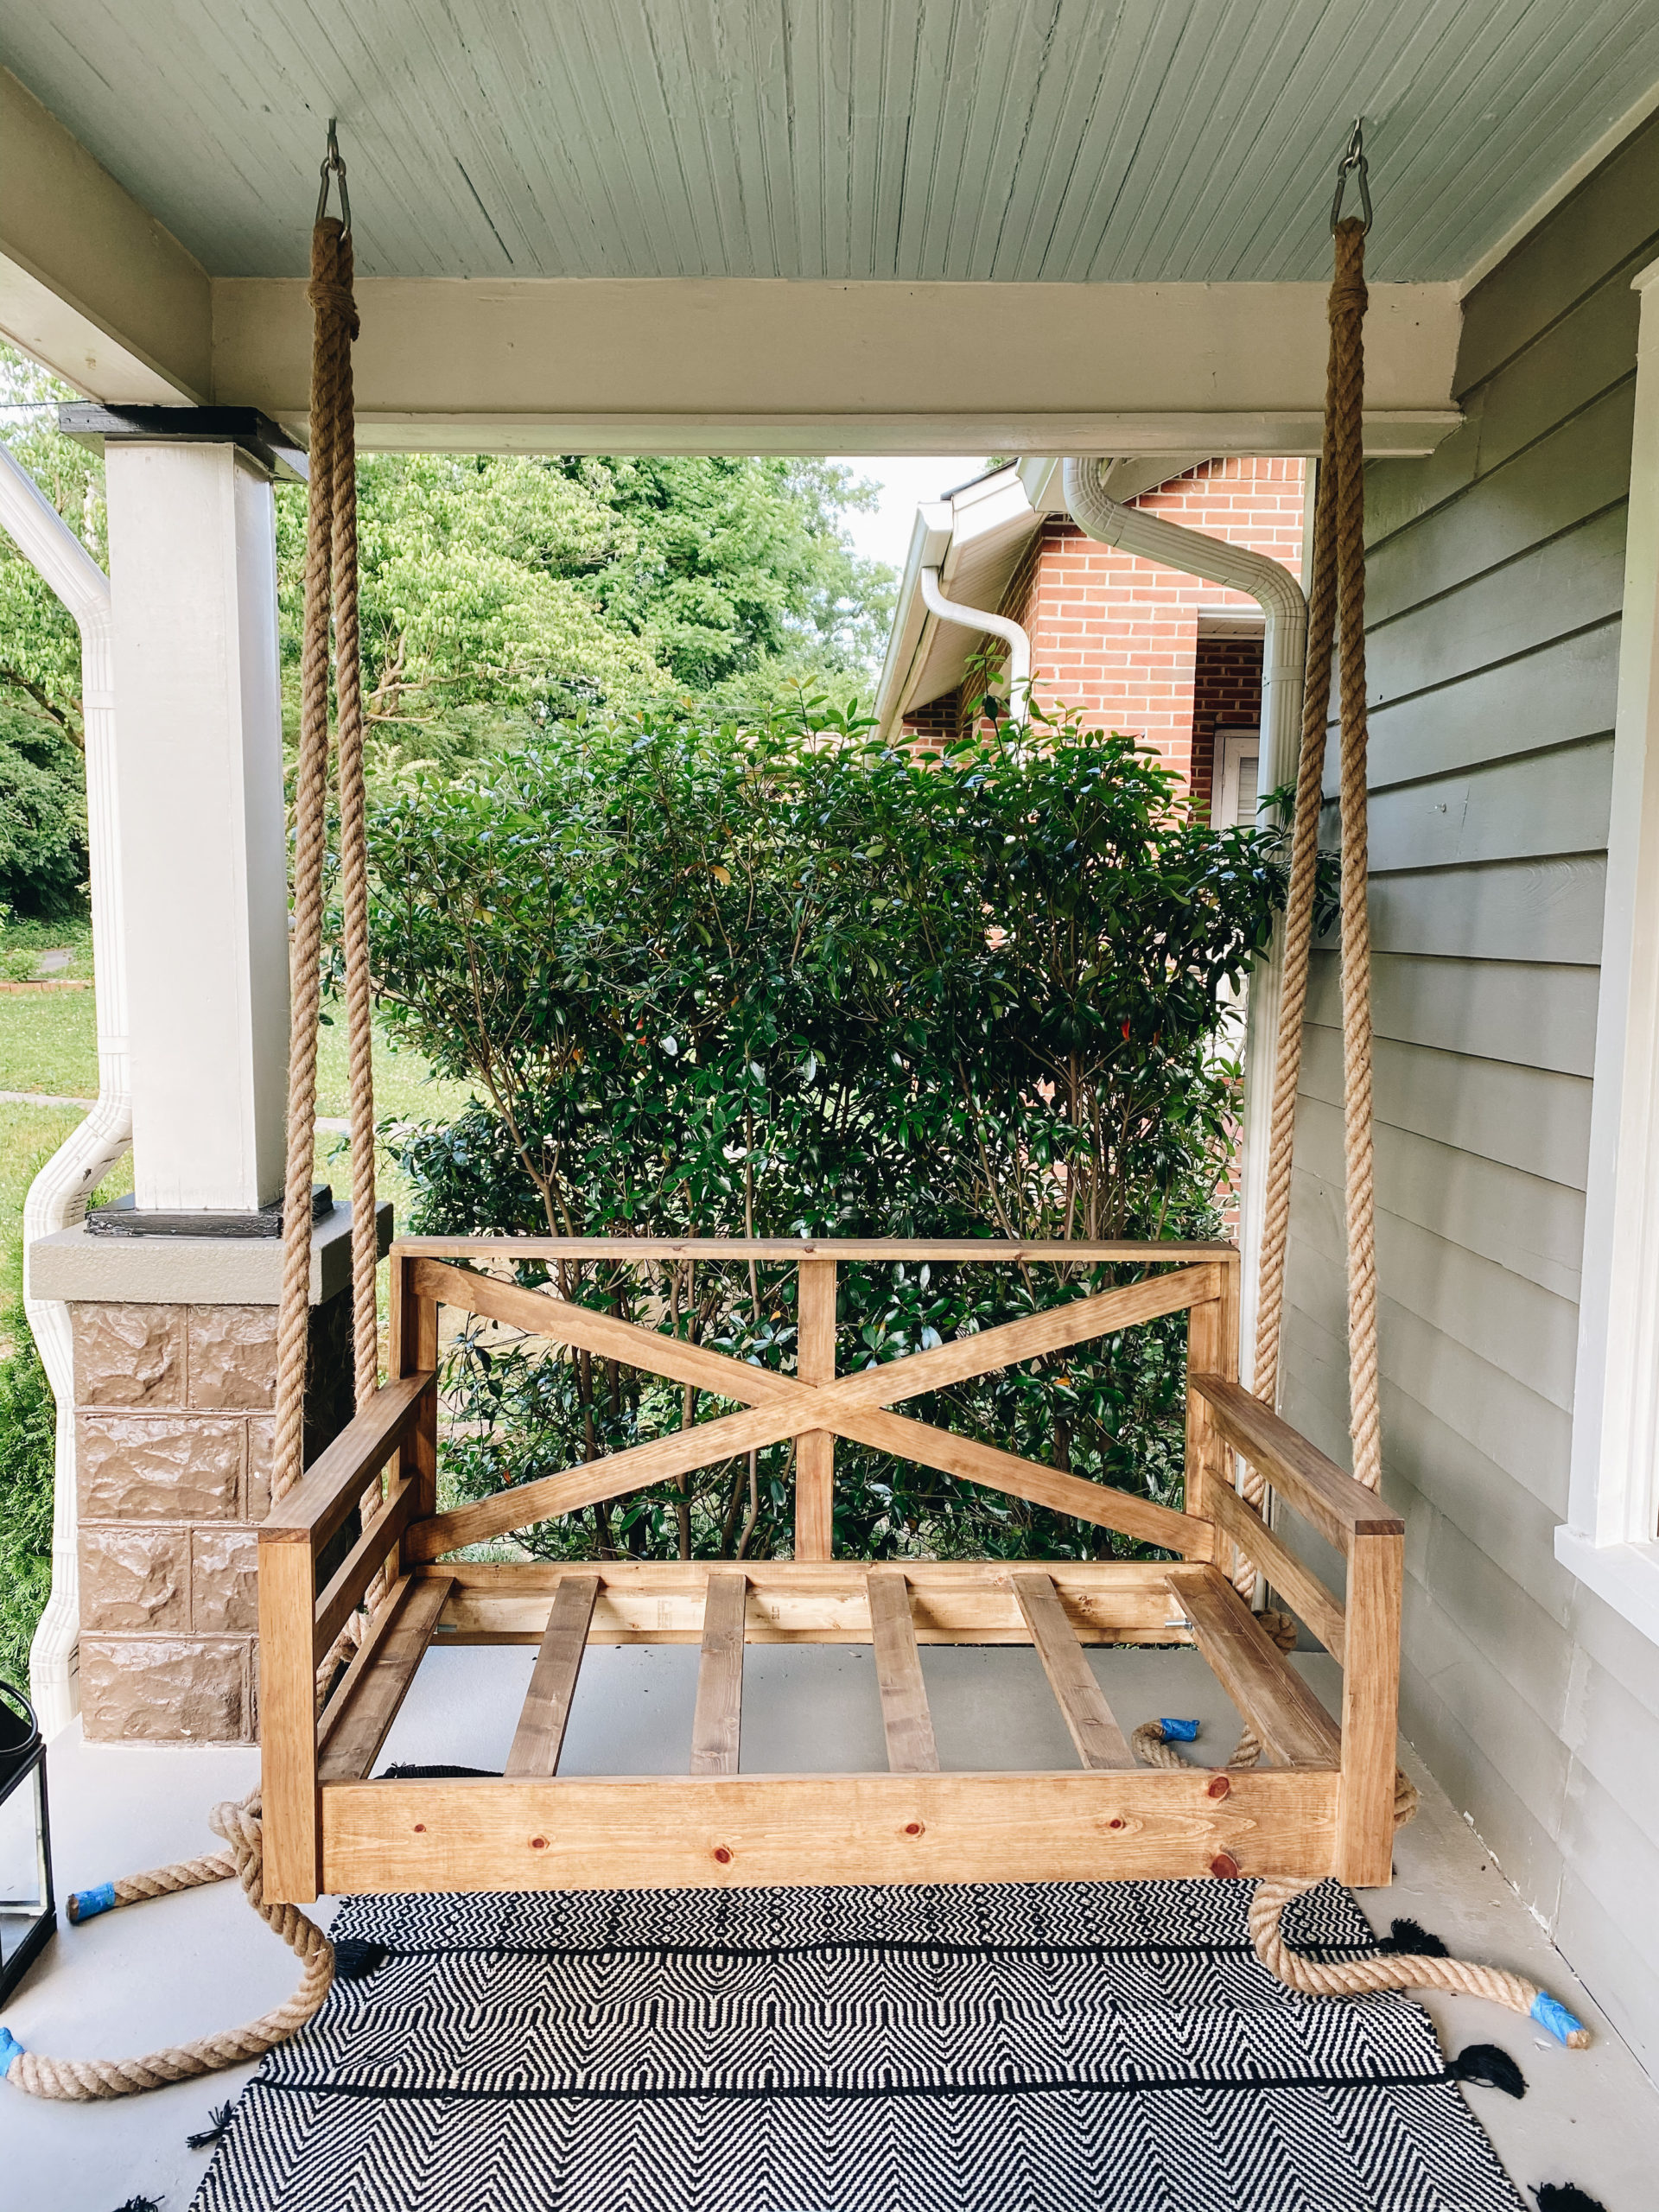
When we started this whole ORC project, the thing that made us most excited was building a daybed swing. They always look so inviting, and like you could take a nap and listen to the breeze on an early summer afternoon. Not late summer though… at least not in Tennessee. That’s AC on full blast, how-little-clothing-can-I-wear-and-still-look-professional kind of weather.
I think that the only reason Jonny agreed to do this One Room Challenge with me was so that he could build a daybed swing. He’s got a knack for building and loves the challenge of designing and putting together something new that we’ll get to use all the time. I think his love language might be building things for me.
Since we are obsessed with our dog, we decided he needed his own daybed for summer porch naps. We already had an extra 3” foam dog bed we weren’t using, so we used that for his daybed mattress and for sizing the frame. This is the same bed–we have a Large for him, and he’s a lanky 60 lb Golden Retriever mix.
I’d say we built this together… but really, I told Jonny what I wanted it to look like, he made all the plans, bought all the wood, built the thing, and I held a couple boards, used the nail gun a few times, and then stained and put poly on the finished product. Since he basically designed and built it himself, I asked him to put together a little tutorial for you, should you want to build one yourself!
How to Make a Daybed Swing (and a doggie daybed)
Tool & Material List:
- Brad Nail Gun
- 1 1/4″ Finish Nails
- 2″ Finish Nails
- Pocket hole jig
- Clamps
- Electric sheet sander
- Tape Measurer
- Miter Saw
- Pencil
- Jig Saw
- (6) 1/2” Eye Screws
- 1.5” Rope (50ft)
- 2 heavy duty zip ties
- Wood Glue
- Wood conditioner
- Wood Stain
- Wood Filler
Wood:
- 3 pieces of 1″ x 6″ x 8′ premium pine
- 2 pieces of 1″ x 4″ x 8′ premium pine
- 9 pieces of 1″ x 3″ x 8′ premium pine
- 3 pieces of 1″ x 2″ x 8′ premium pine
- 2 pieces of 2″ x 3″ x 8′ framing lumber
- 3 pieces of 1″ x 3″ x 8′ whitewood
We used pocket hole joints to create our base, but you can also use simple butt joints if you don’t own a pocket hole jig.
*Everywhere 2 pieces of wood meet, use wood glue.
Step One: Build The Base
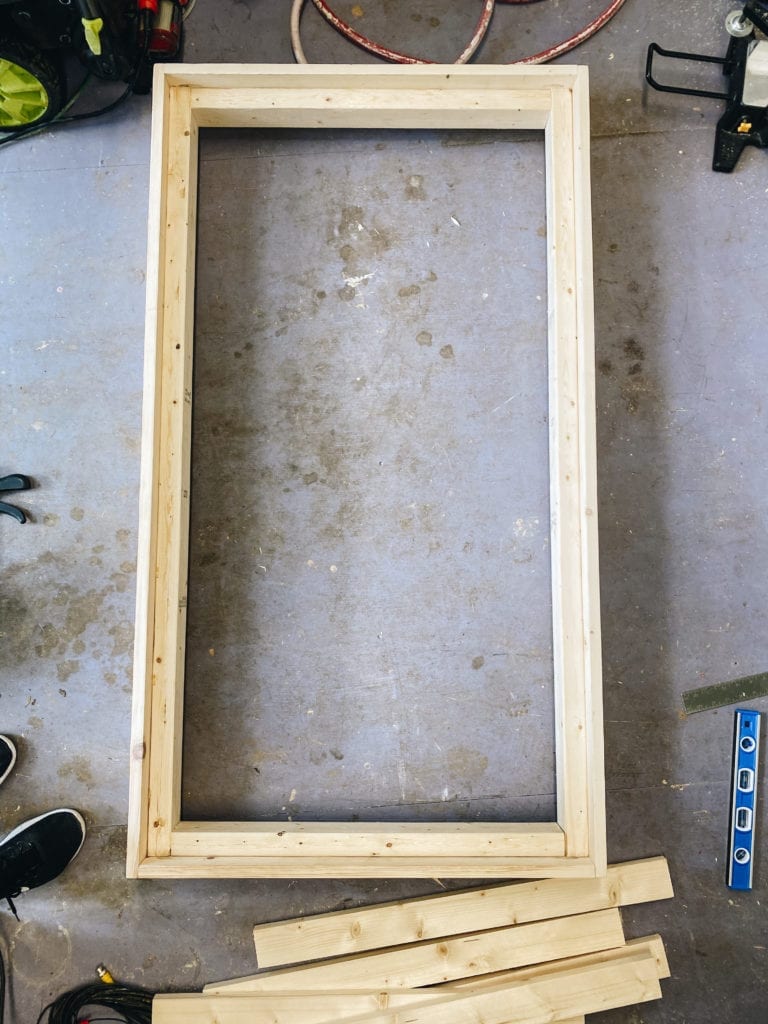
Start by building the bottom base using 1×6’s. Since the crib mattress is 52”L x 28”W x 6”D, our inner dimensions were 52.5’x28.5”. Cut two 54” boards and two 28.5’ boards.
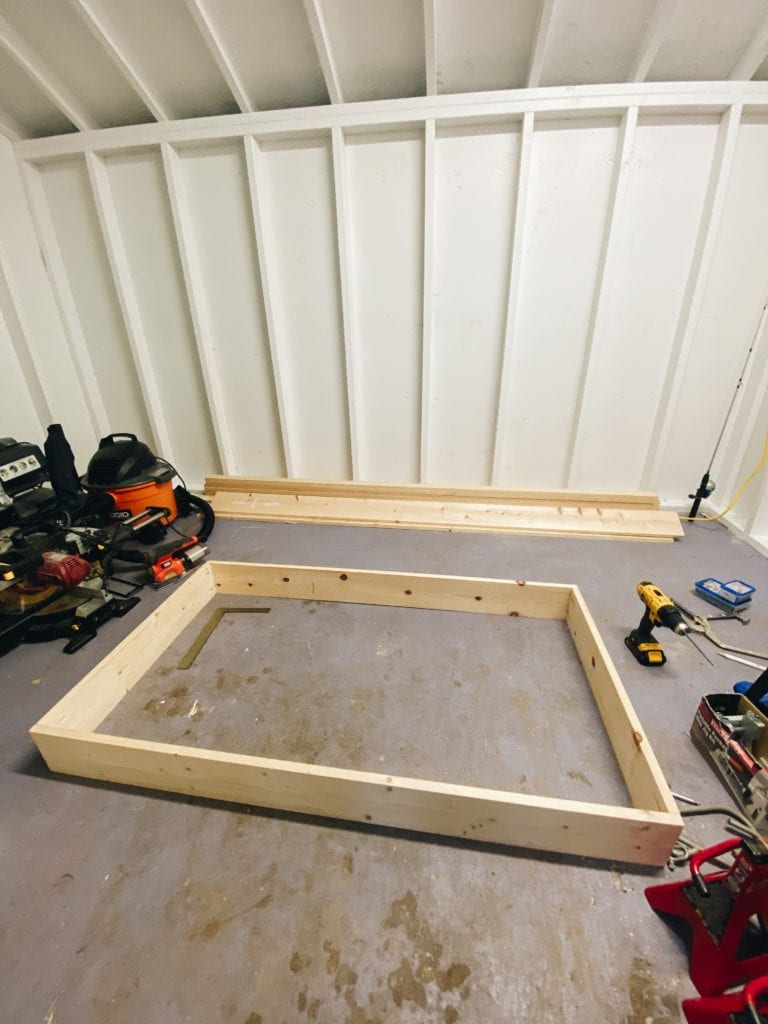
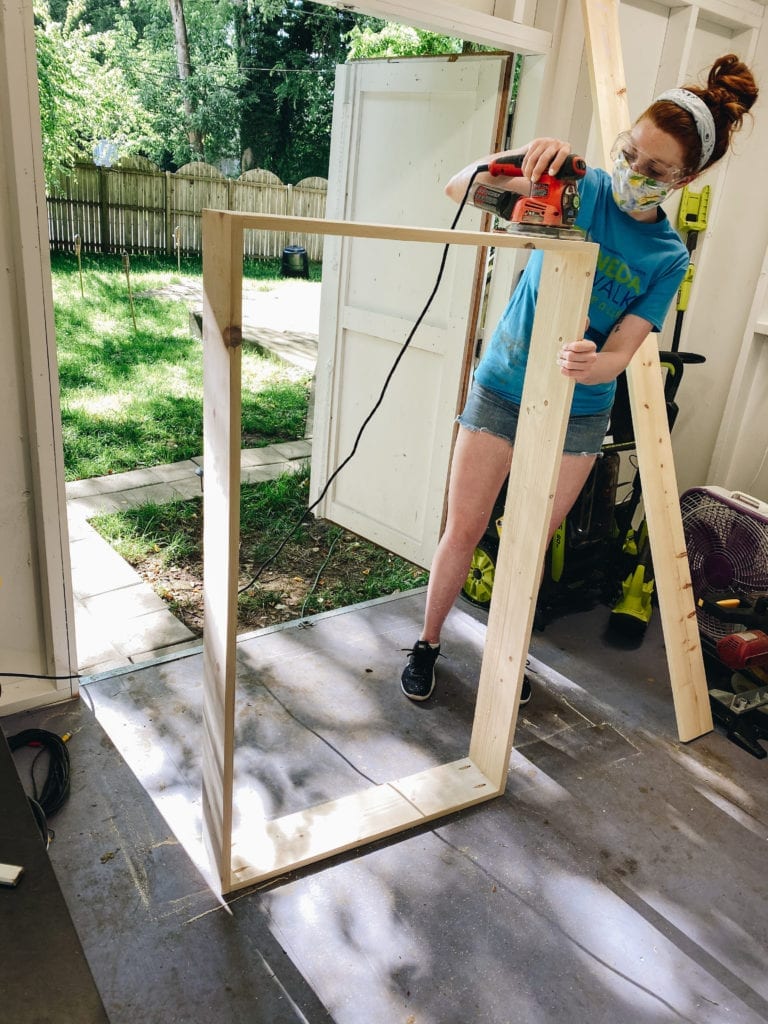
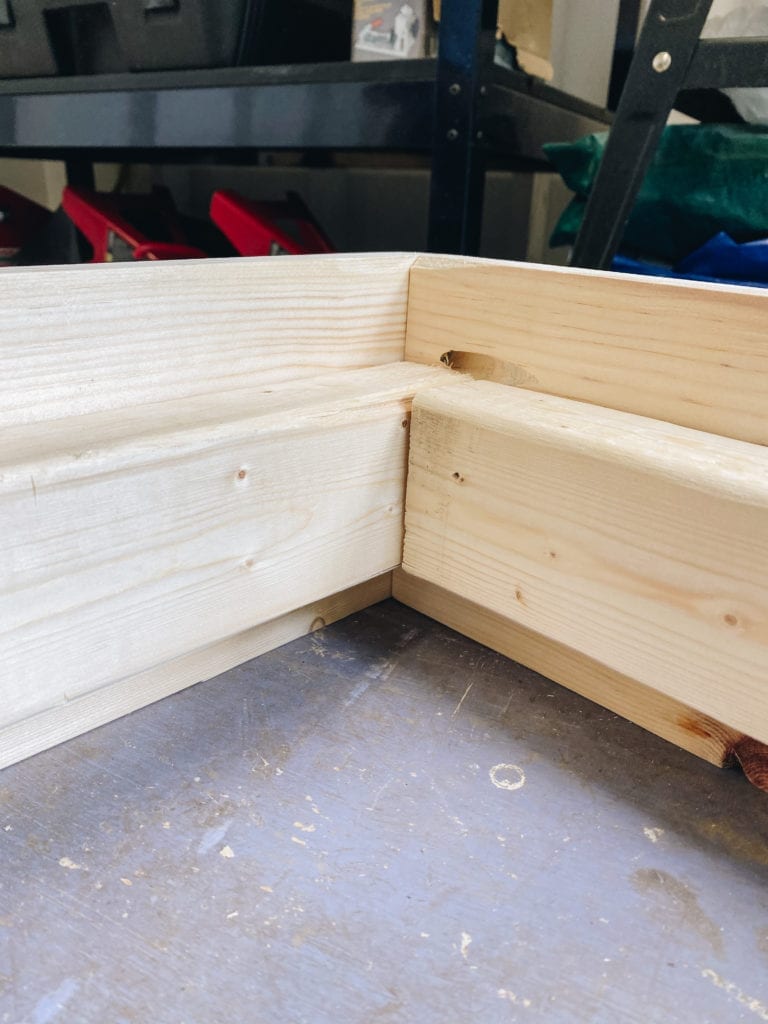
Next add the inner frame that the supports will be nailed to using the 2×3 framing lumber. To get the right height, we put the mattress on top of the 2x3s (vertically laid) and 1x3s (horizontally laid across like slats) and then raised the 2x3s 1.5 inches from the bottom of the base so that the mattress height felt right to us. Our mattress is 5.5 inches thick, but remember, you’ll have some give since it’s made of foam. Use glue and 2” nails to secure all 4 of the inner sides of the base. (Cuts: 2-54” 2-28.5”)
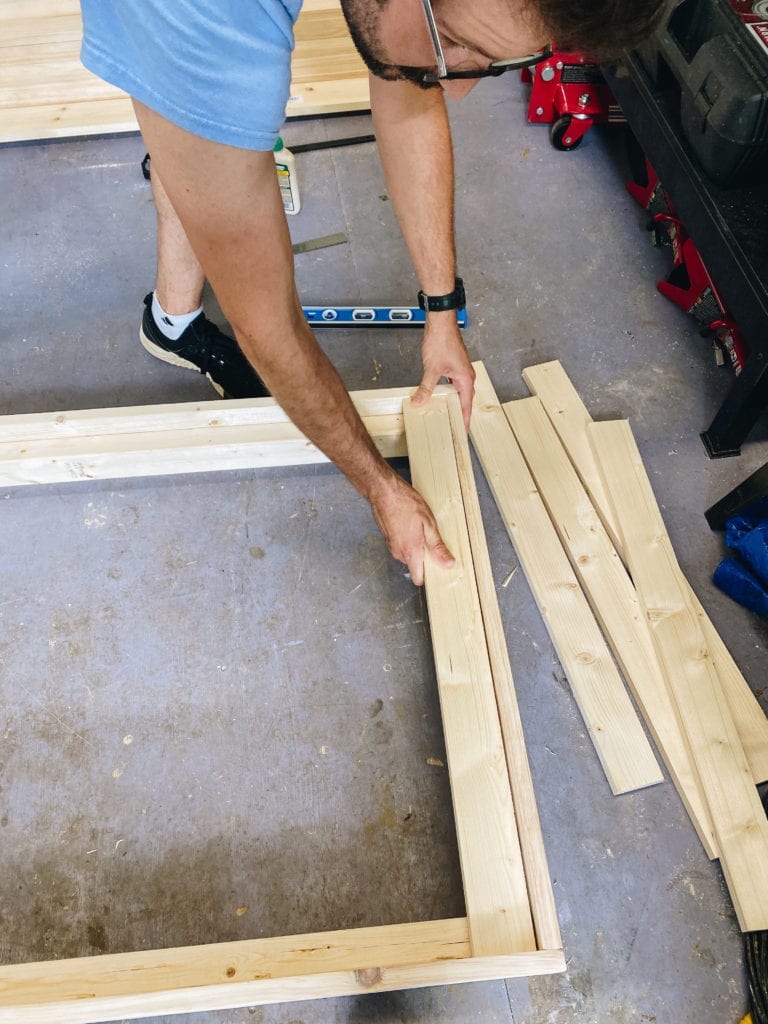
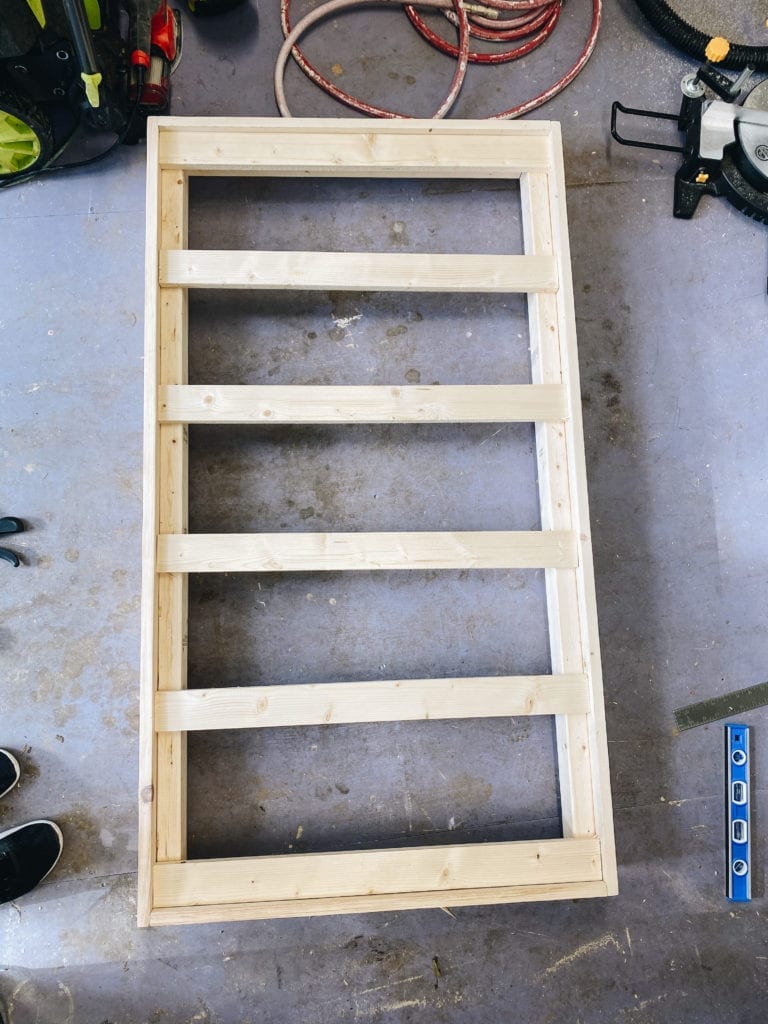
Cut 6 pieces (28.5”) of the 1×3 whitewood and set them out evenly across the inner supports. Glue and nail them in place using 1.25” nails.
Step Two: Going Vertical – Build The Posts
At this point, we placed our crib mattress on our newly build base, and with a tape measure we decided on our ideal arm rest height. For us, it was about 18.75”.
To build the front posts, cut 4 pieces of the 1×3 .75” less than your ideal heights. For us this was 18”. Take 2 of these pieces, and using glue, 1.25” nails, and a clamp, create 2 L shaped posts.
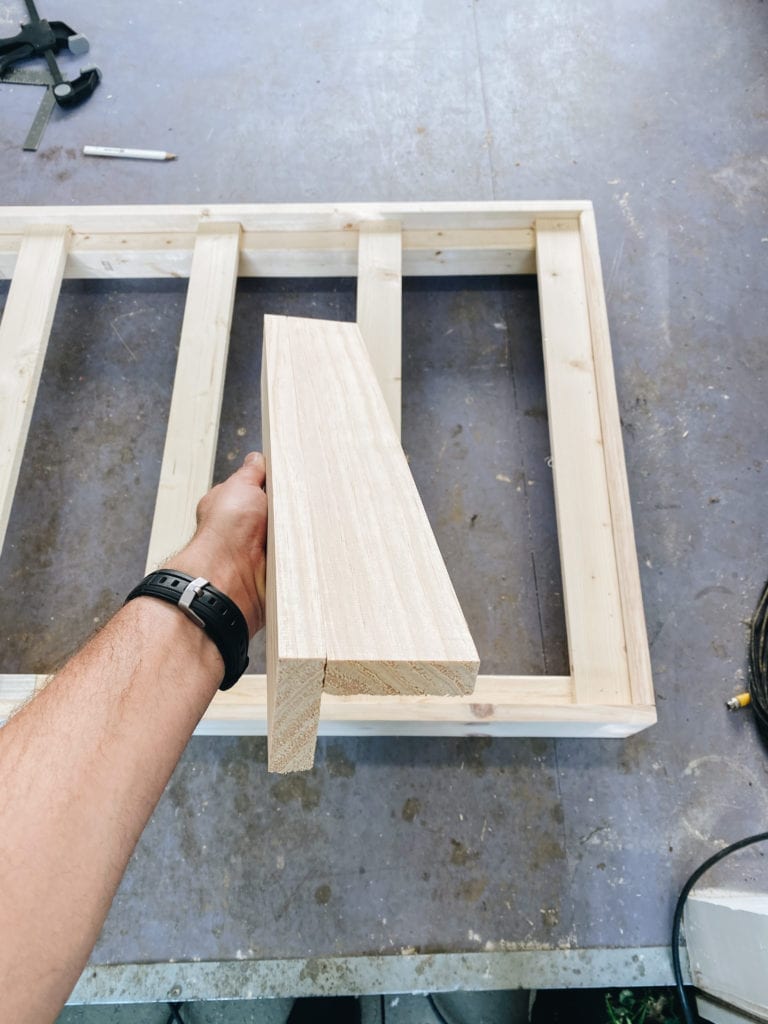
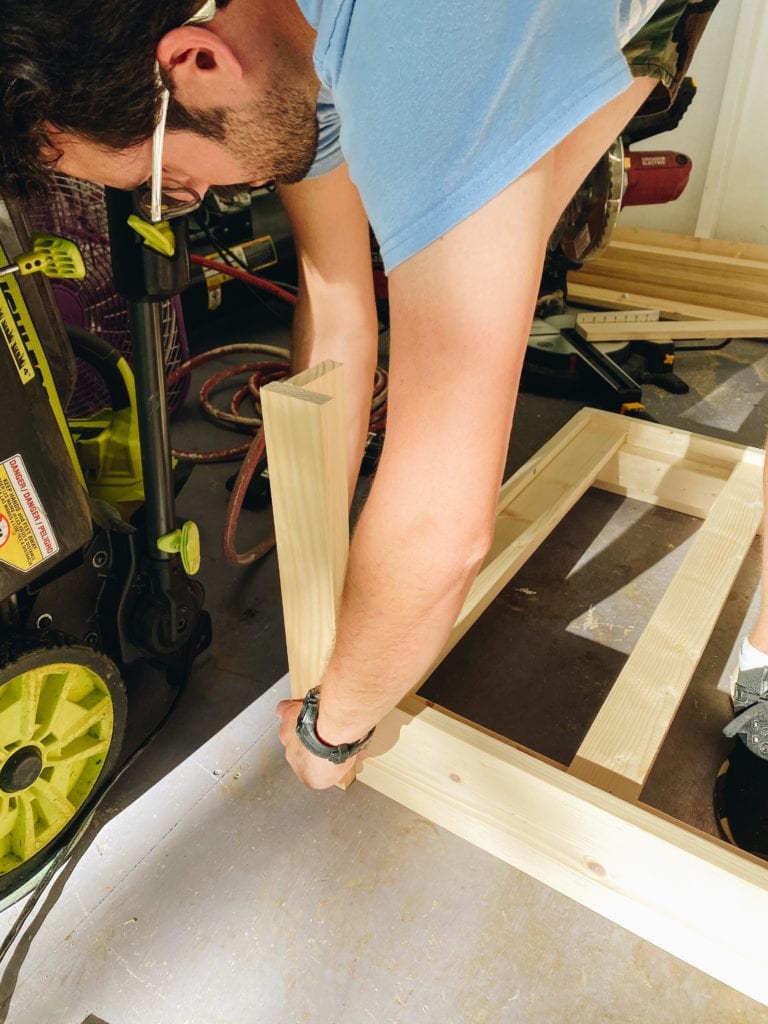
Next cut 4 pieces for the back posts (26 3/8”). Assemble them to make 2 L’s.
Assemble the posts onto the base using glue, clamps, and 1.25” & 2” nails. Make sure to only use the 2” nails where the 2×3 is on the other side.
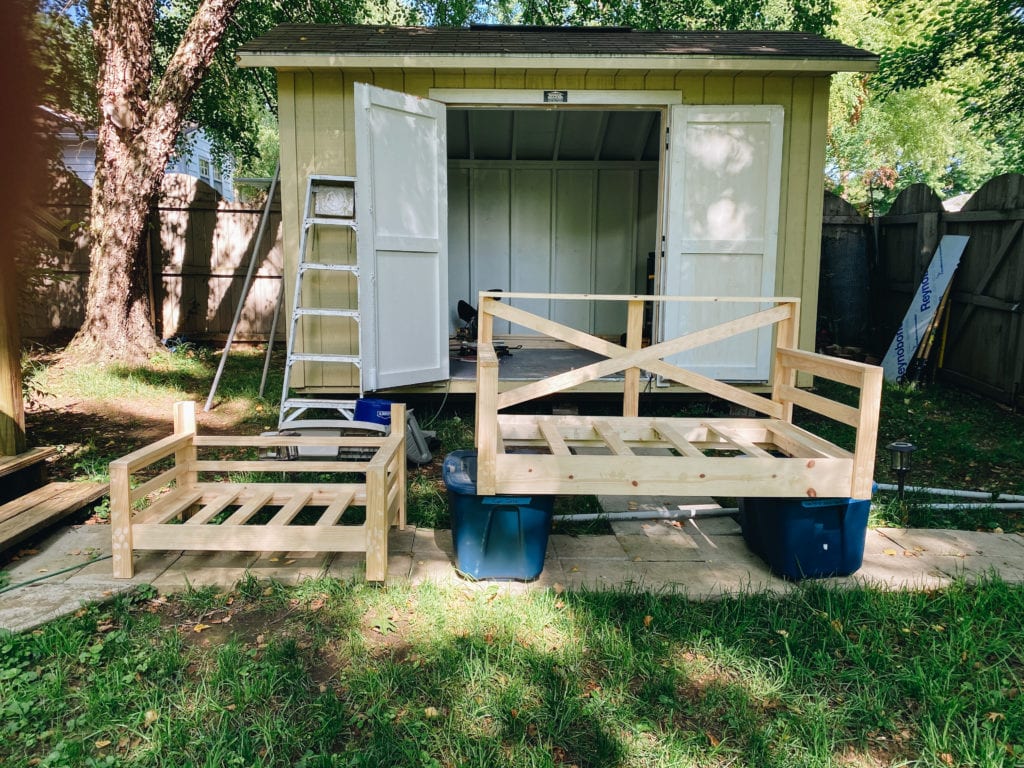
*Since Hank’s bed will not be hanging from the ceiling, we added 4” to the posts BELOW the mattress frame to create legs to keep it off the ground.
Step Three: Add Rails & Supports
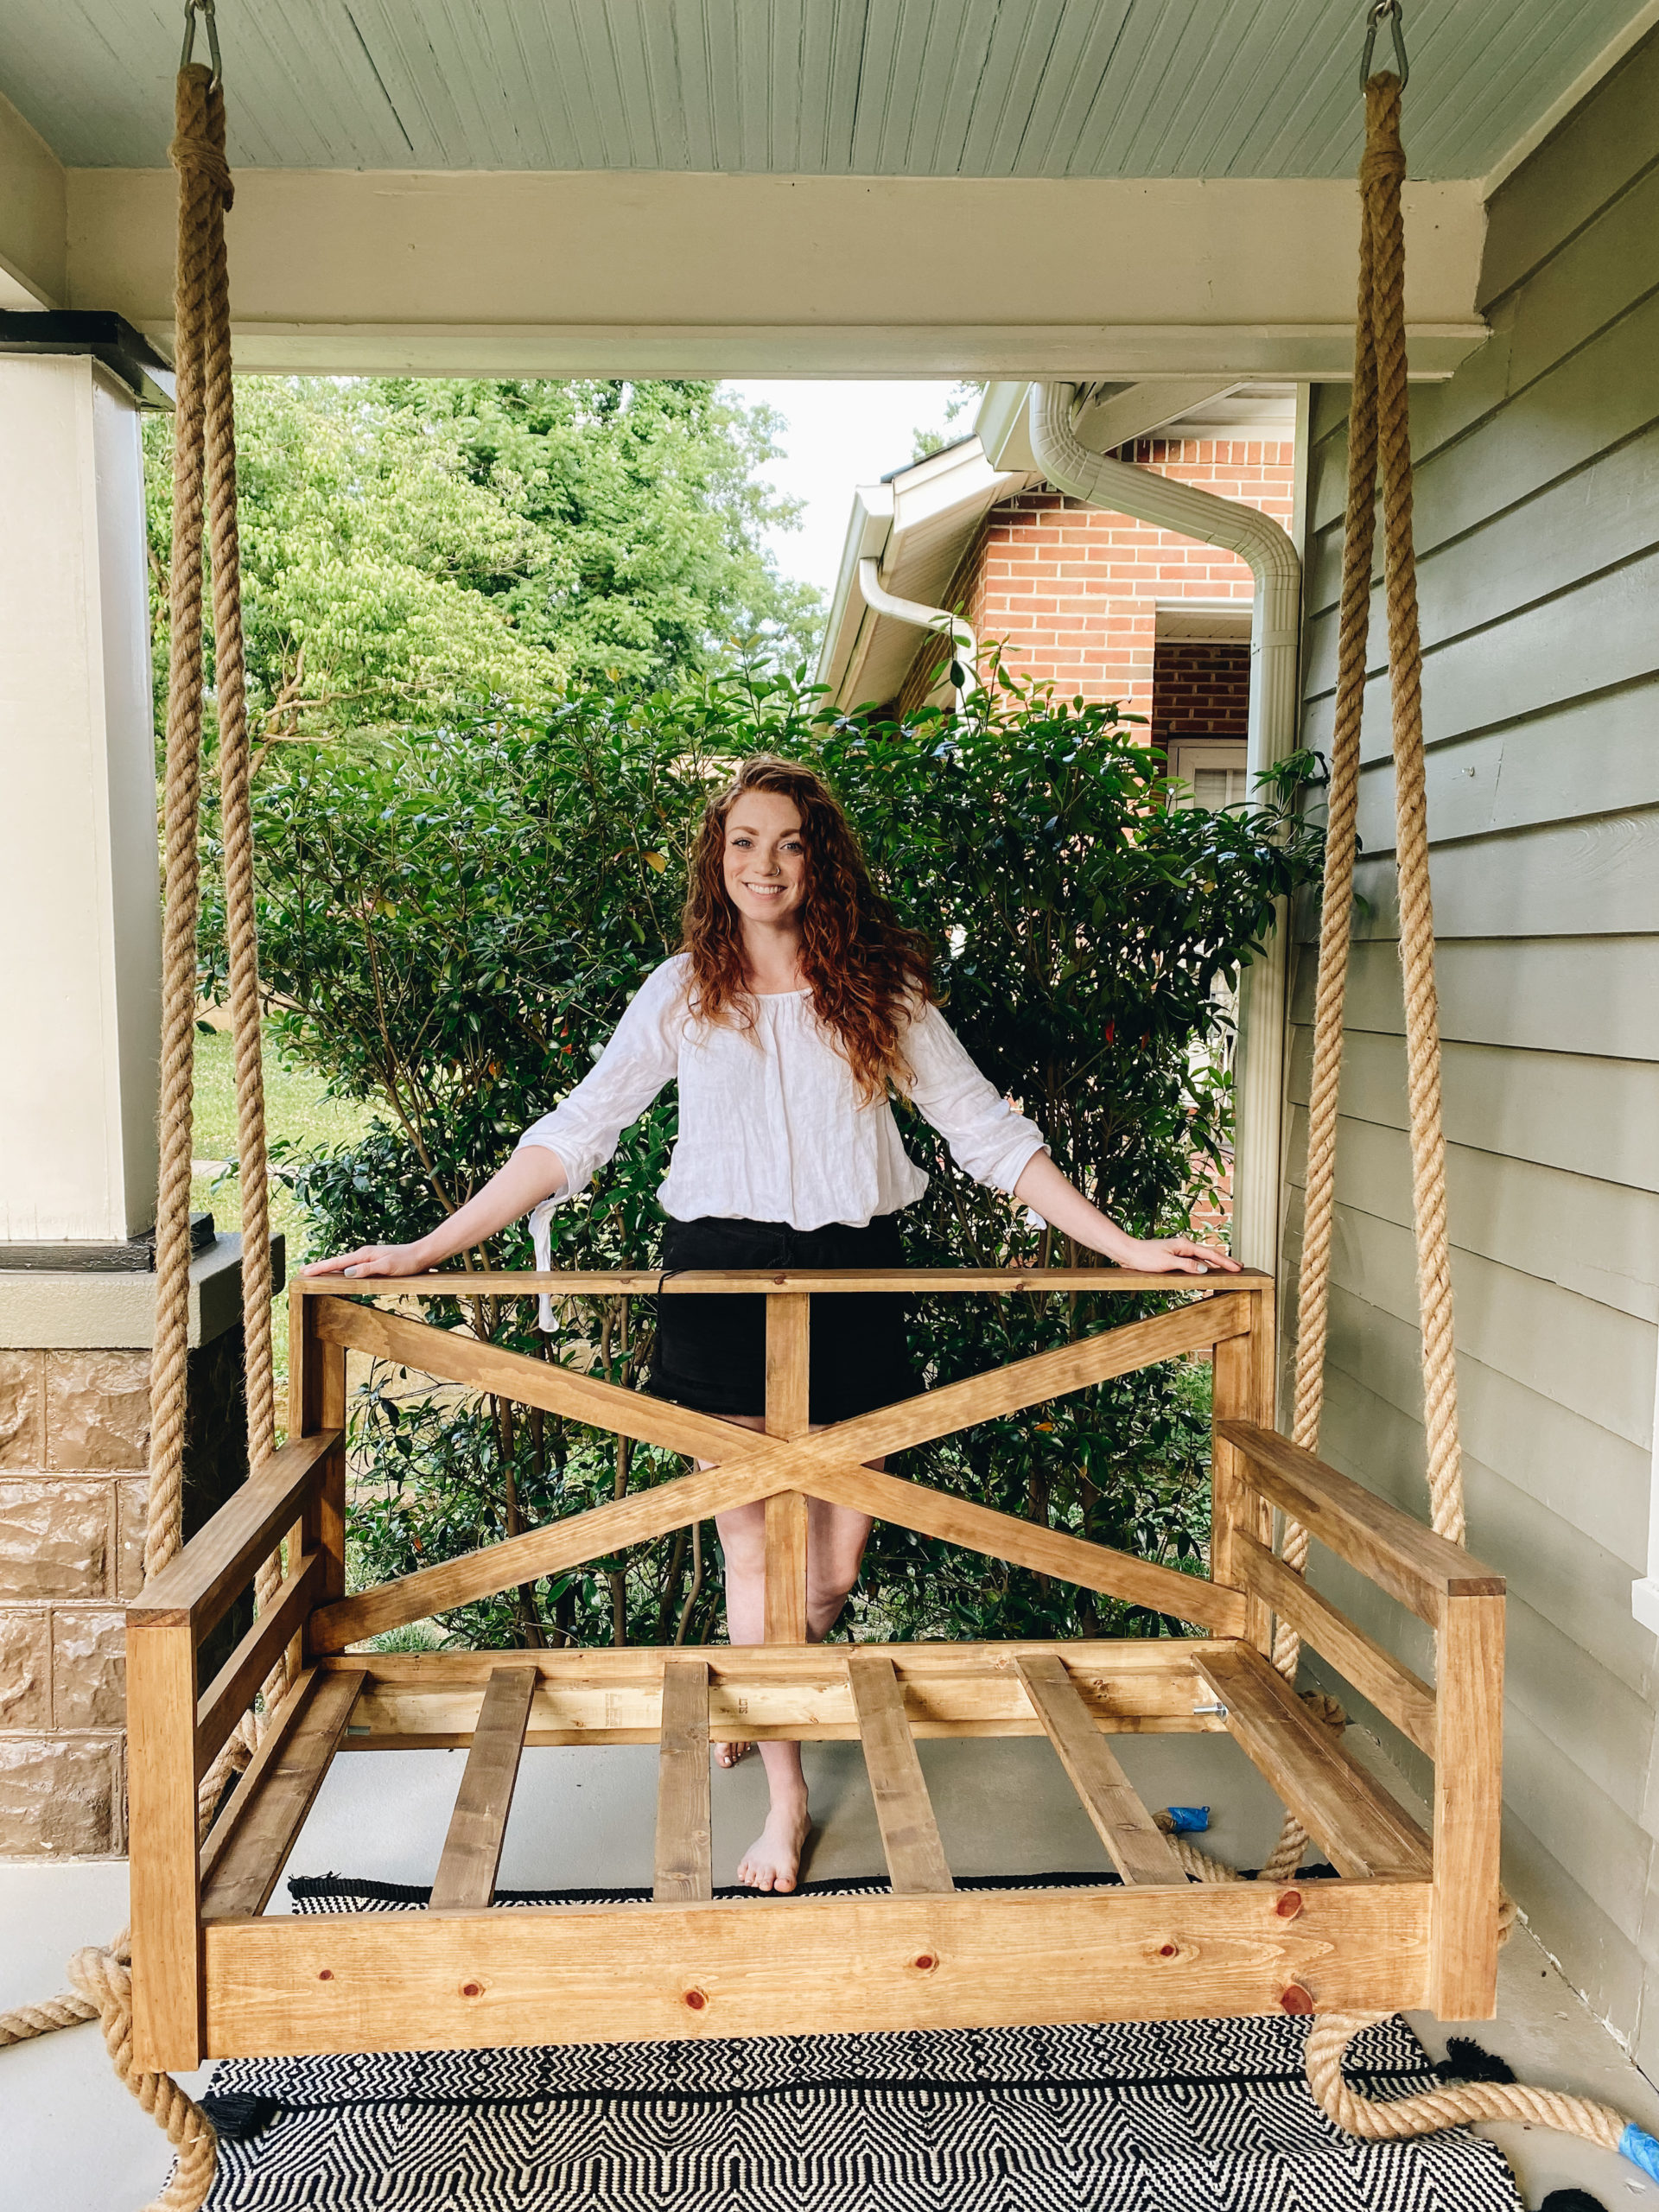
We went with a combination of horizontal rails on the sides and an X on the back. The X is a little more tricky, so feel free to use horizontal rails across the back to simplify (we did this for Hank’s bed).
Cut 4 pieces of 1×3 for the horizontal side railings. (30”). Start by attaching the top board on the right and left side using glue and 1.25” nails.
Measure the middle point between the top rail and the base, and attach the remaining 2 boards so that they will line up evenly.
Making the back X is the most difficult part, so don’t feel bad if you mess up – we did. The X is made of 3 pieces of 1×3.
The first cut is the longest (cue Sheryl Crow). I couldn’t find my protractor, so I used the good old “put the board in place and mark the angle with a pencil” technique. This works well on the 1st piece. Glue and nail using 1.25” nails.
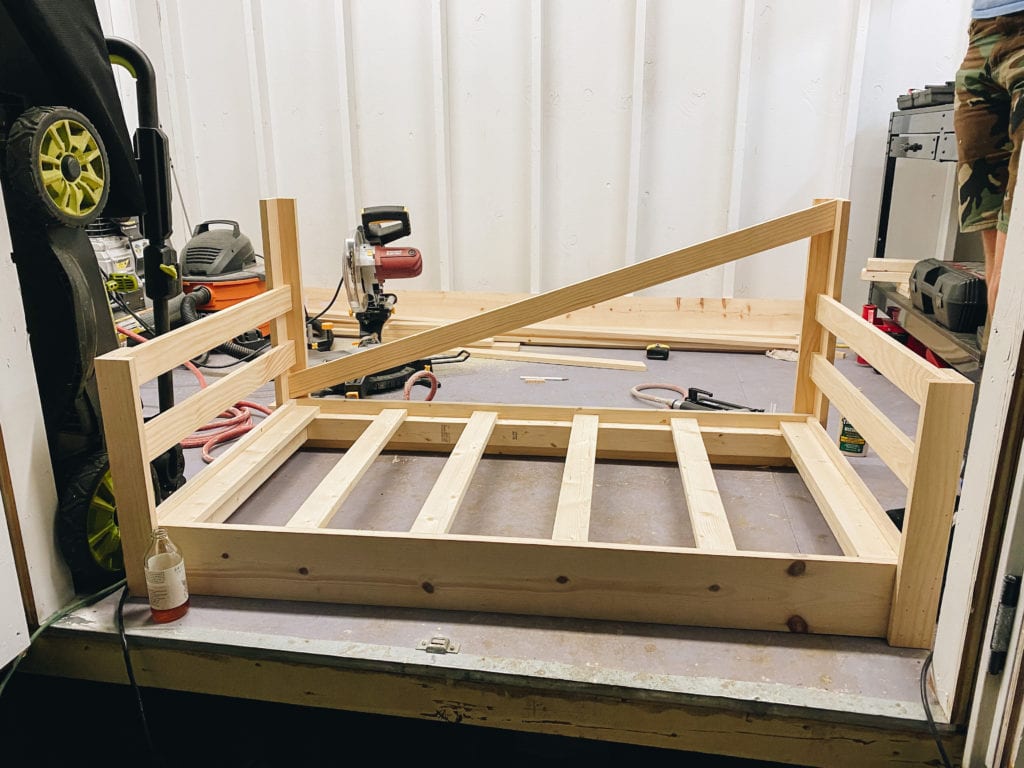
The 2nd & 3rd cut are a little more difficult. My angles were over 45 degrees – the max of of my miter saw – so I transitioned over to my table saw. You could also use a jig saw for these cuts. Once you get the pieces to fit correctly, glue & nail.
Next cut a 1×4 to the width of the back (55.25”). Nail using 1.25” and glue.
We added a 1×3 behind the X to provide additional support.
Lastly cut the arm rests using 1x3s (30.75”). Nail using 1.25” brad nails and glue.
Step 4: Fill Holes & Stain
Using wood putty, fill all the tiny brad nail holes.
Once dried, use the sheet sander to remove excess putty. We also used this opportunity to do a once over with the sander of all the boards and make sure all of our joints were flush and smooth.
Here’s the process we used for staining:
- Blow off the swing and wipe with cloth to remove sawdust from sanding.
- Apply a wood conditioner.
- Apply Early American stain from Varathane with a rag per the instructions on the can.
- Wipe off excess stain and allow to dry for 2 hours.
- Apply Weathered Oak stain from Varathane with a rag.
- Wipe off excess stain and allow to dry for 2 hours
- Spray on thin clear coat of poly. We used a satin finish poly, also from Varathane.
- Allow to dry completely so that the surface isn’t tacky when touched.
- Spray second coat of poly.
- Allow to dry completely.
- VERY lightly sand surface to smooth
- Spray 3rd and final coat of poly and allow to dry completely.
Step 5: Hang
Using boxes or a combination of several items that are equal in height, set up your porch swing at your desired height. We happened to have two identical plastic bins that worked perfectly.
Install 2 eye bolts symmetrically above each armrest–make sure you’re anchoring them in studs, of course! Clip a heavy duty carabiner into each one.
Install the remaining 4 eye bolts to the base of the swing, just inside each corner. Make sure you’re drilling into both the outer and inner frames to give the swing maximum support.
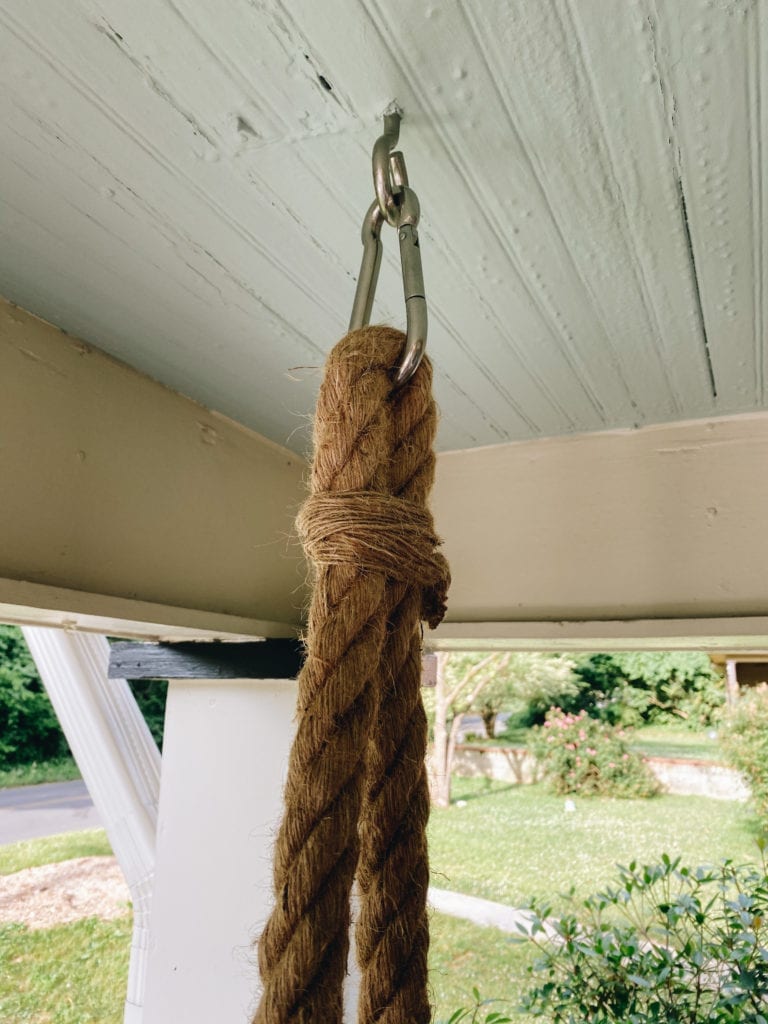
Wrap painters tape as tightly as possible around the end of the rope and twist to make it as small as possible. Thread it through one eye bolt,bringing the rope all the way to the floor and adding another 18″ or so to give plenty of room to knot. I (Grace) had my heart set on the rope being really chunky and boho looking, so we used 1.5″ rope. I love how it looks, but it definitely would have been easier (and just as sturdy, in my opinion) to use 3/4″ or 1″ rope. If you use a thinner rope, it will be easier to thread, but you may need to double knot it.
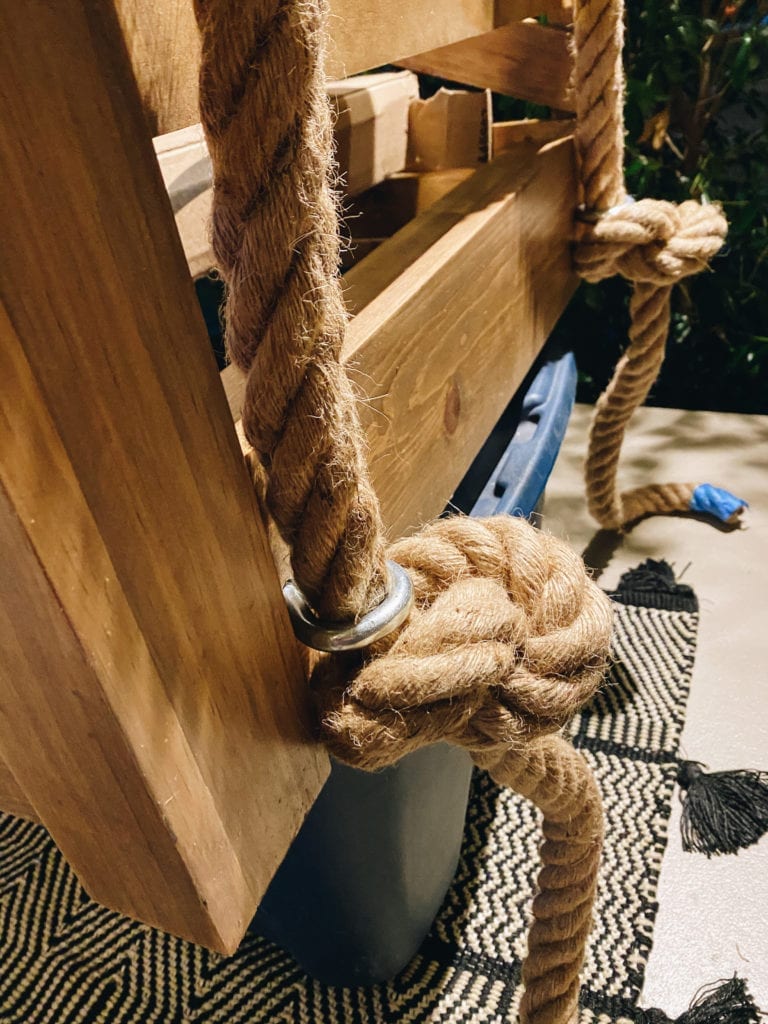
Measure and cut so that your rope has enough room to thread through the carabiner above the same side, back down, through the other eye bolt on the same side, down to the floor, and add another 18″ of room for knotting. Use painters tape to wrap tightly before you cut–this way your next side is already ready to be threaded. Repeat on the other side of the swing.
After your rope is threaded through carabiners and eye bolts, use a level to make sure it’s level side to side and back to front. Tightly knot rope underneath the eye bolts. Make sure the rope is as taught as possible so your swing stays even. Once all knots are tightened, remove the supports and let the swing sink–it will settle quite a bit, which is why you need to have plenty of excess rope in case you need untie it and tie it higher. You may also want to carefully sit on the swing to help it settle before you cut off the excess rope.
Once your swing is hung, use a zip tie on each side to secure the rope evenly under the carabiner. This will insure that the swing doesn’t tilt back and forth and only swings from the eyebolts in your ceiling studs. To make things pretty, you can cut the ends of the rope and fray them so that they create tassels, or if you like a cleaner look, just cut them and tuck the end in. I used a scrap piece of rope to cover the zip ties at the top and help them blend in.
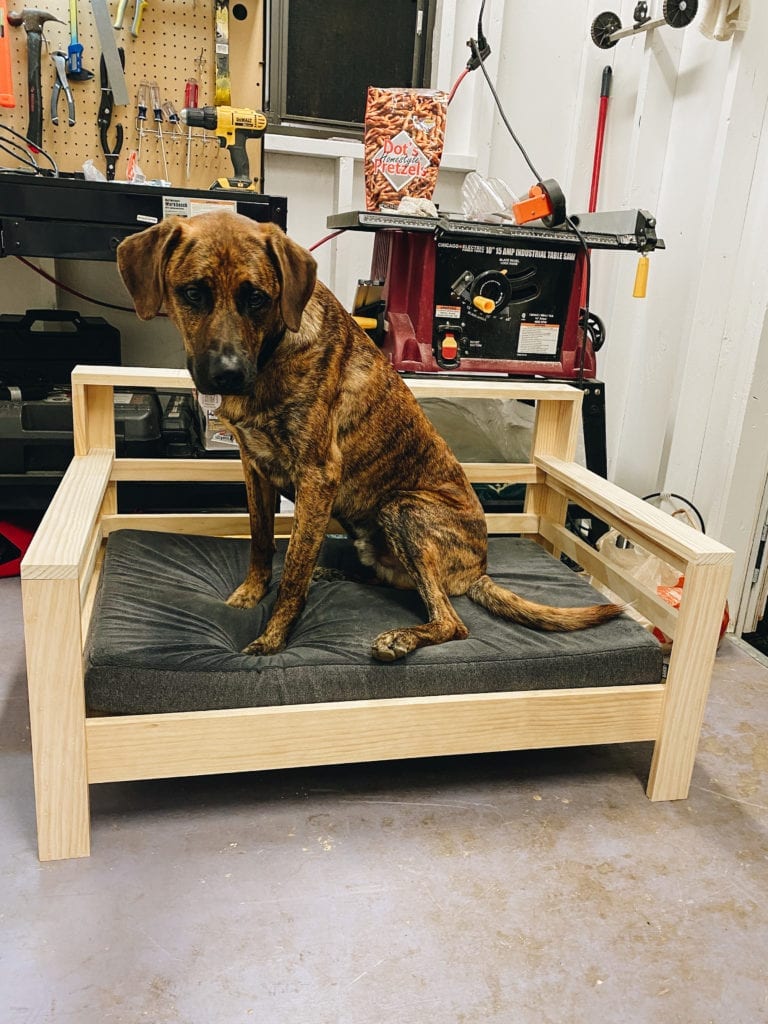
For Hank’s bed, his mattress was 35”x22”. This is ~67% of the crib mattress we used on our large swing (35”/52”=.67). We then took this and “shrunk” our previous plans down to 67% of original. You can use this same calculation to make a miniature version using whatever mattress pad you like. The only major change is since Hank’s bed will not be hanging from the ceiling, we added 4” to the posts to create legs to keep it off the ground. I also used 1×2’s for the horizontal rails to make his bed not look as chunky.
Well folks, next week is the big reveal. We’re doing photos on Saturday, and I can’t wait to show everything to you in its finished state! I LOVE how this porch has turned out, and I hope you will too.
For more DIYs, historic renovations, and design follow me on Instagram here!

Leave a Reply Cancel reply
For even more content, sign up for my newsletter. I share weekly recaps so you won’t miss anything, as well as personal notes and answers to your questions. Sign up here! I promise I’ll never sell your information or spam you with unsolicited emails.
Love how this turned out! What a fun project!
LOVE your swing! I want to add one to our backyard, perhaps as part of a future ORC! Thanks for sharing your DIY!
This looks so good! I love how you did the rope. I’m pinning this because I need to recreate this!
This is amazing!! Just got my spring home and
carpet cleaning done, now it’s time to focus on the porch, can’t wait <3