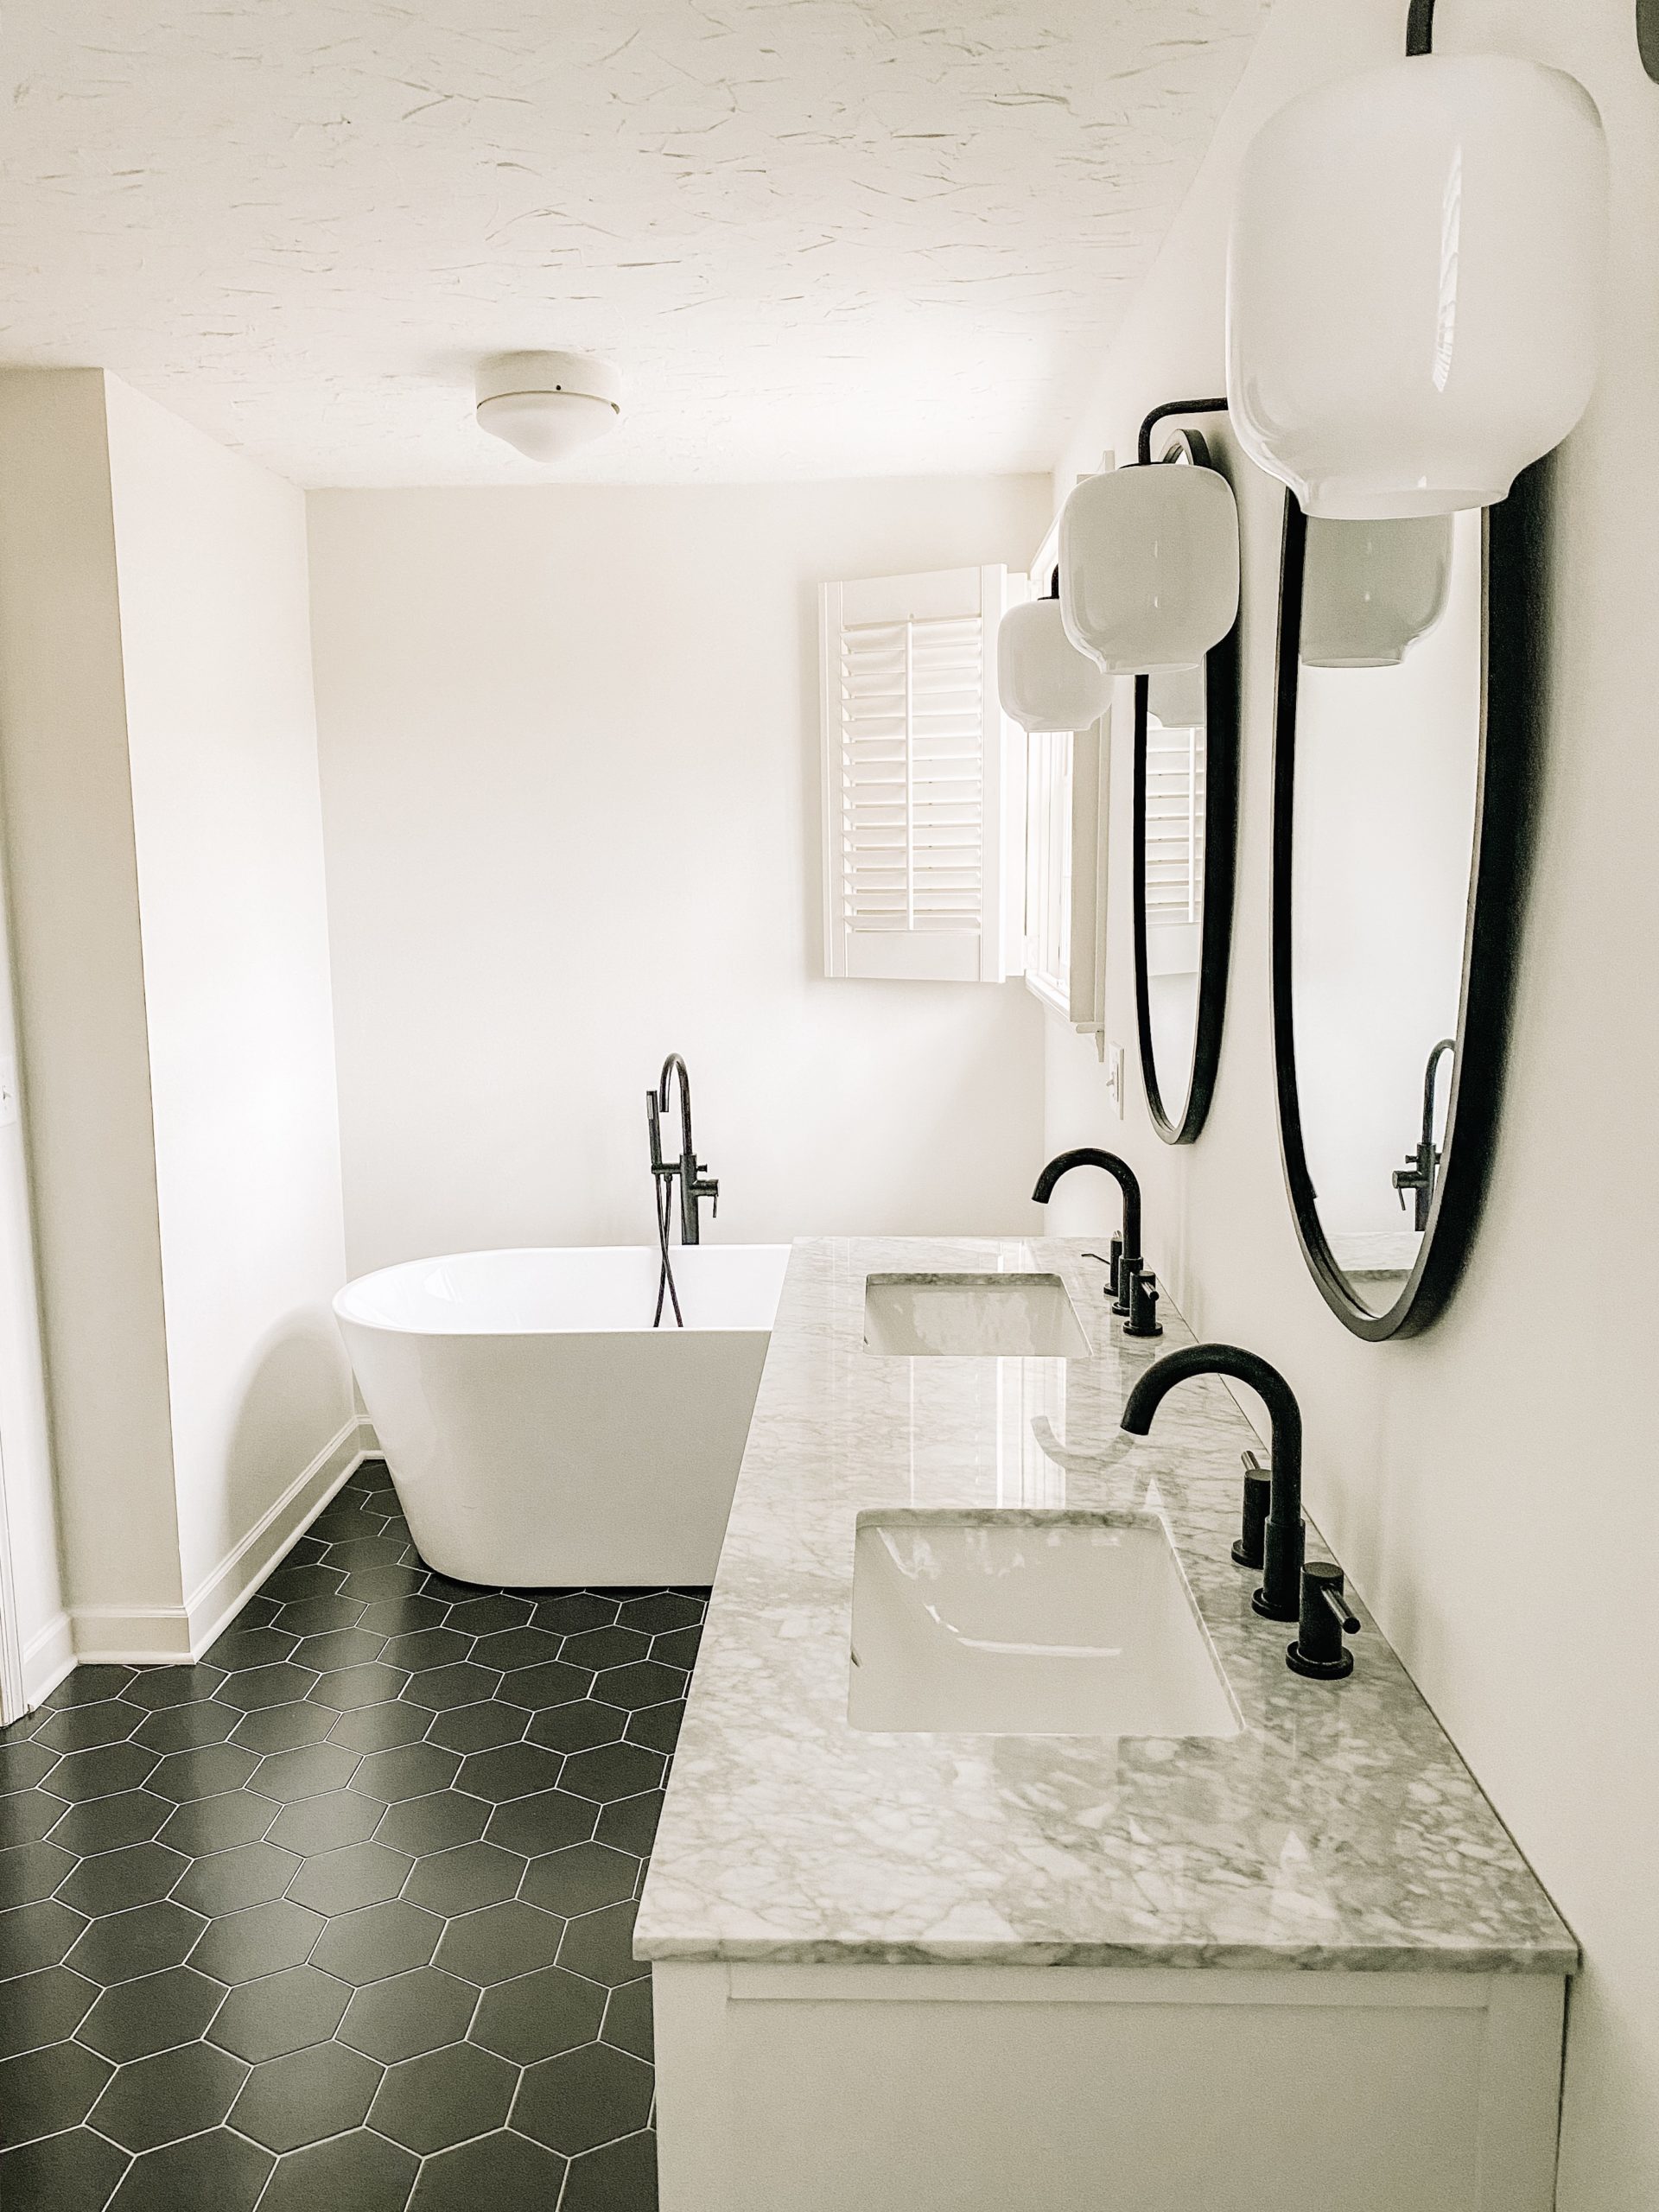
Green Hills Master Bathroom Renovation
February 28, 2020
It’s been a three month process, but I can finally say that we’re ALMOST done with the Green Hills House! I promised you progress updates, and the master bath has been one of the biggest transformations in the house, so I’m excited to show you how far we’ve come.
As a reminder, here’s where the house started…
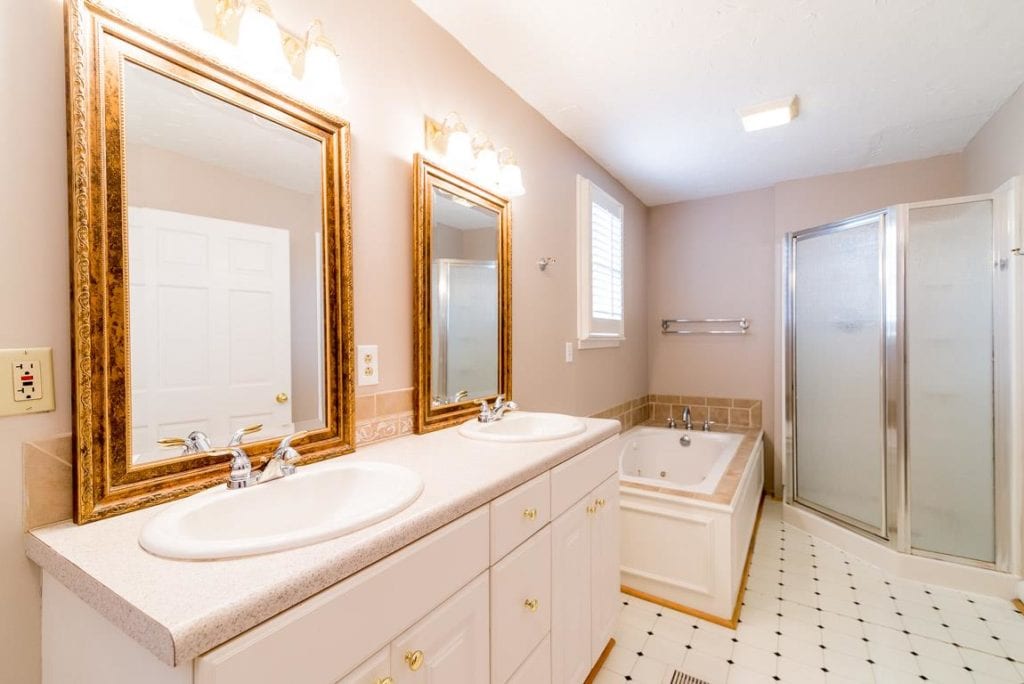
The previous owners slapped on some paint and put up some crooked lights above the vanity, and when I got my hands on it, the master bath looked like this:
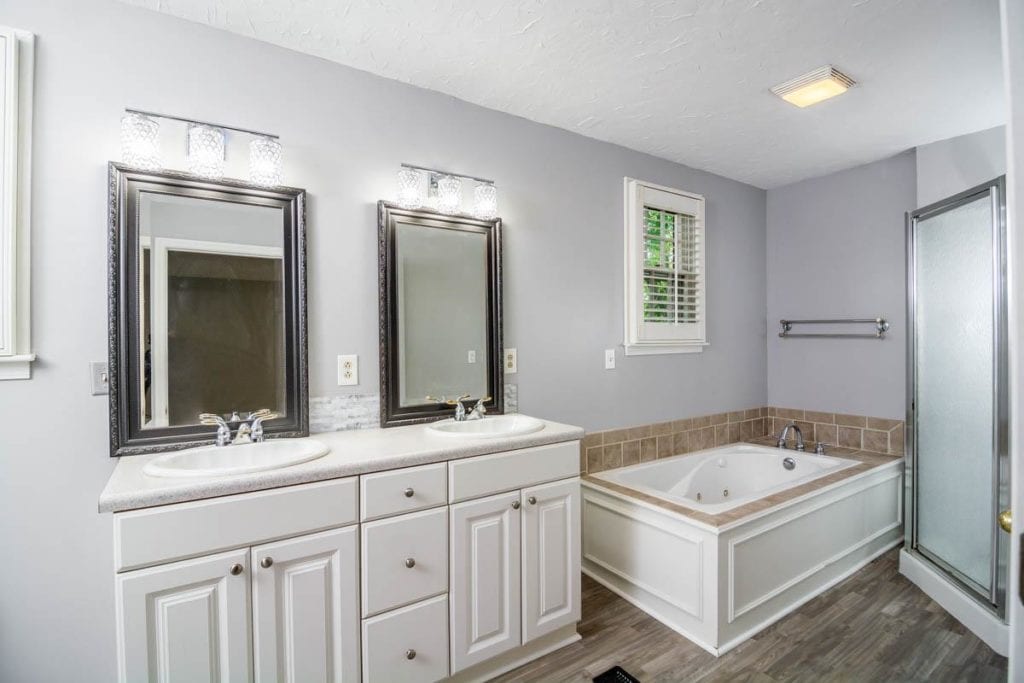
Before I show you what we’ve done, I want to tell you the issues with the previous renovation that aren’t evident from the photo, and are things you should avoid.
- The vanity in here was kind of pieced together. You can kind of tell in the first photo that the top doesn’t fit the base, and the angle was very strange. The last owner took off the old backsplash and added a bad DIY tiled one.
- The mirrors didn’t fit the space, which was because…
- The vanity lights weren’t centered or level with one another, and they were too low.
- If you’re a client or friend of mine who has seen a house with a jacuzzi tub with me, you know how I feel about them. I’ve seen things come out of them during inspections that I can’t unsee. Green and black things. Floaty things. And the grossest part? You’re supposed to clean these babies regularly and flush out the lines, but NOBODY does it, so they’re all disgusting… which is why I’ll never take a bath in a used jacuzzi tub. And they should all be ripped out and thrown away during bathroom renovations. (Strong opinions here–like I said, I’ve seen things.)
- The layout of this bathroom was very awkward. The tub and shower being tucked into one side of a long, skinny room made it so that it would be difficult to get in and out of the tub.
- The vent in the middle of the floor is in a strange space, and since this is a newer addition to the original structure we’re still not sure why they would have put it there.
We knew this was going to be a rental, but our renovations needed to be ones that would help sell the house if we wanted to resell it down the road. Here was the plan:
- Rip out everything (tub, toilet, vanity, and shower.)
- Tear out LVT flooring and replace with tile.
- Install new tile shower with frameless glass door.
- Move toilet to tub’s old location
- Move tub from upstairs bathroom and install to the left of the door, where toilet used to be.
- Replace vanity, mirrors, and rewire new lights in a better location.
- Paint!
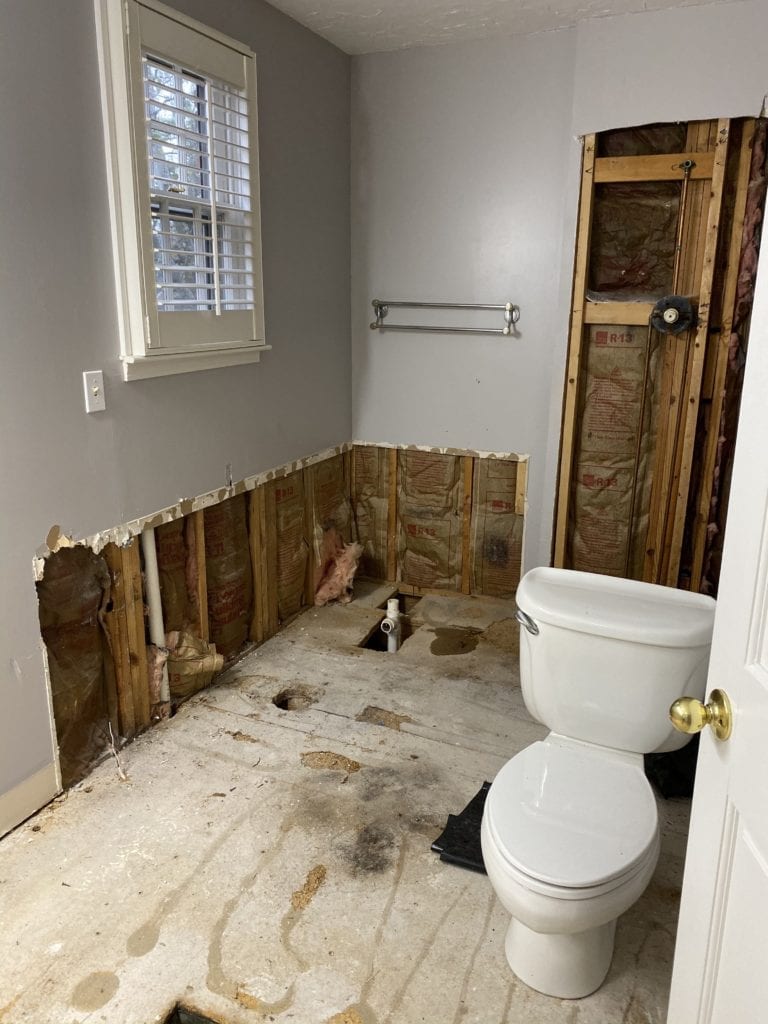
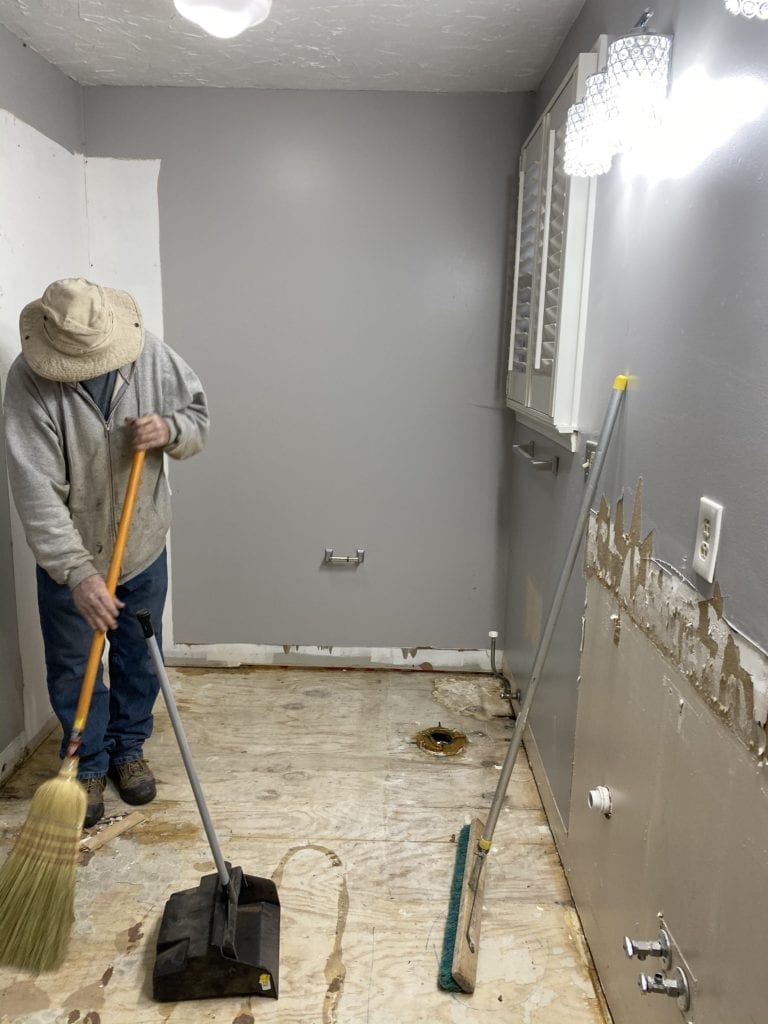
The work started, and it was so much fun to see the progress. Demo was very dirty and dusty, and once our GC and his crew had ripped up the LVT flooring, they found out that the subfloor was particle board instead of plywood. I wasn’t sure why this was an issue until our GC explained that particle board swells up when water hits it and can’t be dried out like plywood can. I’m SO glad he encouraged us to change out the subfloor because we had a water disaster that could have been a lot worse.
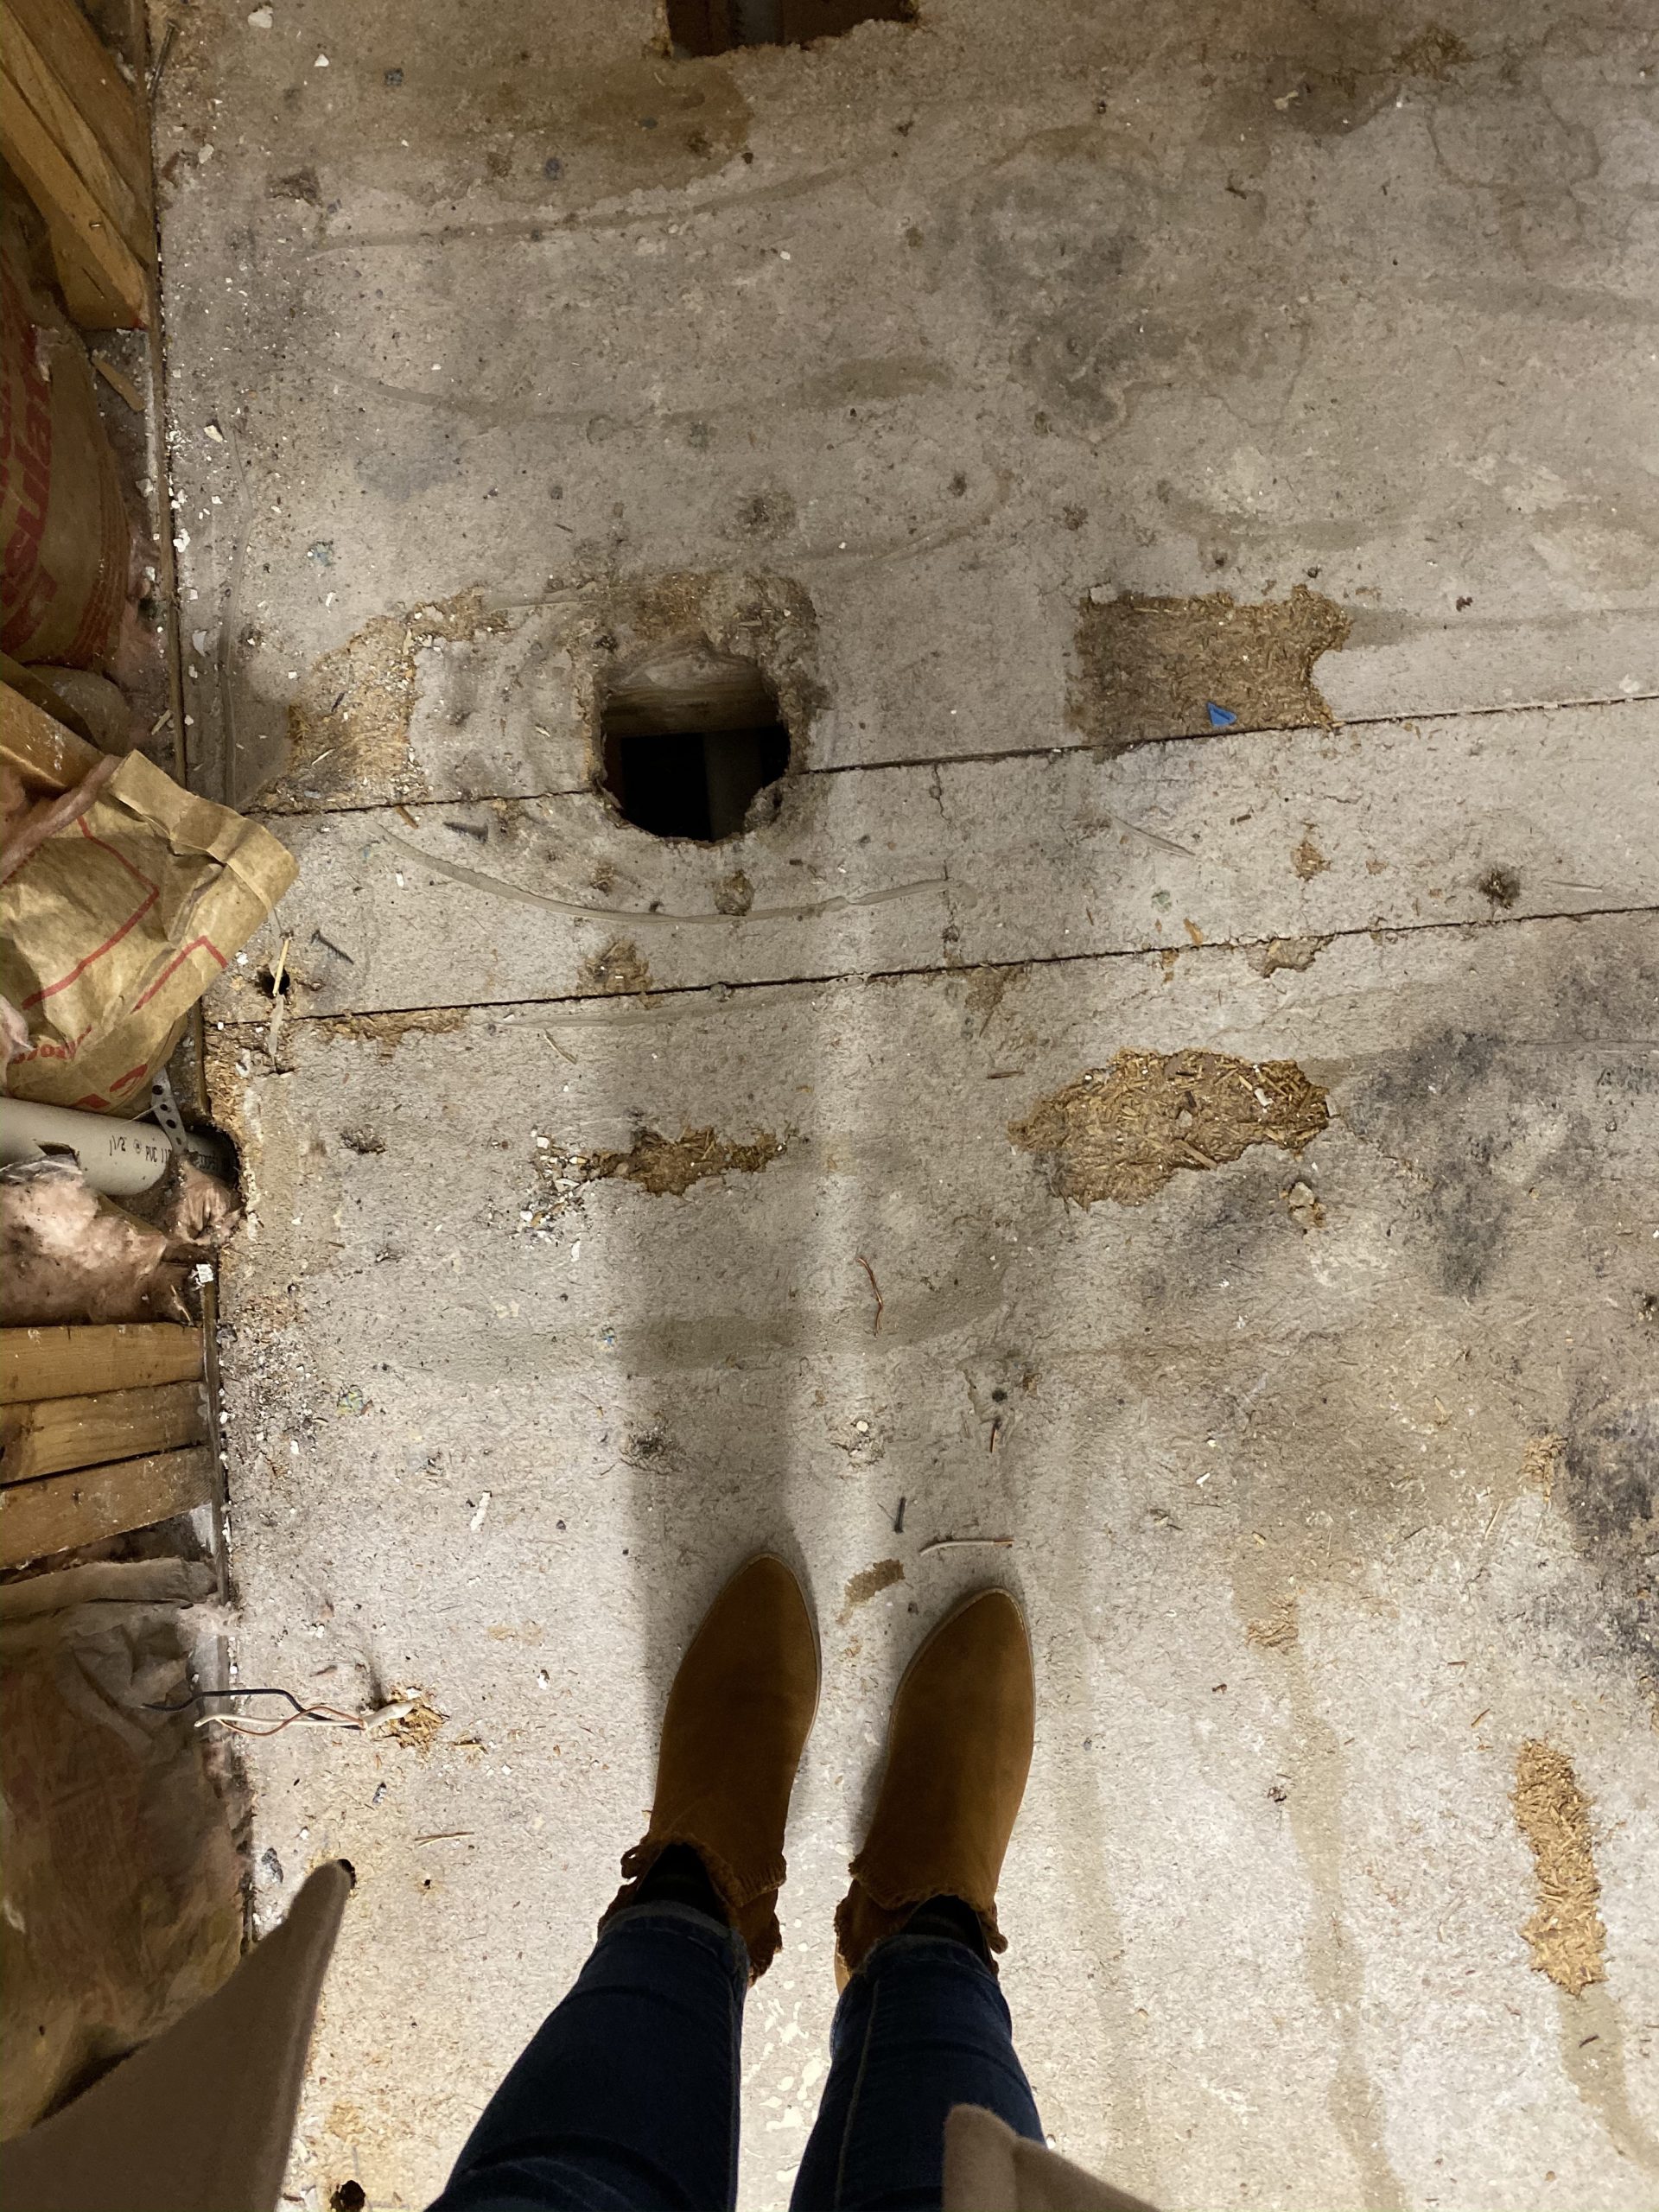
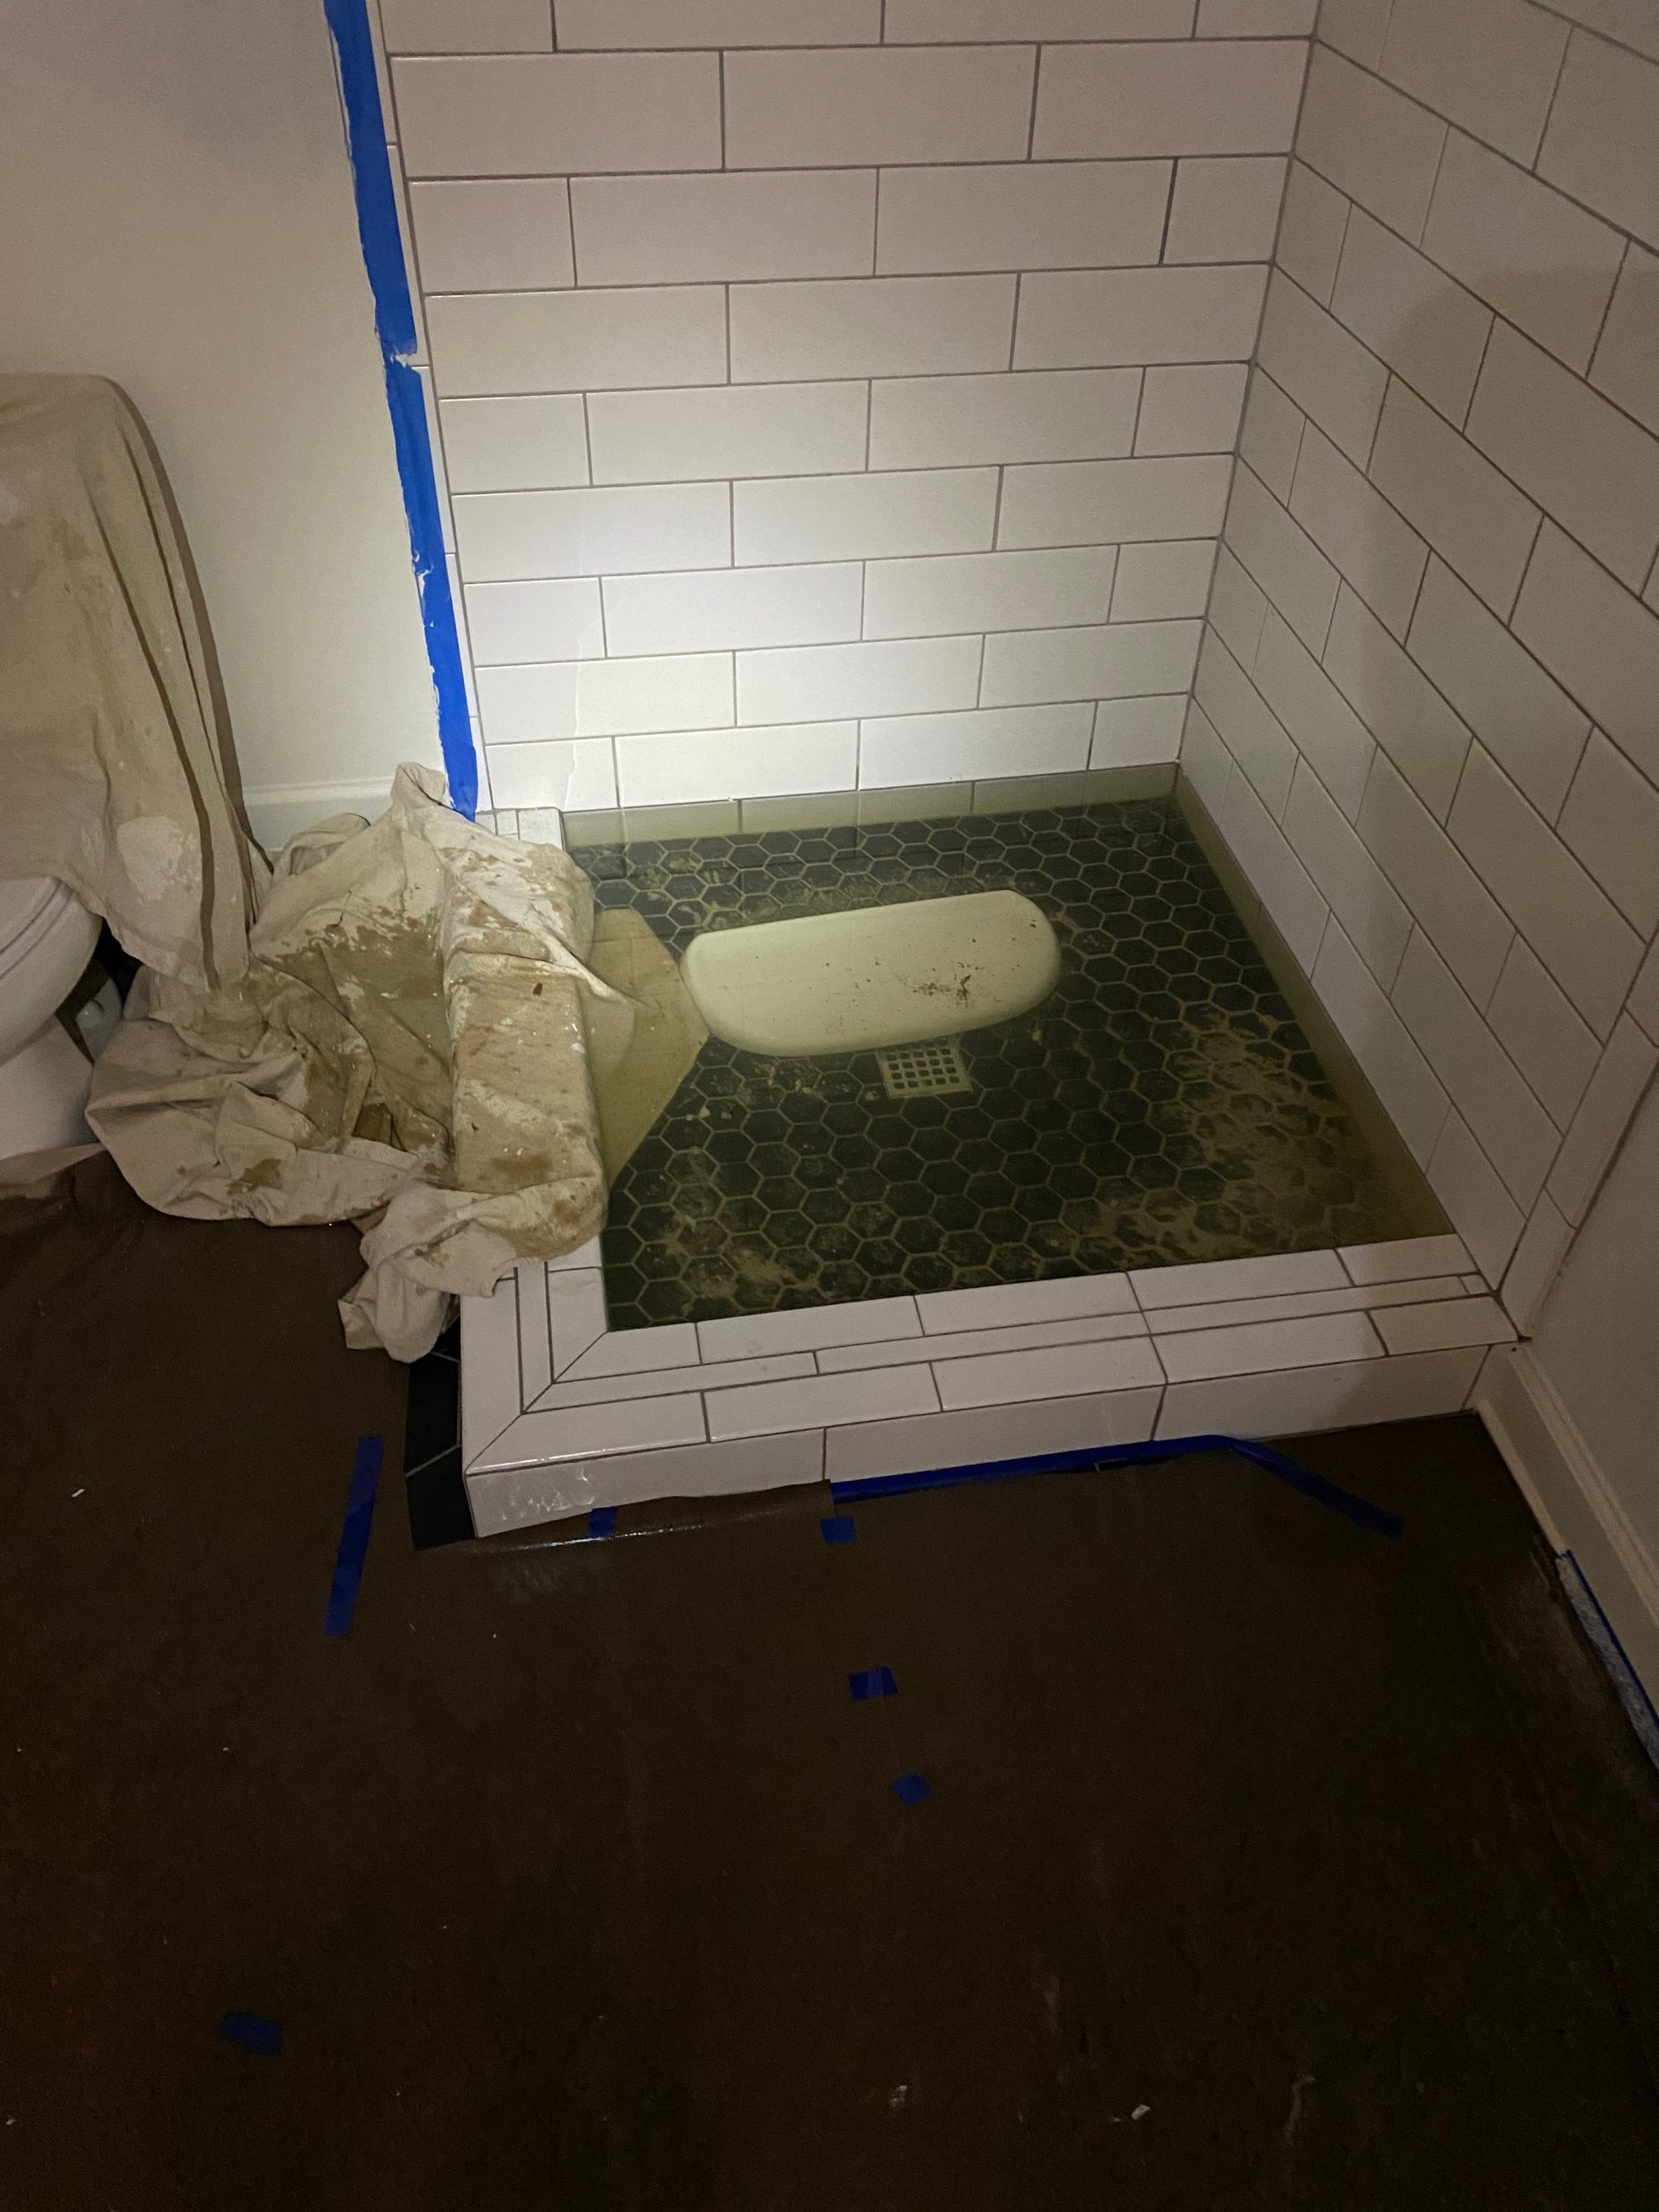
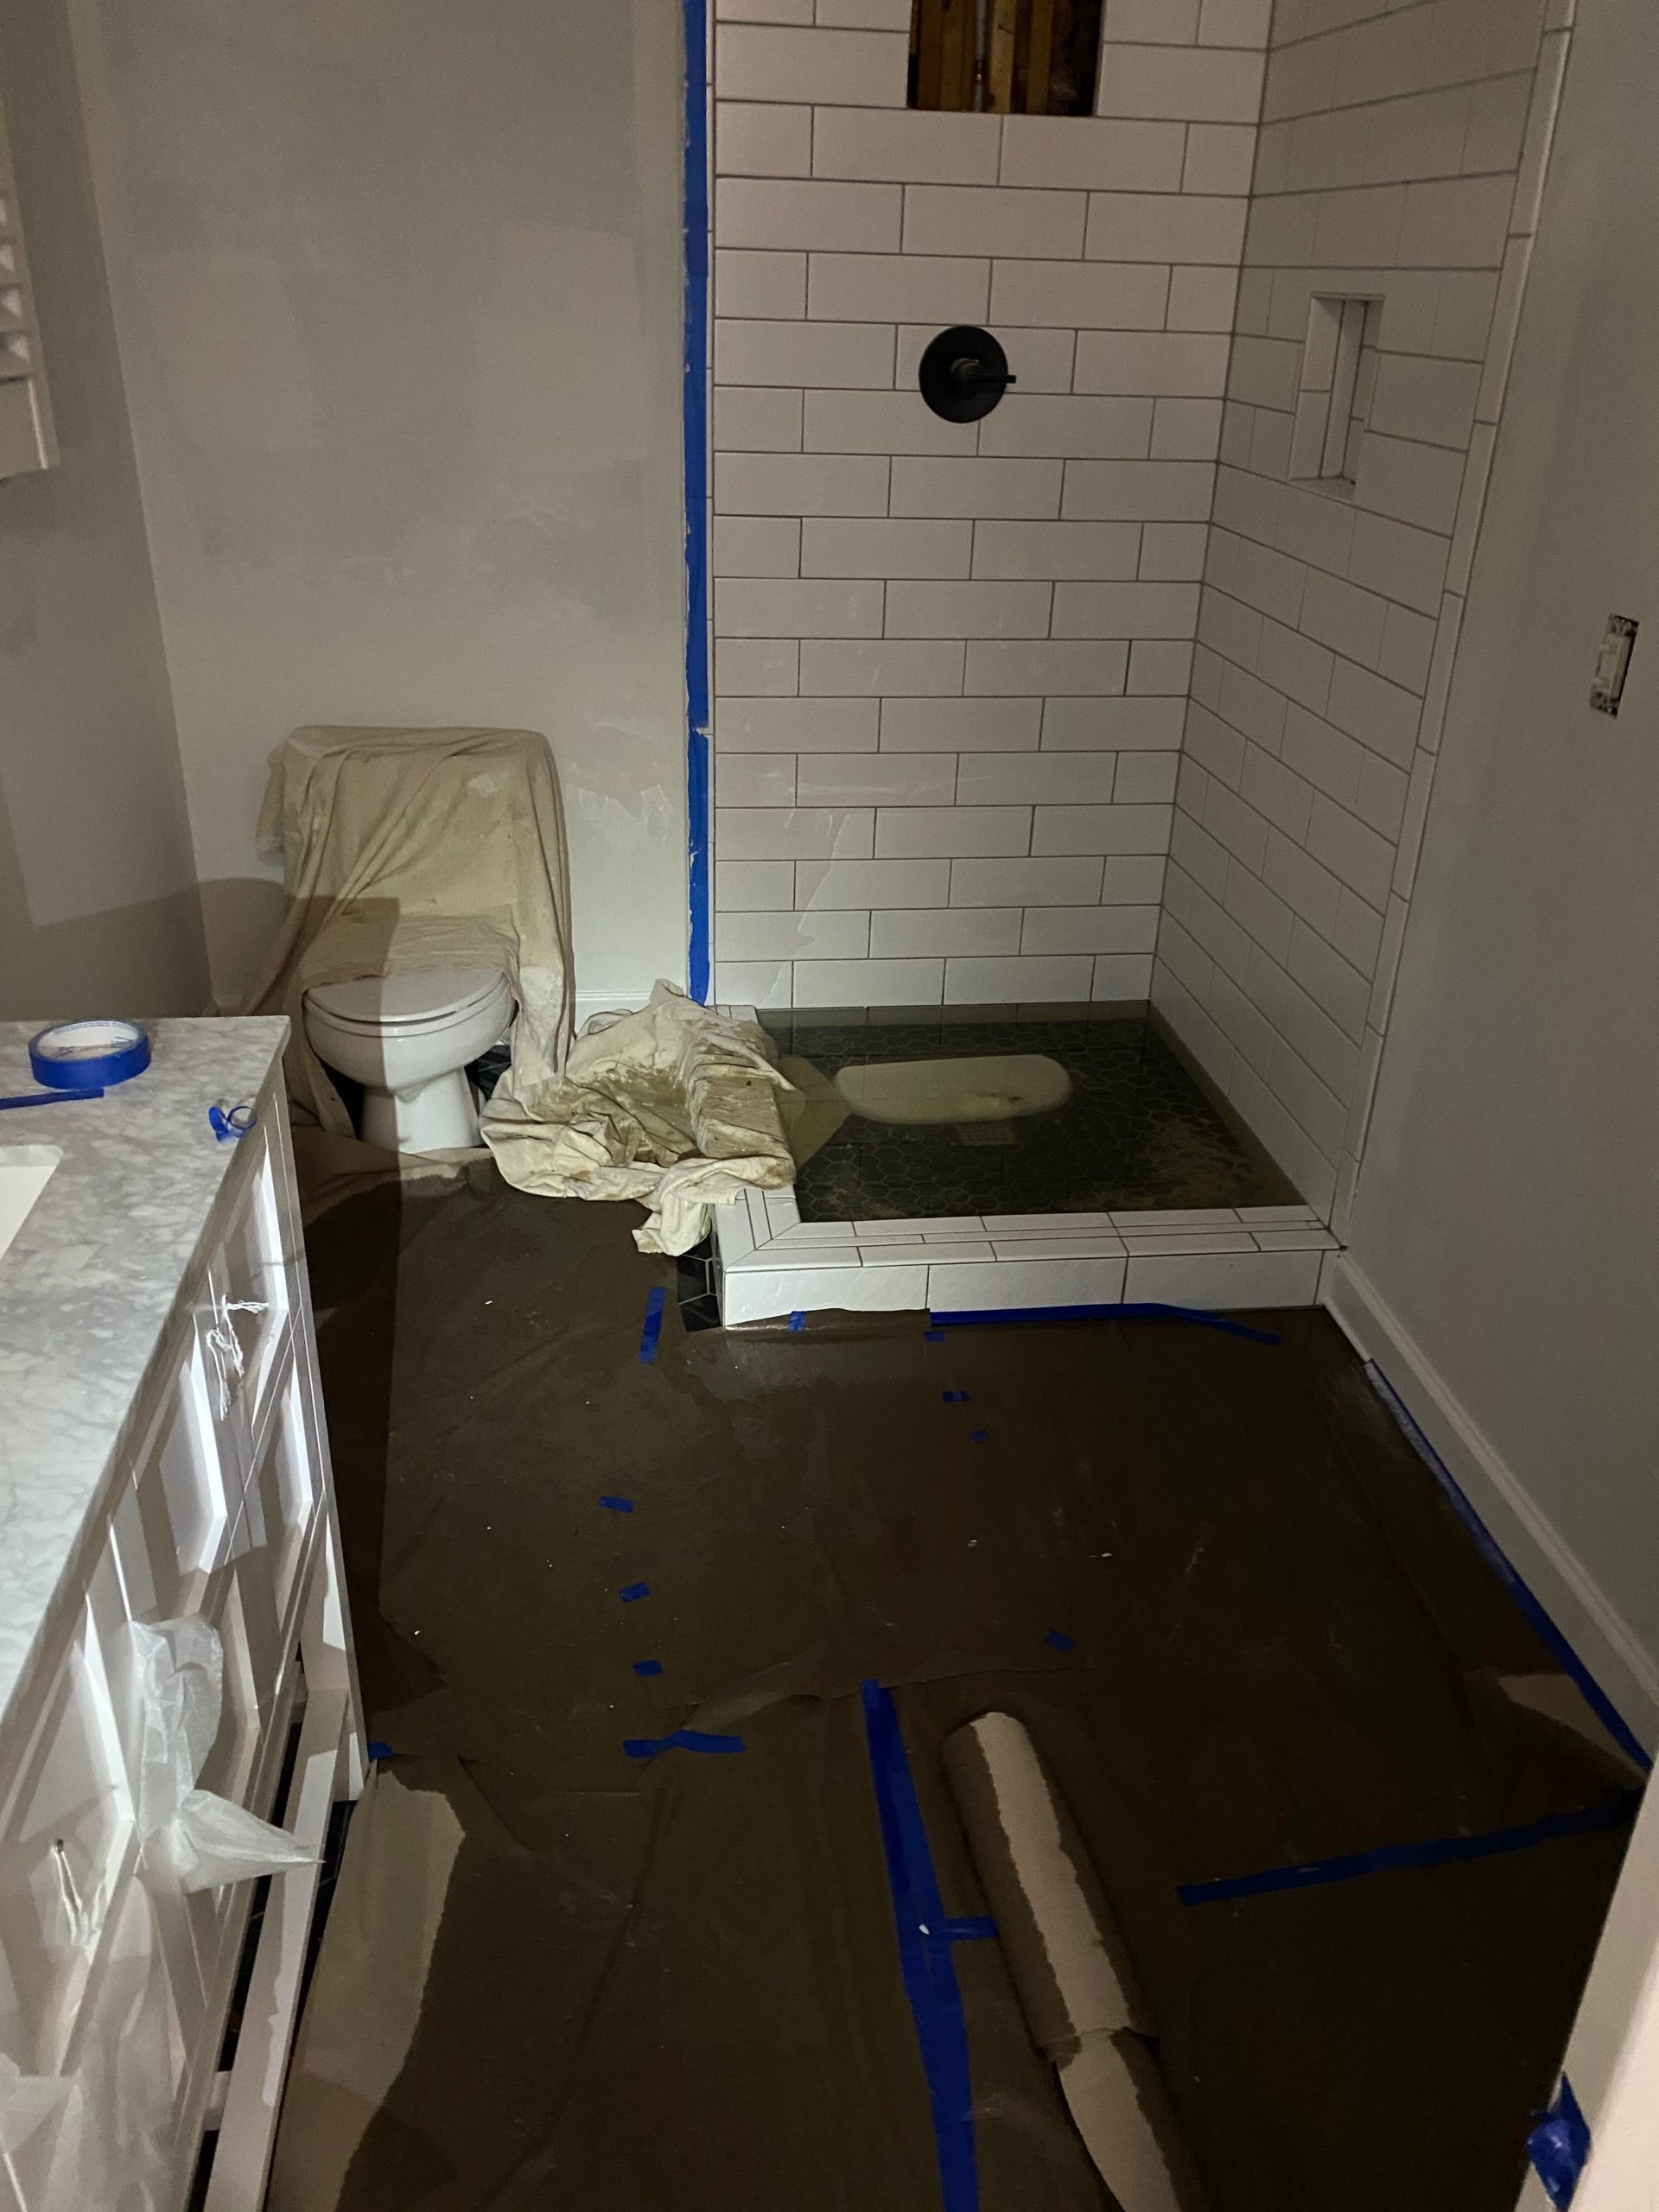
Now here’s where the disaster comes in… The bathroom tile was all done and the painters were finishing up their work for the day on a rainy Friday evening when they saw water bubbling up from the brand new master shower floor. Soon it was coming up through the toilet, tub, and the shower in the other downstairs bathroom. They called and let us know, and Jonny and his business partner went to the house to investigate and control any damage.
I’ll go into this in more detail in a later post all about the plumbing (because I know you’re dying to know about our sewer issues) but essentially, ground water was backing up through a broken sewer line and an incorrectly installed sump pump that was working overtime (it started smoking). The bathroom flooded, but luckily the painters were there so we were able to get the water cleaned up quickly. I can’t imagine the damage if it had been left to flood all weekend with nobody there.
Some of the subfloor under the carpet in the master bedroom was particle board as well, and our GC was right–it swelled up and created a hilly, squishy floor situation. Our GC pulled back the carpet and pad to save it, but some of the subfloor in the master bedroom still needed to be replaced. If we hadn’t done the project the right way and replaced the particle board subfloor in the bathroom, we could have been dealing with cracked and ruined tile, which would have cost us a lot of money.
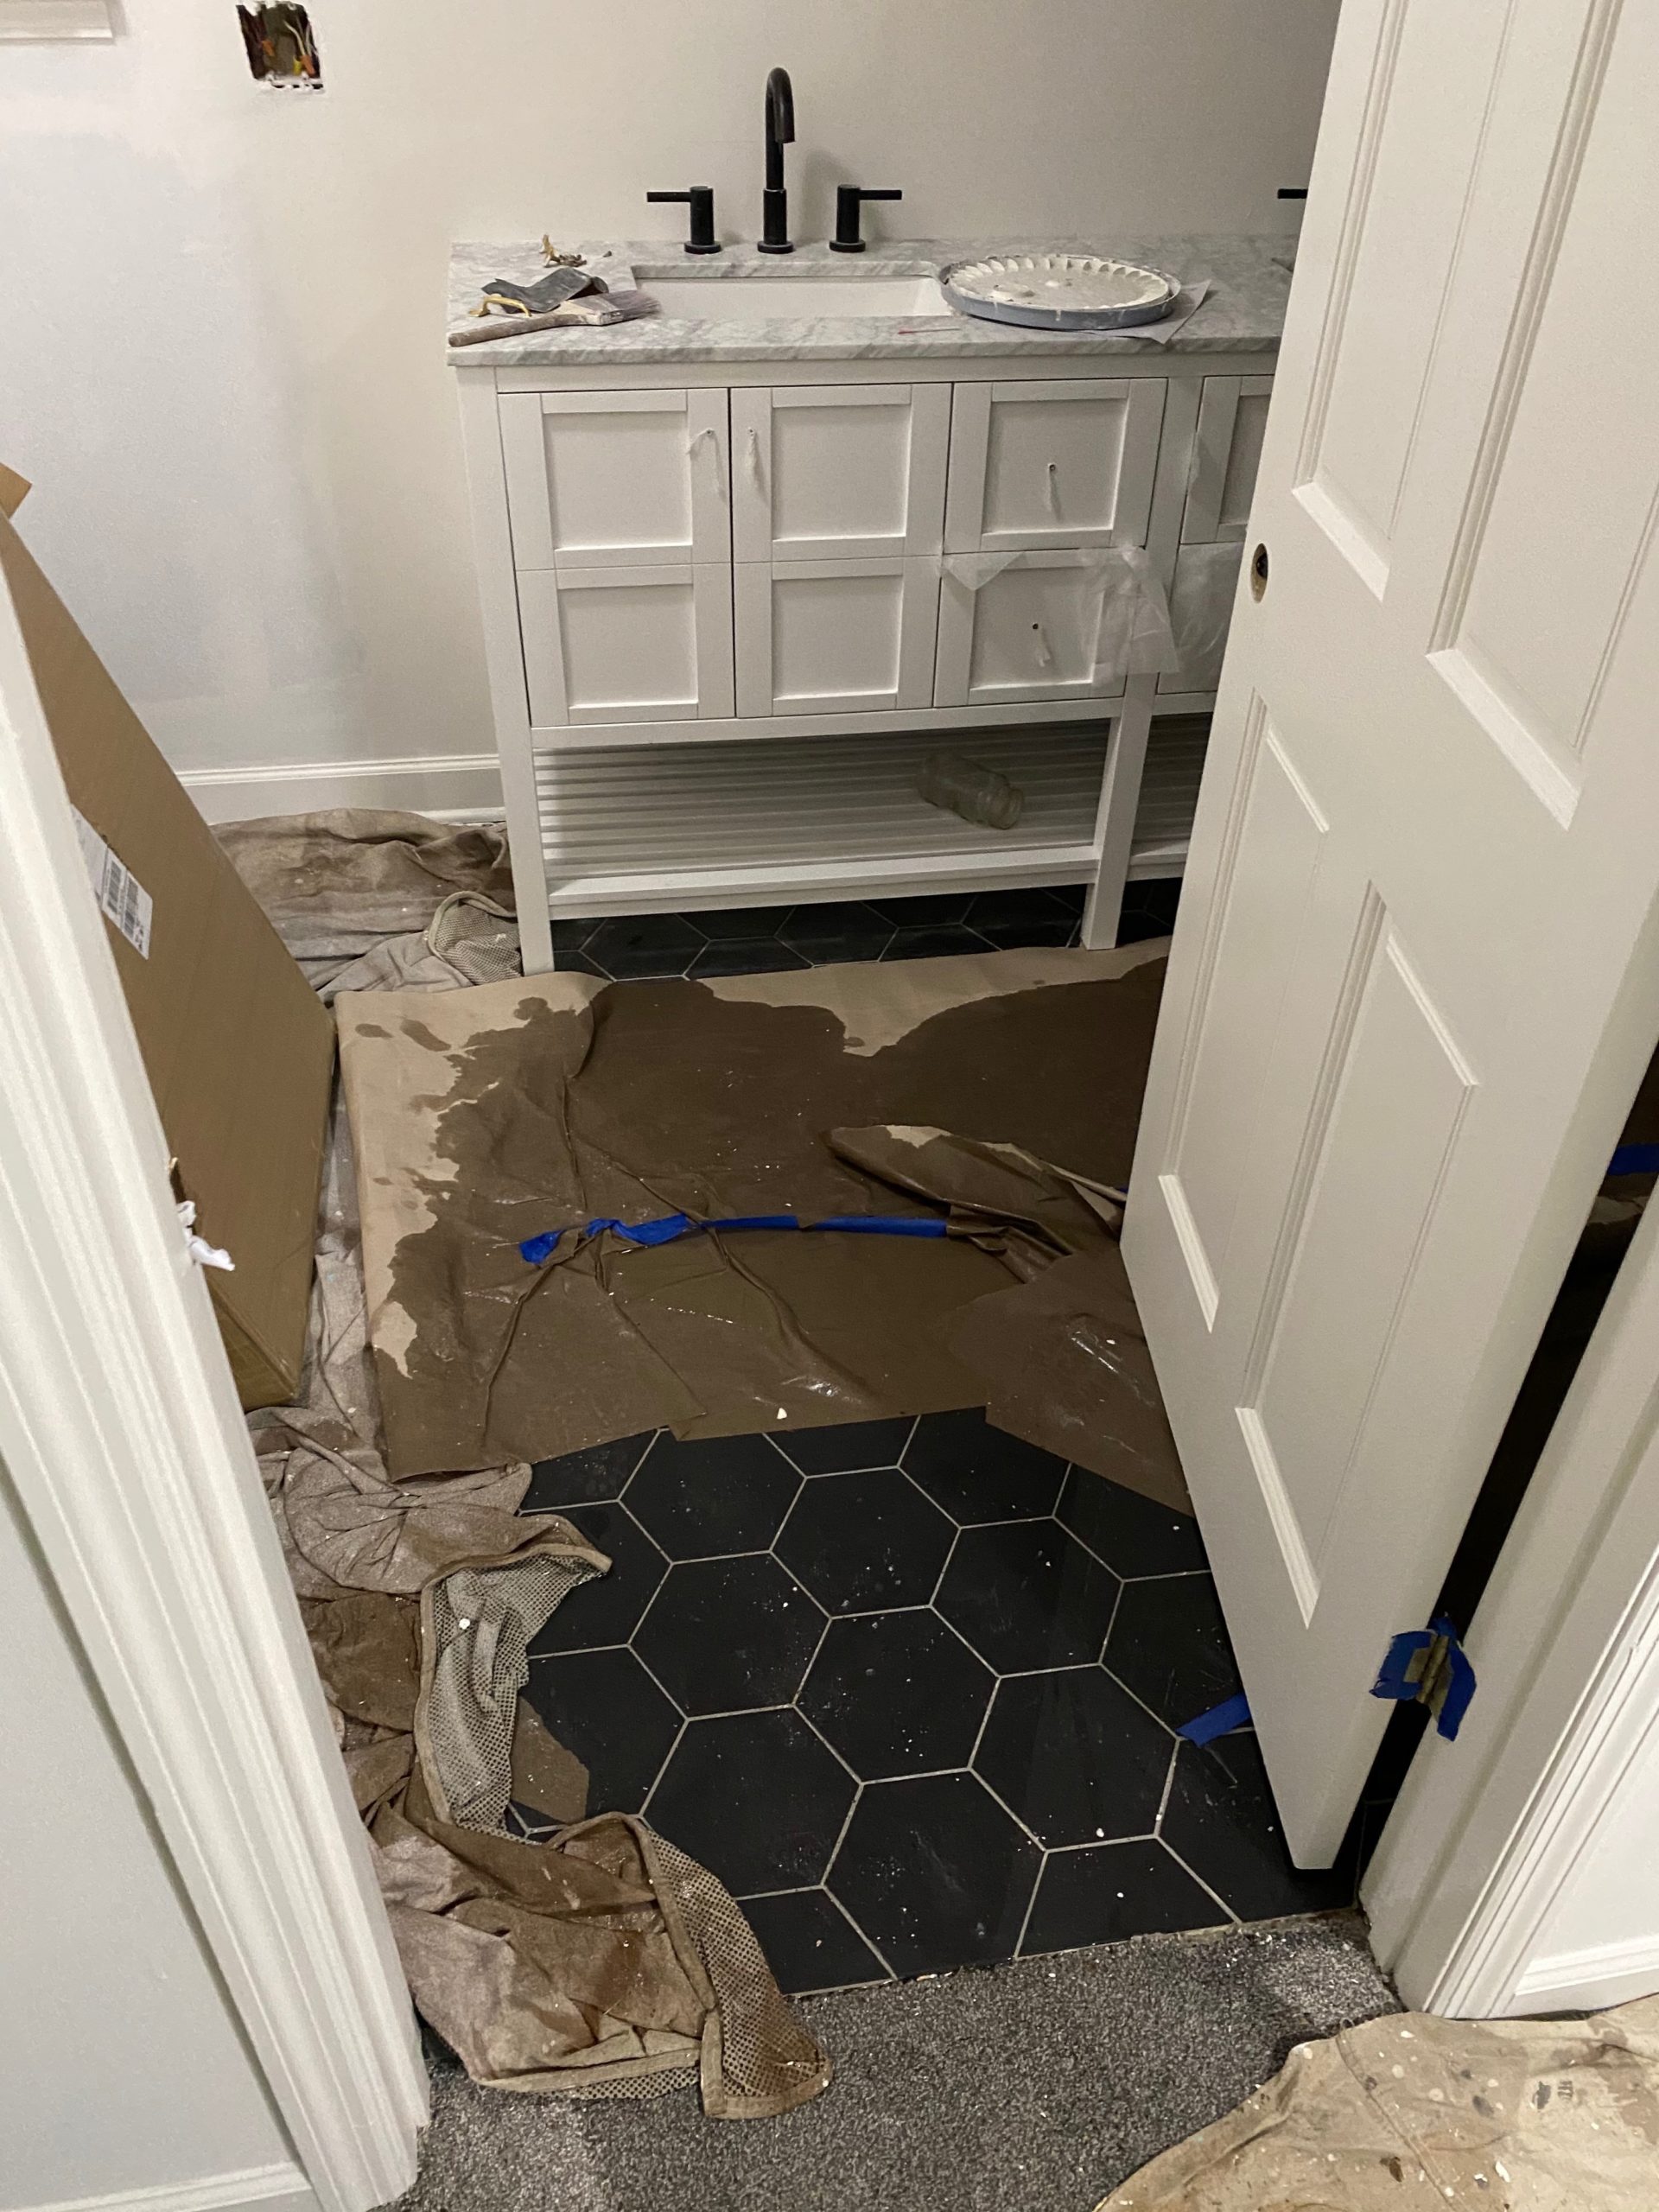
Once the water was cleaned up and the sewer line was replaced, we were back on track.
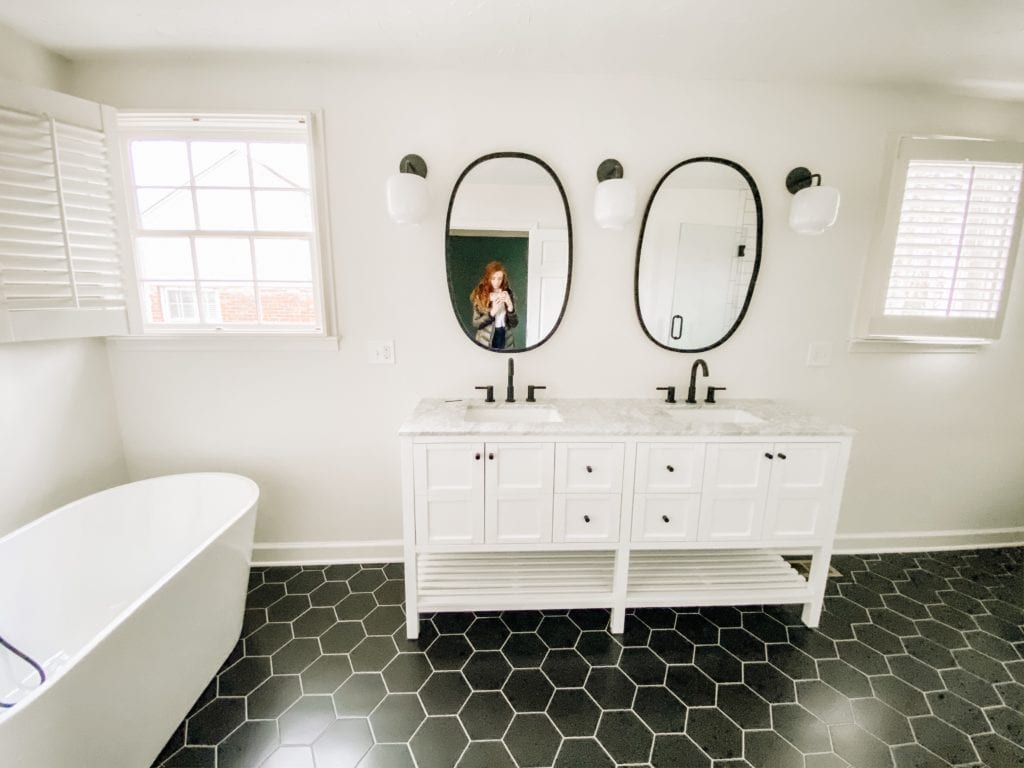
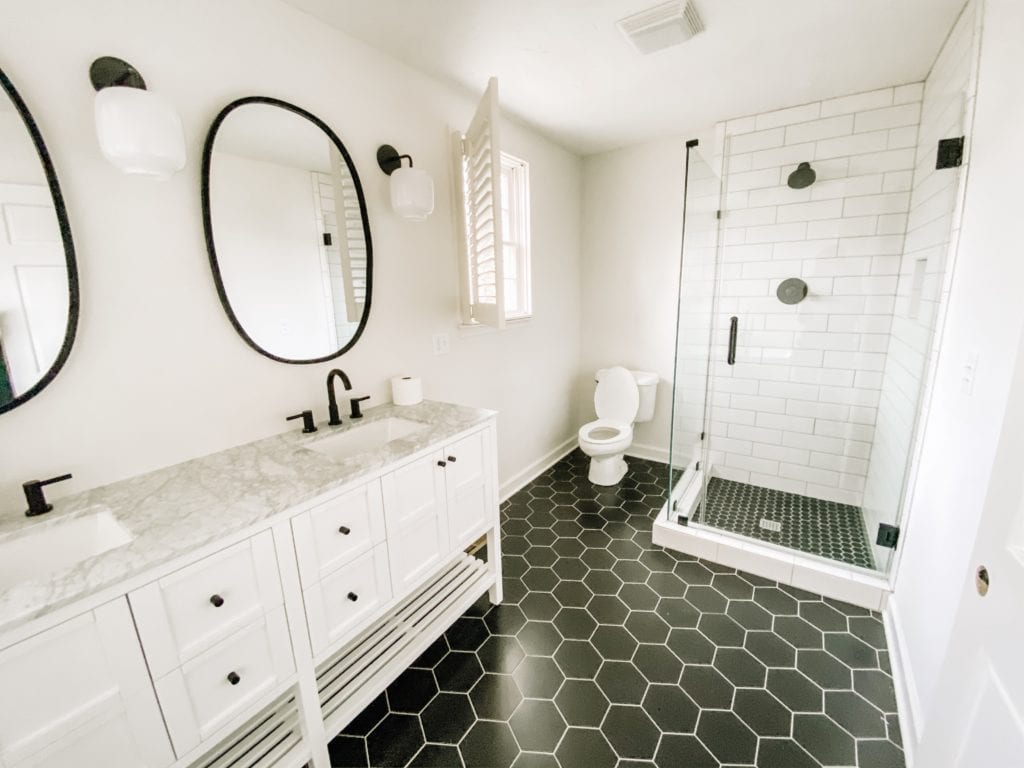
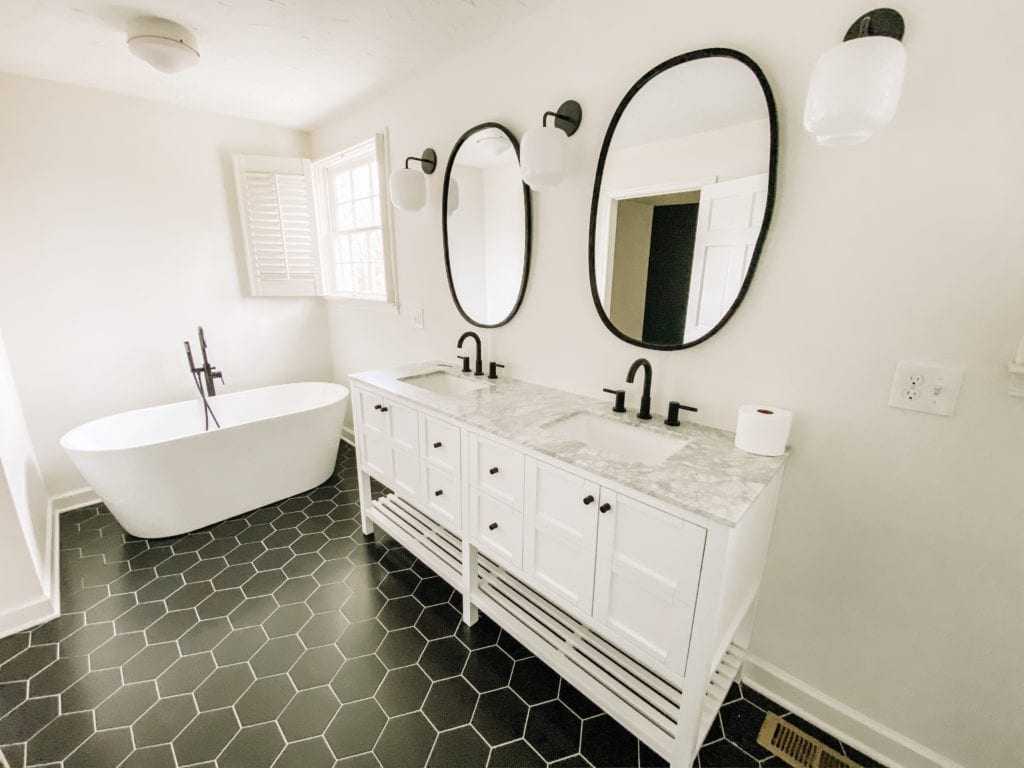
I found a vanity I loved from Allmodern, but I wanted to go for all matte black hardware in this house wherever possible, so I changed out the knobs for these simple black modern ones from Amazon.
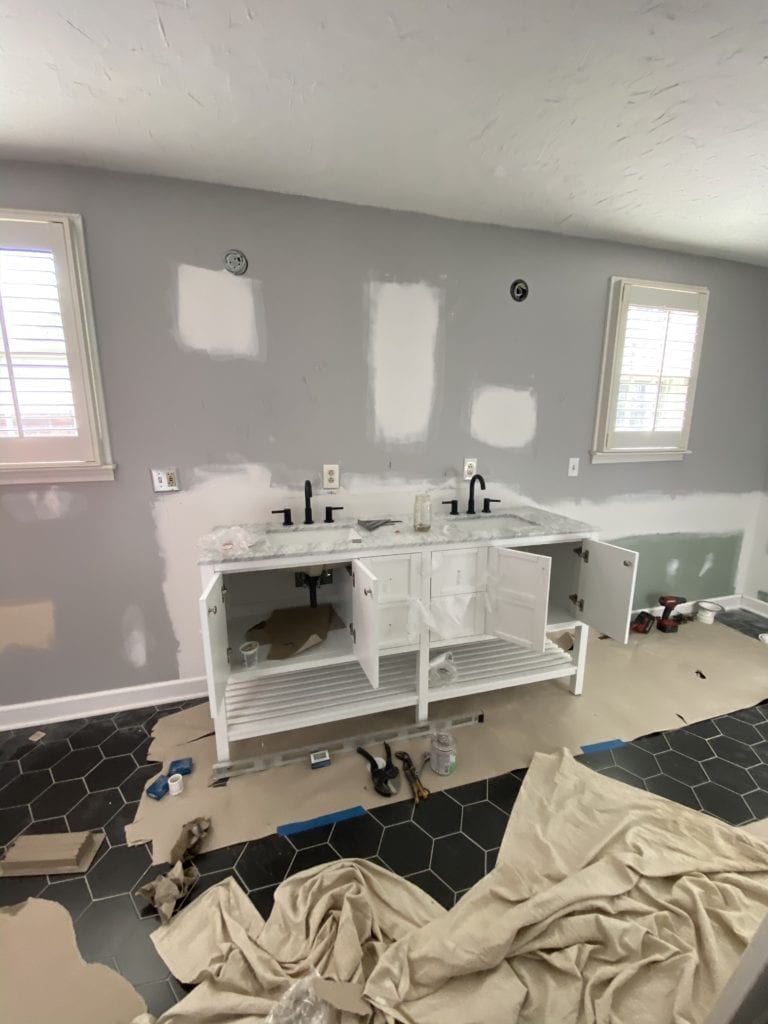
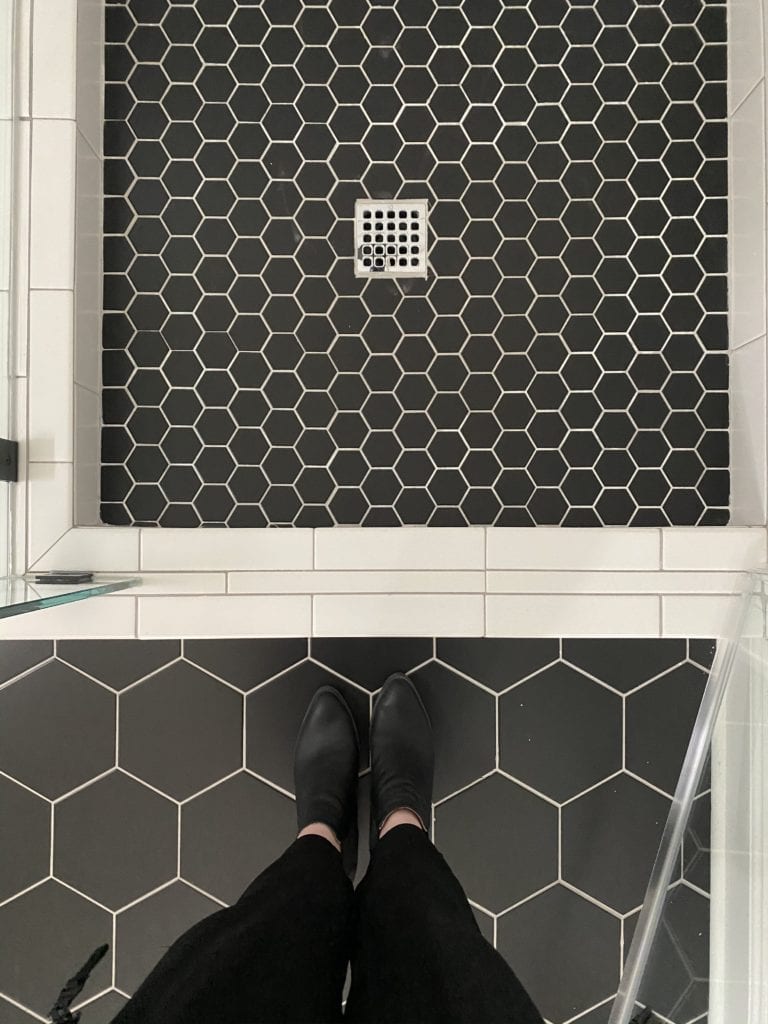
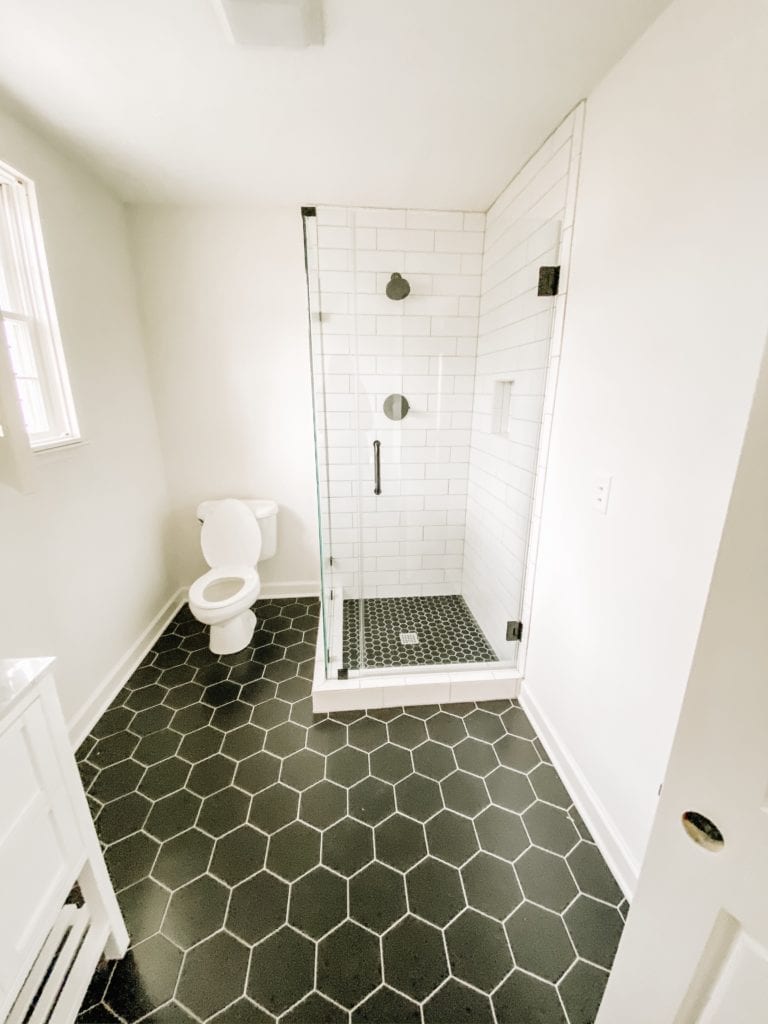
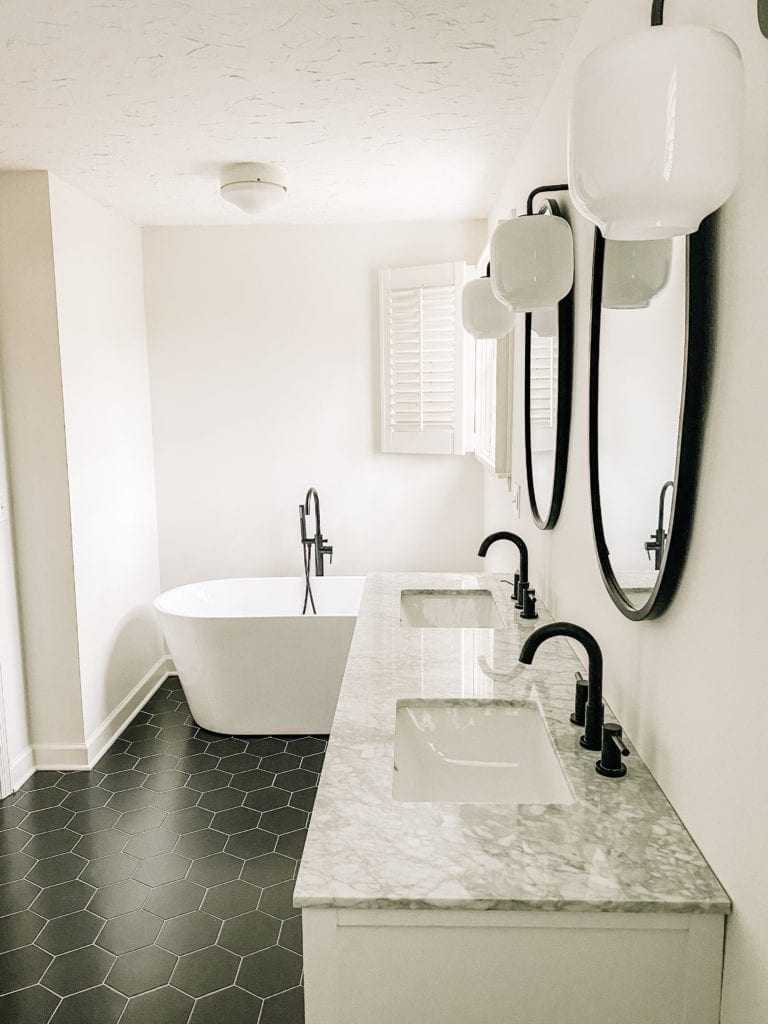
I knew I wanted to keep this bathroom modern, classic, and simple–clean lines and black and white color palette. I went with a large black hexagon tile for the floor, small black hexagon tiles for the shower floor, and extra large white classic subway tile for the shower.
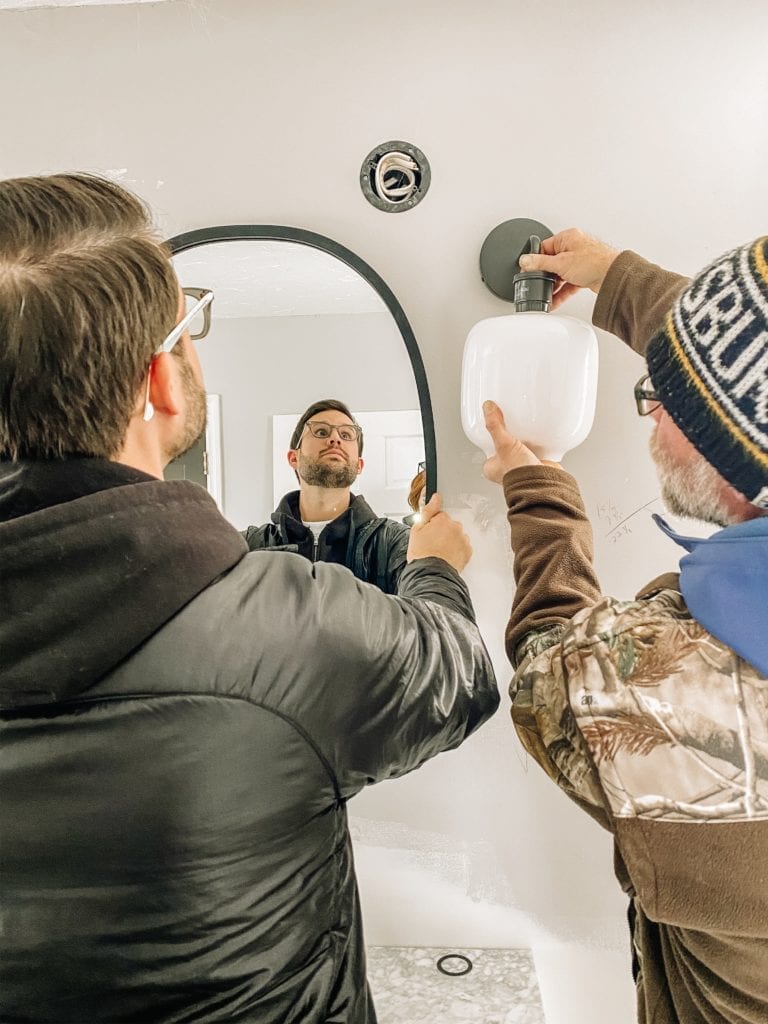
When it came to replacing the lights, I knew I wanted something different and more functional than the lights over the mirrors that didn’t fit together. I found these at West Elm and loved them. Our contractor wasn’t sure they would fit, but I used him and Jonny to help me visualize where they would go with the mirrors and I really love how they turned out.
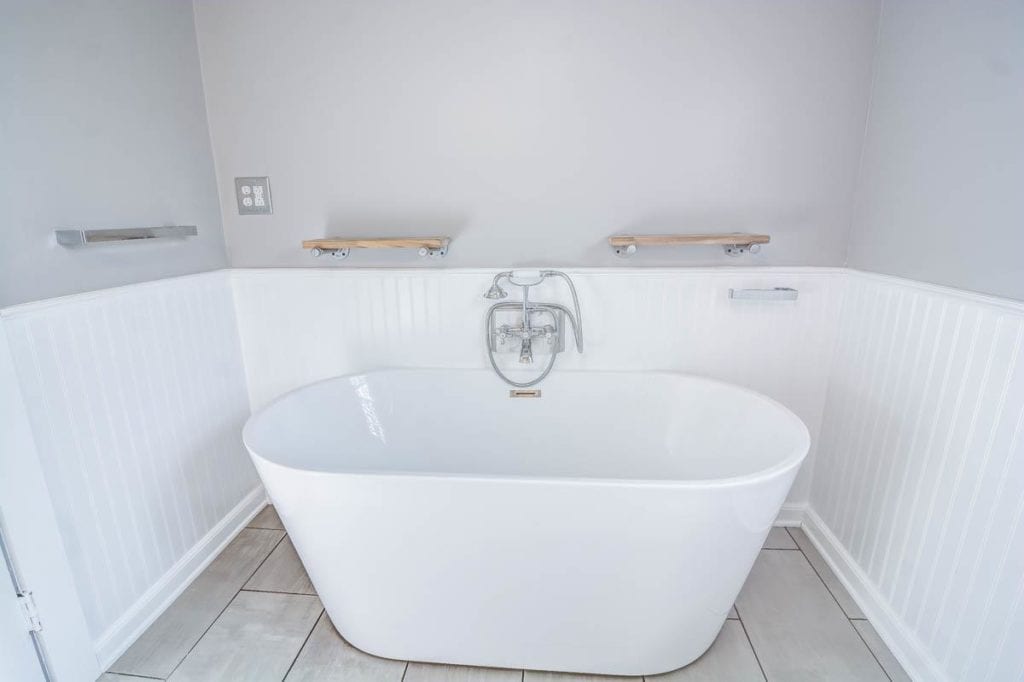
We were able to take the tub from the upstairs bathroom and just buy a new faucet, which made having a separate soaker tub an option–way more fun than no tub or a shower/tub combo if you ask me!
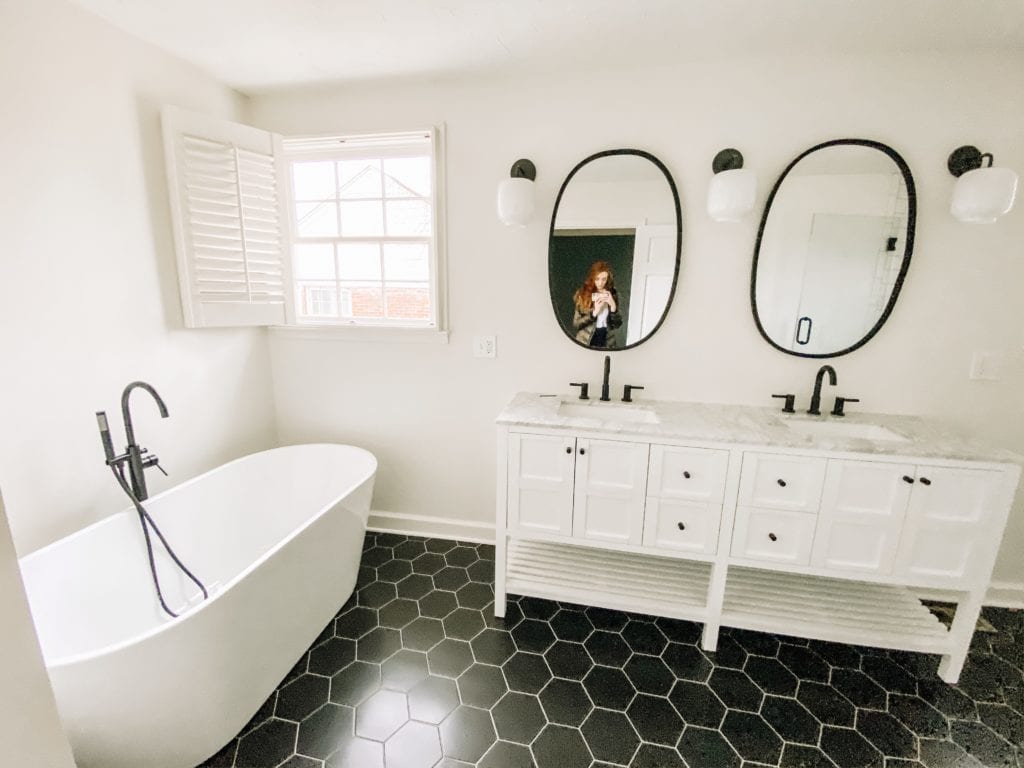
Next steps are 1) getting this baby furnished and 2) filling it with people. Even with the headaches of water issues, subfloor swelling, and all the minute details that add up to be a lot of time and energy, I’ve really enjoyed this process and hope you enjoy the (90%) finished product as much as I do.
Sources:
Leave a Reply Cancel reply
For even more content, sign up for my newsletter. I share weekly recaps so you won’t miss anything, as well as personal notes and answers to your questions. Sign up here! I promise I’ll never sell your information or spam you with unsolicited emails.
[…] For bathroom before photos, a little throwback to when we had just finished the bathroom, and a cringe-worthy memory of the flooding, click here. […]